


Version : 9.0
36
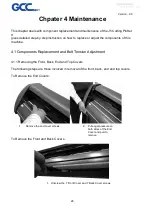
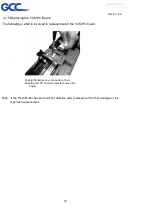
4.1.4 Replacing the
Y-Motor
The following steps are those involved in the replacement of the Y-motor.
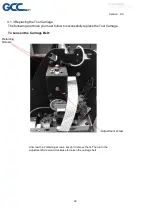
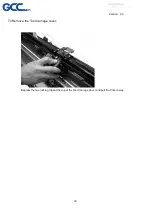
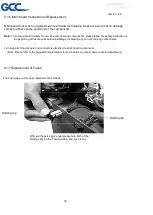
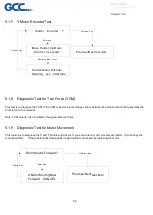
1. Loosen the all 3 tension-bracket retaining screws
as well as the tension adjustment screw, but do
not remove them.
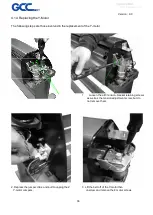
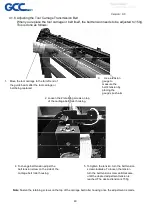
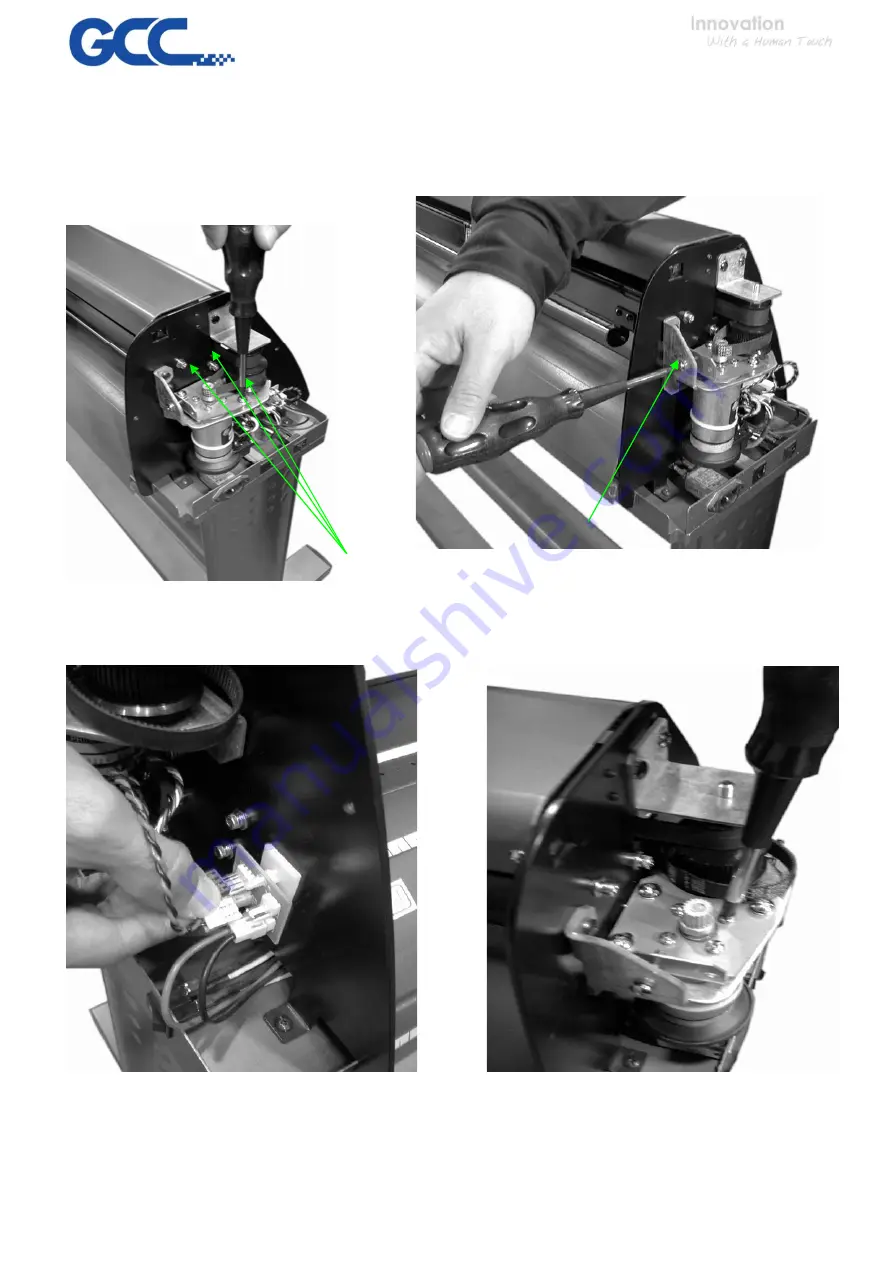
2. Depress the jumper clips, and pull to unplug the 2 3. Lift the belt off of the Y-motor then
Y-motor Jumpers. unscrew and remove the 4 motor screws.
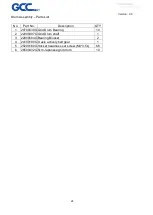
Summary of Contents for J5 Series
Page 1: ...Version 9 0 1 J5 J5 LX Series Maintenance Manual...
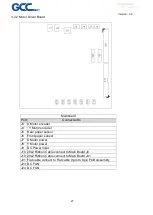
Page 5: ...Version 9 0 5 2 1 Main Unit Assembly...
Page 8: ...Version 9 0 8 2 2 Left End Assembly...
Page 10: ...Version 9 0 10 2 3 Right End Assembly 290106350G Flat cable 9 pin to 8 pin PCB Assembly...
Page 12: ...Version 9 0 12 2 4 Motor Bracket and Belt Assembly...
Page 14: ...Version 9 0 14 2 5 Carriage Assembly...
Page 16: ...Version 9 0 16 2 6 LX Carriage Assembly AAS...
Page 19: ...Version 9 0 19 2 7 Pinch Roller Assembly...
Page 21: ...Version 9 0 21 2 8 Main Beam Assembly...
Page 23: ...Version 9 0 23 2 9 Drum Assembly...
Page 25: ...Version 9 0 25 Chapter 3 Circuit System 3 1 System Diagram...