Here we use CorelDraw as illustration of how to convert a file.
1)
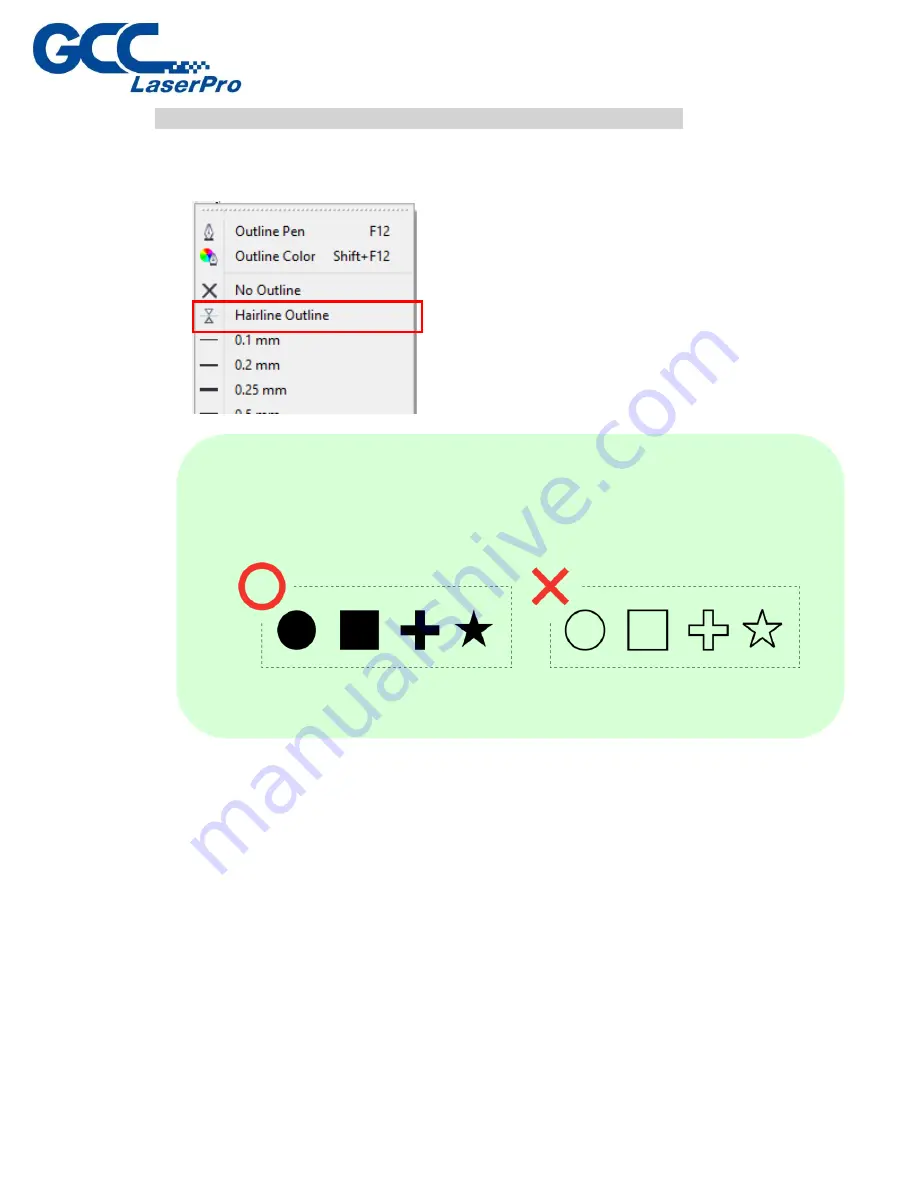
Select all the designed objects and set the outline to hairline from tool bar in
the graphics software.
2)
From the primary menu in graphics software, click File
Print… and the
Print window will appear.
NOTE
SmartCONTROL
TM
DFS will automatically define all the mark. Make sure
all the registration marks are the same type and filled before converting
the graphic file to prn format.
Summary of Contents for LaserPro DFS
Page 1: ......
Page 4: ...Chapter 1 Unpacking Unloading Unpacking...
Page 6: ...3 Loosen the door lock...
Page 9: ...Chapter 2 Mechanical Overview Front View Right View Left View Rear View...
Page 12: ...2 4 Rear View Ventilation Openings Maintenance Door...
Page 15: ...3 Click Next 4 The installation would be finished in few seconds...
Page 46: ...4 From the drop down menu of Printer select SmartCONTROL...
Page 63: ...5 Click Vision on the menu bar and check the mark 1 and Mark 2 are definition automatically...
Page 68: ...14 Click Use CCD and Execute to start laser processing...
Page 89: ...7 After the settings of output parameter click Execute to start laser processing...
Page 90: ...Chapter 6 Appendix GCC LaserPro DFS Specification Sheet...


