39
232001260G(10)
8)
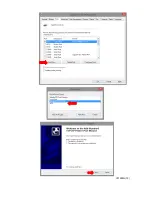
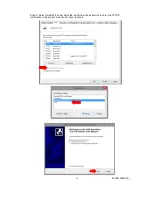
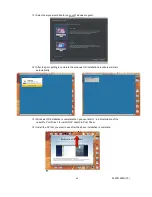
If a screen comes up informing you of the detection of a previous driver and asks to
keep the existing driver or use the new one, select Replace Existing Driver and click
Next to continue.
9)
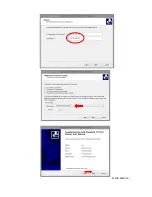
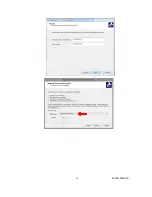
This screen will prompt you to provide a printer name. Simply type in <LaserPro X500
SERIES> and select Yes or No if you want to use this printer as the default printer and
click Next to continue.
NOTE
When working with the LaserPro X500 SERIES Print Driver within your graphics
software, you will need to have the LaserPro X500 SERIES set as the default printer to
get proper output. If you select to not have the LaserPro X500 SERIES be the default
printer, please remember to manually change this on your own from within the graphic
software printer selection area or from the Windows Control Panel
Printers and
Faxes section.
10)
At the Printer Sharing screen, select <Do not share this printer> and click Next to
continue.
11)
Select <No> when asked if you want to print a test page and click Next to continue.
12)
Now simply click Finish to complete the Add Printer Wizard.
13)
Now the installation will proceed, if you get a Hardware Warning about the software you
are installing for this hardware has not passed Windows Logo testing… simply click
Continue Anyway to ignore this warning.
14)
Congratulations, your printer driver has been successfully installed!
15)
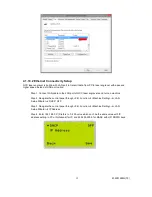
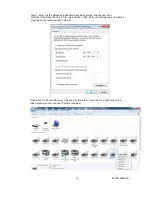
(This step is required only for USB connections) If you are using the LaserPro X500
SERIES’s USB connection interface, then you will need to go to your Windows
Control Panel
Printer and Faxes. Right-click on the LaserPro X500 SERIES listing,
and select properties. Go to the Ports menu and place a check next to GCC USB0,
then click OK.
Summary of Contents for LaserPro X500 III-80Y
Page 1: ...0 232001260G 10...
Page 7: ...6 232001260G 10...
Page 8: ...7 232001260G 10...
Page 9: ...8 232001260G 10 CDRH Label This label indicates the class level of CDRH...
Page 31: ...30 232001260G 10...
Page 32: ...31 232001260G 10...
Page 37: ...36 232001260G 10...
Page 38: ...37 232001260G 10...
Page 82: ...232001260G 10 81...
Page 83: ...232001260G 10 82...
Page 103: ...232001260G 10 102 Step 1 Produce the gray level background...
Page 105: ...232001260G 10 104 Step 2 Produce three dimensional characters...

