50
232001260G(10)
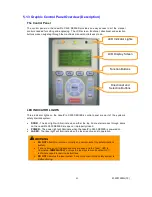
DIRECTIONAL AND SELECTION BUTTONS
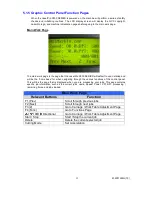
Function (F1 / F2 / F3 / F4)
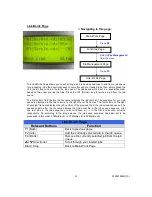
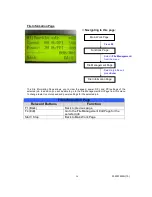
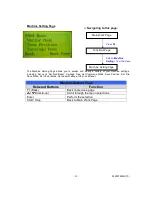
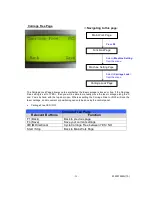
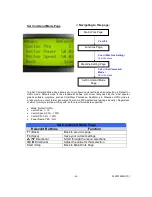
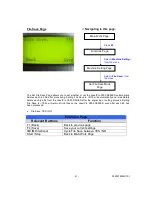
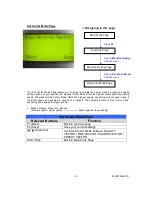
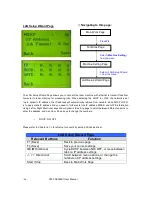
Four function buttons allow you to select various functions, which will change
depending on what section of the menu you are in. Each function button’s
corresponding function will be displayed right above its respective button on the
LCD display screen. Please note that in certain menus, not every function button
will always be mapped to a corresponding action. In these situations, that
particular button will not have a function.
Directional (
/
/ / )
Four directional buttons allow you to navigate the selection cursor through the
control panel menu and adjust the value of specific settings. In general, the
/
directional buttons cycle through the various selections, while the
/
directional buttons adjust the value of that particular selection.
Enter – Confirms the current selection.
Start / Stop – Allows you to start or stop engraving jobs, once those jobs have
been successfully loaded onto the system.
Delete - Provides quick access to delete the current job.
Pause – Pauses the current engraving process. Press again to resume the current
process.
Cutting Mode – Cutting mode key would access to the three options of cutting quality and speed
combination
LASER
The Laser hot
key can easily switch the laser status between on and off. When the laser is off,
the laser carriage would start to work without laser firing after pressing START/STOP key to
better positioning the laser firing path. Once the position of laser firing is confirmed to be correct,
then you can press the LASER key again to enable the laser, and start to laser engraving or
cutting on materials.
Recall– The RECALL key makes the lens carriage applies the saved position as origin.
Summary of Contents for LaserPro X500 III-80Y
Page 1: ...0 232001260G 10...
Page 7: ...6 232001260G 10...
Page 8: ...7 232001260G 10...
Page 9: ...8 232001260G 10 CDRH Label This label indicates the class level of CDRH...
Page 31: ...30 232001260G 10...
Page 32: ...31 232001260G 10...
Page 37: ...36 232001260G 10...
Page 38: ...37 232001260G 10...
Page 82: ...232001260G 10 81...
Page 83: ...232001260G 10 82...
Page 103: ...232001260G 10 102 Step 1 Produce the gray level background...
Page 105: ...232001260G 10 104 Step 2 Produce three dimensional characters...

