232001260G(10)
77
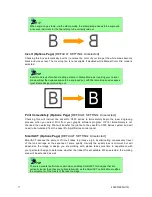
TIP
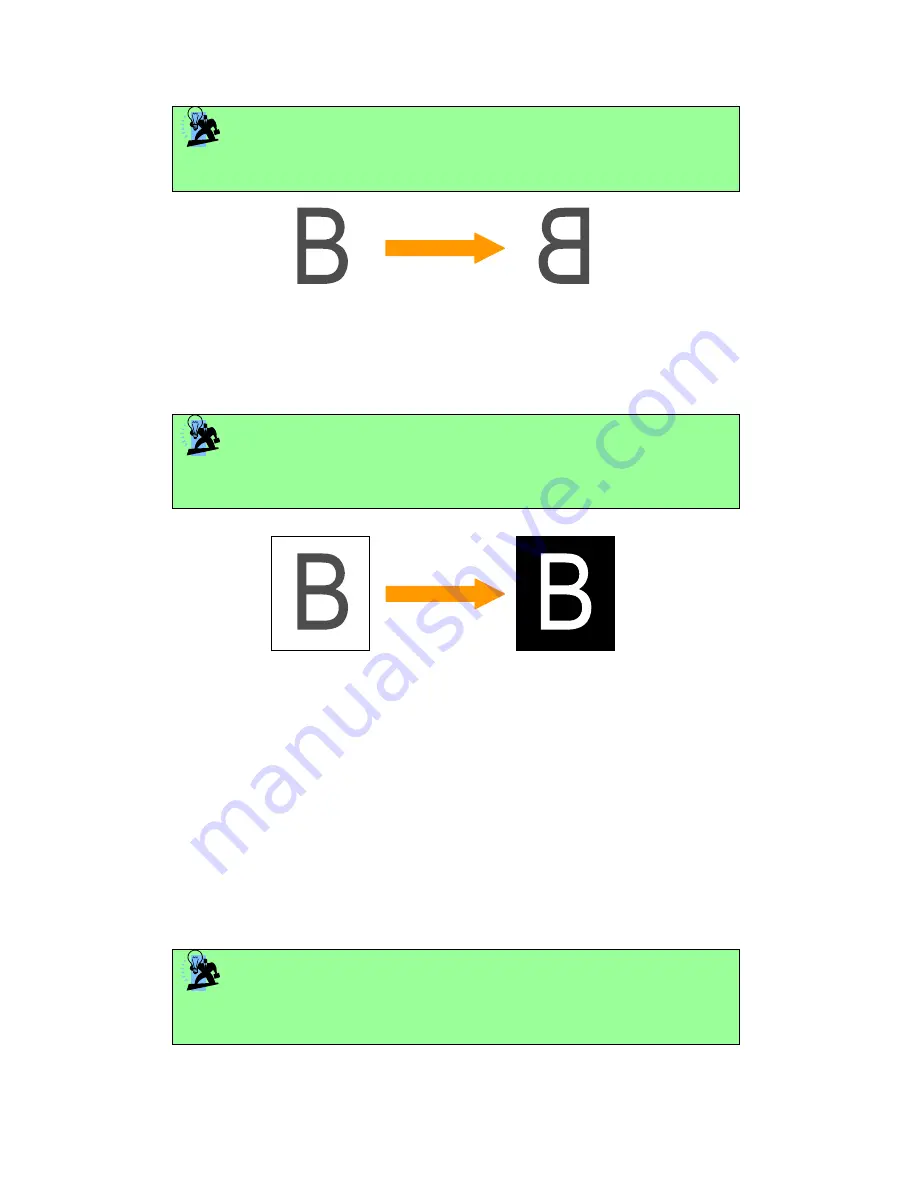
When engraving a stamp, via the stamp mode, the stamp image needs to be engraved
in reverse (mirrored) for the final stamp to be correctly laid out.
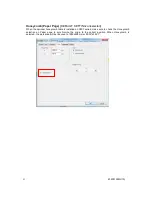
Invert (Options Page) [DEFAULT SETTING: Unselected]
Checking this box automatically inverts / reverses the color of your image (the white areas become
black and vice versa). The Invert option is not available if disabled while Manual Color File mode is
selected.
TIP
Invert mode is useful when creating a stamp in Stamp Mode, as inverting your normal
image will set the negative space to be engraved out, with the remaining positive space
(your stamp design) protruding out.
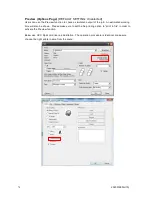
Print Immediately (Options Page) [DEFAULT SETTING: Unselected]
Checking this will instruct the LaserPro X500 series to immediately begin the laser engraving
process, when you select Print from your graphic software program. If Print Immediately is not
checked, then selecting Print will transfer the job file to the LaserPro X500 Series system and will
need to be initialized from the LaserPro Spirit Series control panel.
SmartACT (Options Page) [DEFAULT SETTING: Unselected]
SmartACT reduces the amount of time it takes to process a job, by eliminating unnecessary travel
of the lens carriage at the expense of some quality. Usually the quality loss is minimal, but will
depend on the image or design you are working with; please take some time to experiment with
your particular design to determine whether the tradeoff is acceptable. When selected, the working
area will be extended as well.
TIP
There is a greater performance gain when enabling SmartACT for designs that are
vertically longer than they are horizontally wide, as the SmartACT optimization modifies
the movement of the X-axis of the laser carriage.
Summary of Contents for LaserPro X500 III-80Y
Page 1: ...0 232001260G 10...
Page 7: ...6 232001260G 10...
Page 8: ...7 232001260G 10...
Page 9: ...8 232001260G 10 CDRH Label This label indicates the class level of CDRH...
Page 31: ...30 232001260G 10...
Page 32: ...31 232001260G 10...
Page 37: ...36 232001260G 10...
Page 38: ...37 232001260G 10...
Page 82: ...232001260G 10 81...
Page 83: ...232001260G 10 82...
Page 103: ...232001260G 10 102 Step 1 Produce the gray level background...
Page 105: ...232001260G 10 104 Step 2 Produce three dimensional characters...

