27
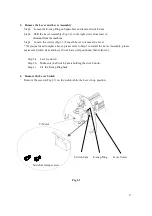
3. Remove the Lever and Lever Assembly
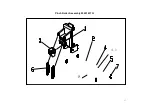
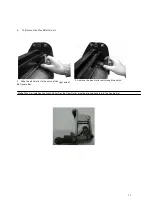
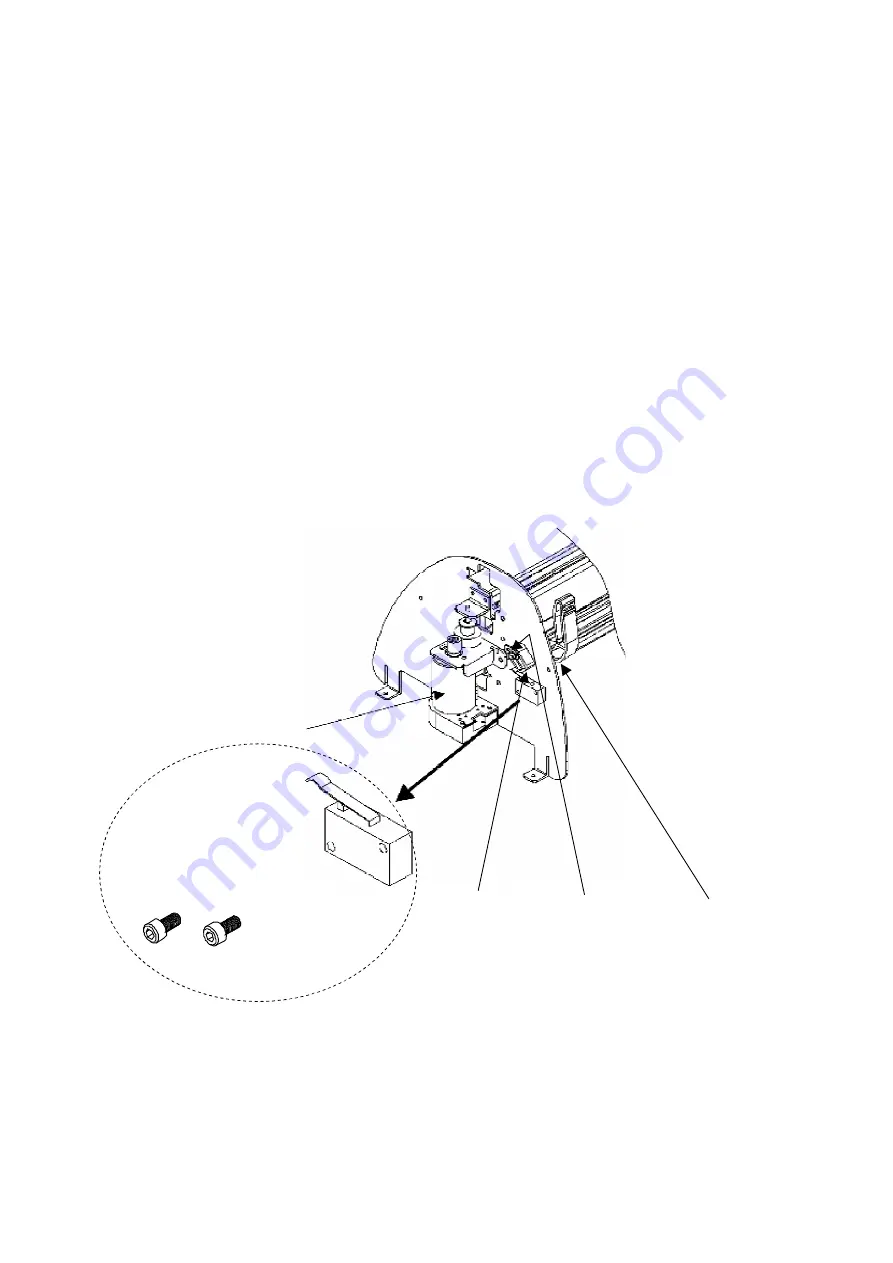
Step1. Loosen the E-snap Ring on Square Bar and remove Switch Cam.
Step2. Shift the Lever Assembly (Fig 1-3) to the right (view from rear) to
dismount from the machine.
Step3. Loosen the screws (Fig 1-3) beneath Lever to remove the Lever.
**If you just need to replace Lever, please refer to Step 3 to install the Lever Assembly, please
make sure Switch Cam and Lever Switch are well positioned, then follow by
.
Step 3a.
Lever is down.
Step 3b.
Make sure the Switch Cam is holding the switch down.
Step 3c.
Fix the E-snap Ring back.
4. Remove the Lever Switch
Remove the screws (Fig 1-3) on the switch while the Lever in up position.
Y-Motor
Switch Cam
E-snap Ring
Lever Screw
Switch & fixing screws
Fig 1-3
Summary of Contents for Puma Series
Page 4: ...4 Main Unit Assembly 29006178G...
Page 7: ...7 Left End Assembly 7 1...
Page 9: ...9 Right End Assembly 7 8...
Page 13: ...13 Complete X motor Assembly 29003820G...
Page 15: ...15 Y Axis Idel Pulley Assembly 29003820G...
Page 17: ...17 Pinch Roller Assembly 29001437G 4 1 8...
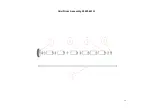
Page 19: ...19 Grid Drum Assembly 29005441G...
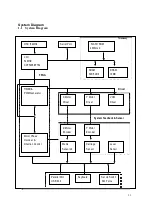
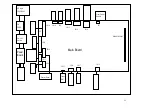
Page 22: ...22 1 System Diagram and Components of Main Board...


