35
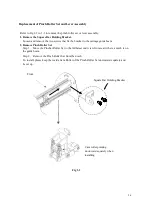
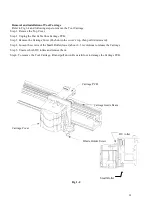
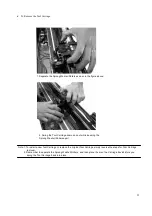
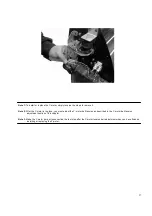
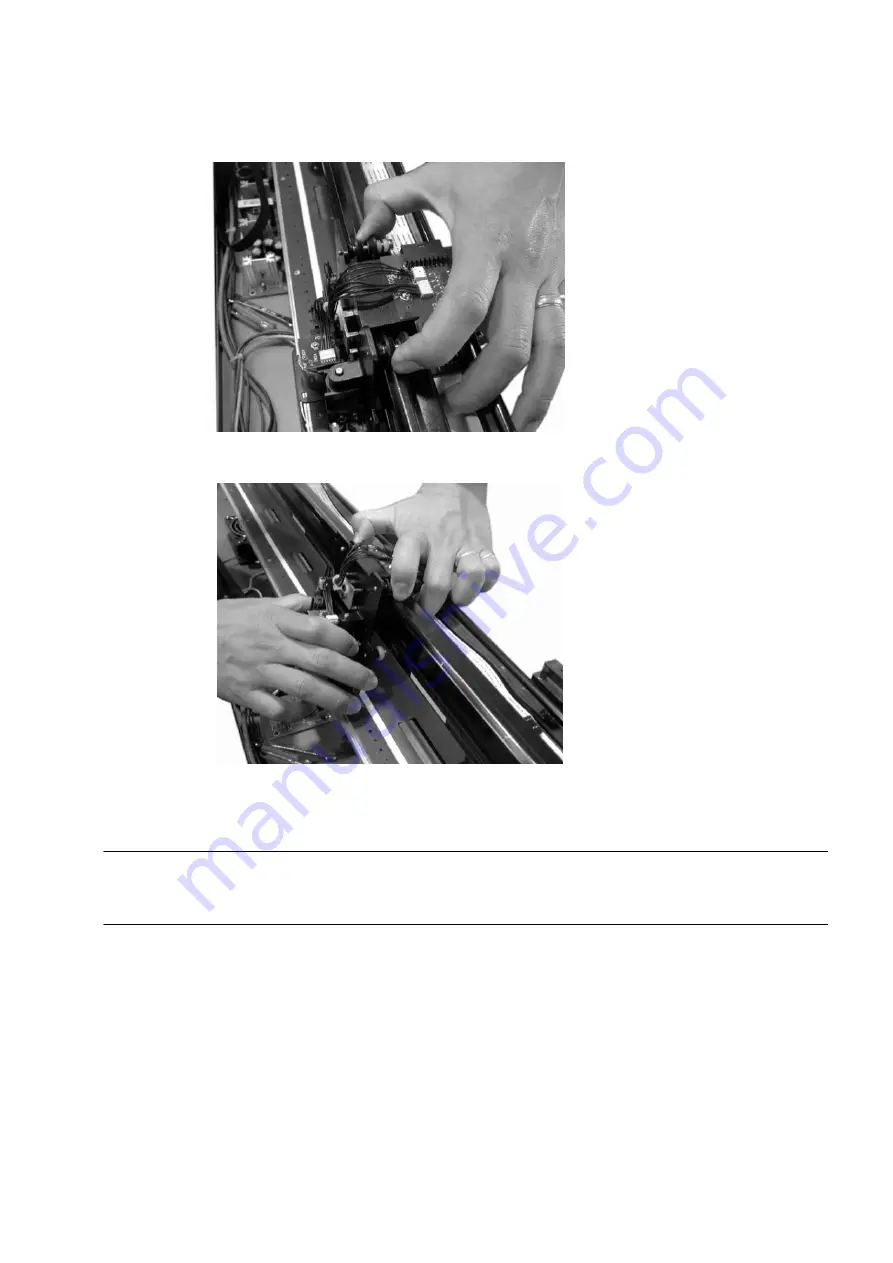
To Remove the Tool Carriage:
1. Separate the Sprung Washer/Rollers as seen in the figure above.
2. Swing the Tool Carriage down and out while keeping the
Sprung Washer/Rollers apart.
Note 1. To install a new Tool Carriage or replace the original Tool Carriage simply reverse the steps for Tool Carriage
removal.
2. Remember to separate the Sprung Washer/Rollers, and then place them on the Carriage track before you
swing the Tool Carriage back into place
Summary of Contents for Puma Series
Page 4: ...4 Main Unit Assembly 29006178G...
Page 7: ...7 Left End Assembly 7 1...
Page 9: ...9 Right End Assembly 7 8...
Page 13: ...13 Complete X motor Assembly 29003820G...
Page 15: ...15 Y Axis Idel Pulley Assembly 29003820G...
Page 17: ...17 Pinch Roller Assembly 29001437G 4 1 8...
Page 19: ...19 Grid Drum Assembly 29005441G...
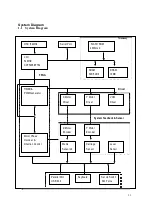
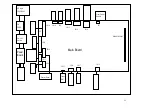
Page 22: ...22 1 System Diagram and Components of Main Board...


