


RX Series User Manual
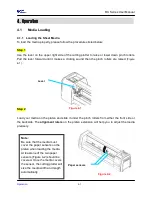
Operation
4-2
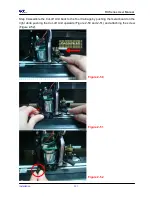
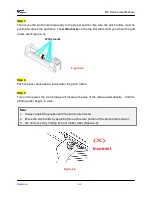
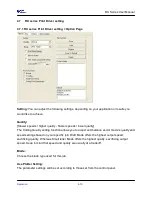
Step 3
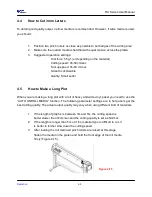
Then move the pinch rollers manually to the proper position. Be sure the pinch rollers must be
positioned above the grid drum. The white marks on the top trail will remind you where the grid
drums are (Figure 4-3).
Step 4
Push the lever backward to lower down the pinch rollers.
Step 5
Turn on the power, the tool carriage will measure the size of the media automatically. And the
plotting cutter begins to work.
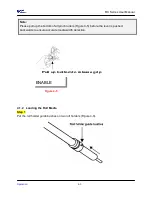
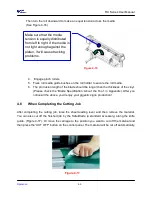
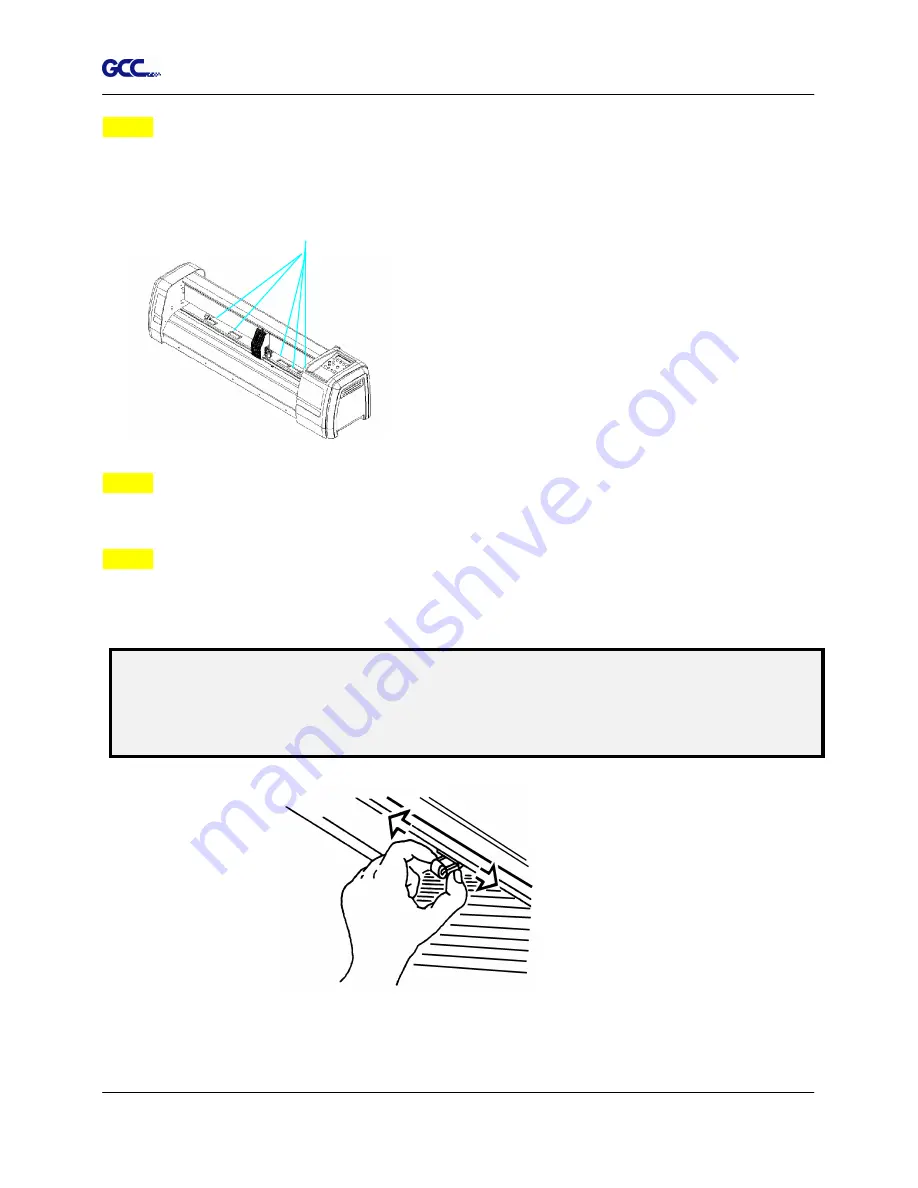
Note:
1. Always adjust the position with the pinch roller raised.
2. Move the pinch roller by applying force at the rear portion of the pinch roller support.
3. Do not move it by holding its front rubber roller (Figure 4-4).
Figure 4-4
(X)
Incorrect
White marks
Figure 4-3
Summary of Contents for RX Series
Page 1: ...V 7 2014 Mar RX Series User Manual http www GCCworld com ...
Page 33: ...RX Series User Manual Installation 2 20 3 Select Driver page ...
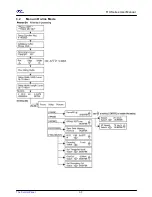
Page 48: ...RX Series User Manual The Control Panel 3 3 3 2 Menu in On line Mode ...
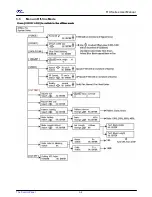
Page 49: ...RX Series User Manual The Control Panel 3 4 3 3 Menu in Off line Mode ...
Page 50: ...RX Series User Manual The Control Panel 3 5 ...
Page 51: ...RX Series User Manual The Control Panel 3 6 ...
Page 115: ...RX Series User Manual SignPal 10 5 Instruction A 4 8 ...
Page 118: ...RX Series User Manual SignPal 10 5 Instruction A 4 11 ...
Page 125: ...RX Series User Manual SignPal 10 5 Instruction A 4 18 ...
Page 155: ...Jaguar IV User Manual GreatCut Instruction A 5 Click Multi Copy in GreatCut2 under File ...


