


gMax Printer 1.5 - Quick Start Guide
v1.0
–
2.18.15
S u m m a r y :
This
guide
should
be
used
after
your
printer
has
been
set
up
and
calibrated.
This
manual
can
be
used
as
a
“Quick
Start”
guide
to
using
the
printer
as
well
as
a
refresher
on
using
the
printer.
Please
refer
to
the
User
Manual
for
a
more
in
‐
depth
guide
to
the
printer.
B e f o r e P l u g g i n g I n t h e P r i n t e r . . .
After
completing
the
build,
verify
all
the
printer
wires
are
properly
plugged
in.
Use
the
electronics
wiring
diagram
in
the
build
manual
to
double
check
the
wires.
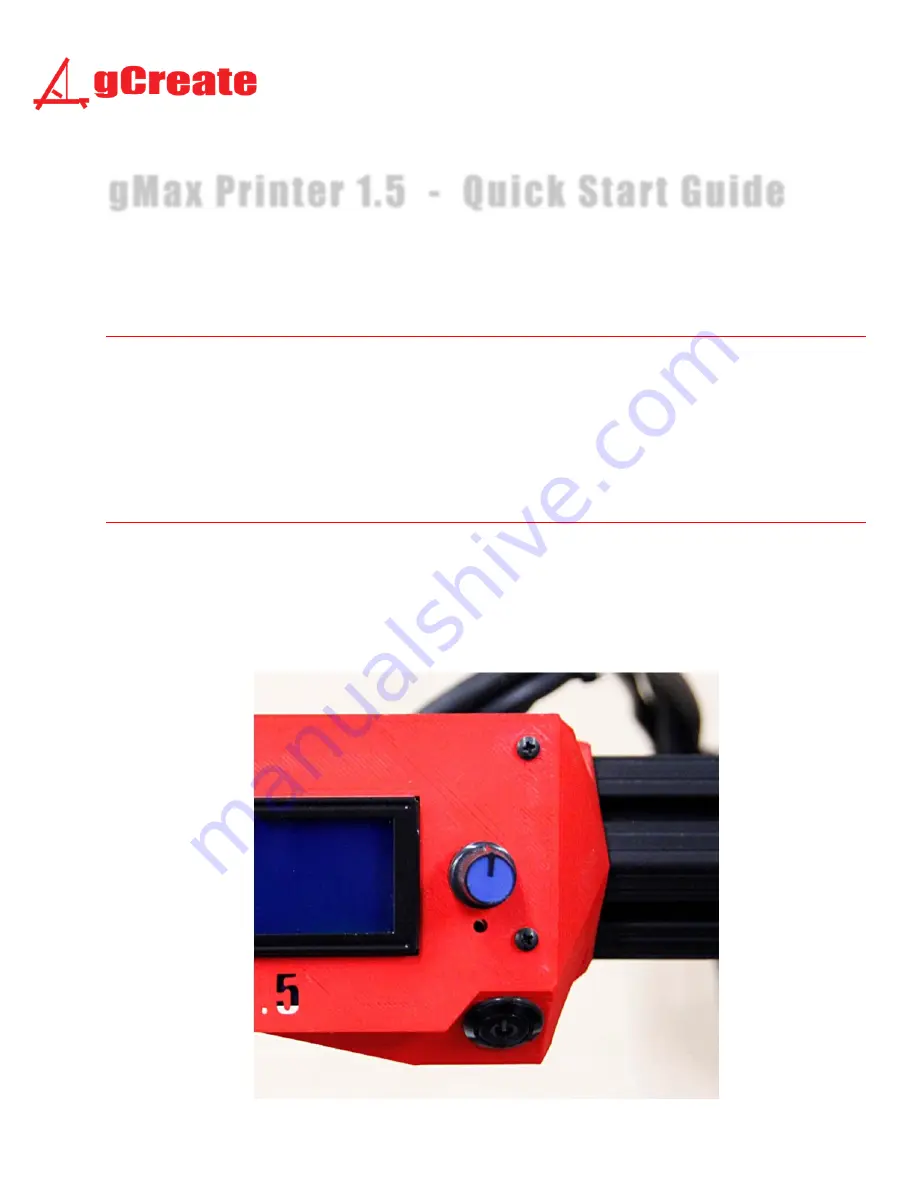
1.
Along
with
your
kit
you
should
have
received
a
small
plastic
knob
which
slips
onto
the
metal
stud
on
the
LCD
screen.
Install
this
knob
onto
the
metal
stud.


