5-68
L30 Line Current Differential System
GE Multilin
5.2 PRODUCT SETUP
5 SETTINGS
5
b) USER DISPLAY 1 THROUGH 16
PATH: SETTINGS
PRODUCT SETUP
USER-DEFINABLE DISPLAYS
USER DISPLAY 1(16)
Any existing system display can be automatically copied into an available user display by selecting the existing display and
pressing the ENTER key. The display will then prompt
ADD TO USER DISPLAY LIST?
. After selecting “Yes”, a message indi-
cates that the selected display has been added to the user display list. When this type of entry occurs, the sub-menus are
automatically configured with the proper content – this content may subsequently be edited.
This menu is used to enter user-defined text and user-selected Modbus-registered data fields into the particular user dis-
play. Each user display consists of two 20-character lines (top and bottom). The tilde (~) character is used to mark the start
of a data field – the length of the data field needs to be accounted for. Up to five separate data fields can be entered in a
user display – the
n
th tilde (~) refers to the
n
th item.
A user display may be entered from the faceplate keypad or the EnerVista UR Setup interface (preferred for convenience).
The following procedure shows how to enter text characters in the top and bottom lines from the faceplate keypad:
1.
Select the line to be edited.
2.
Press the decimal key to enter text edit mode.
3.
Use either VALUE key to scroll through the characters. A space is selected like a character.
4.
Press the decimal key to advance the cursor to the next position.
5.
Repeat step 3 and continue entering characters until the desired text is displayed.
6.
The HELP key may be pressed at any time for context sensitive help information.
7.
Press the ENTER key to store the new settings.
To enter a numerical value for any of the five items (the
decimal form
of the selected Modbus address) from the faceplate
keypad, use the number keypad. Use the value of “0” for any items not being used. Use the HELP key at any selected sys-
tem display (setting, actual value, or command) which has a Modbus address, to view the
hexadecimal form
of the Modbus
address, then manually convert it to decimal form before entering it (EnerVista UR Setup usage conveniently facilitates this
conversion).
Use the MENU key to go to the user displays menu to view the user-defined content. The current user displays will show in
sequence, changing every four seconds. While viewing a user display, press the ENTER key and then select the ‘Yes”
option to remove the display from the user display list. Use the MENU key again to exit the user displays menu.
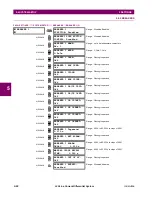
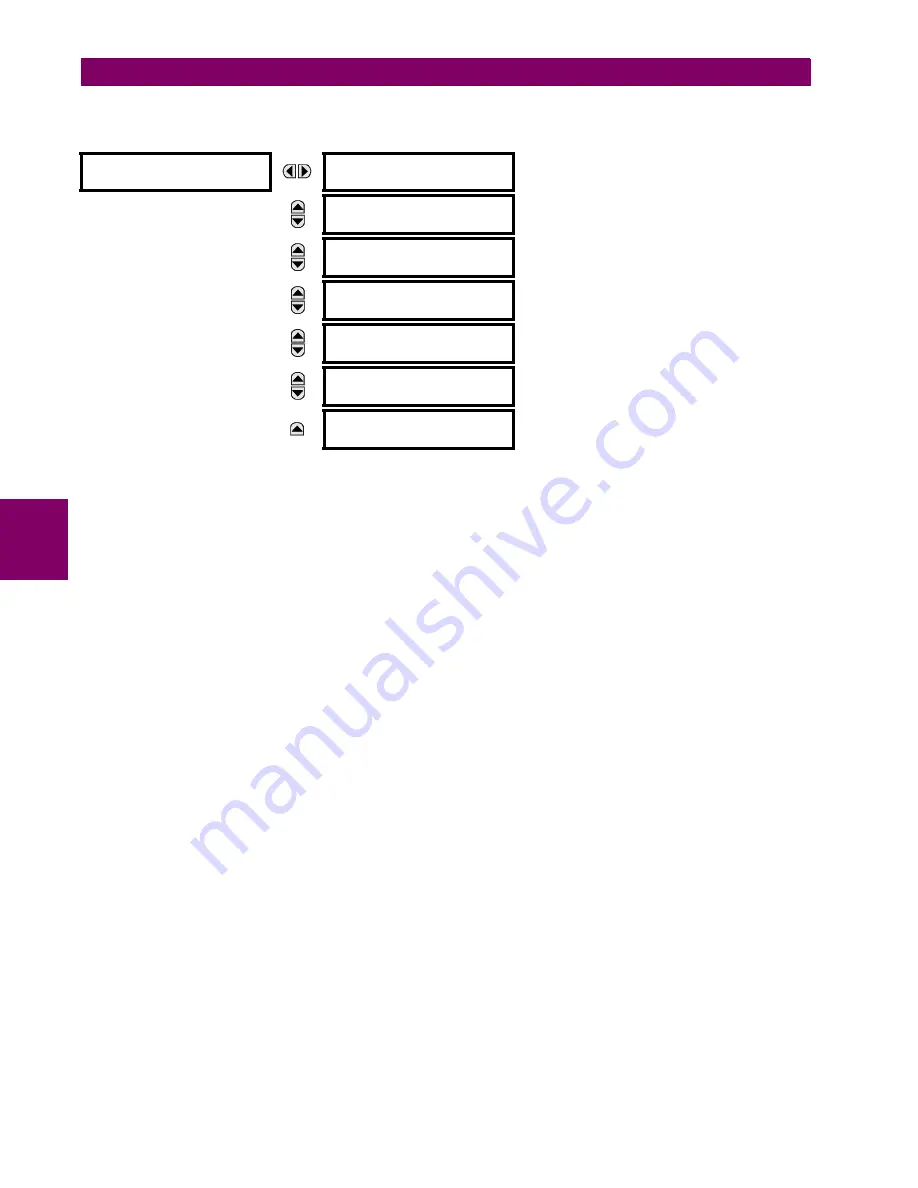
USER DISPLAY 1
DISP 1 TOP LINE:
Range: up to 20 alphanumeric characters
MESSAGE
DISP 1 BOTTOM LINE:
Range: up to 20 alphanumeric characters
MESSAGE
DISP 1 ITEM 1
0
Range: 0 to 65535 in steps of 1
MESSAGE
DISP 1 ITEM 2
0
Range: 0 to 65535 in steps of 1
MESSAGE
DISP 1 ITEM 3
0
Range: 0 to 65535 in steps of 1
MESSAGE
DISP 1 ITEM 4
0
Range: 0 to 65535 in steps of 1
MESSAGE
DISP 1 ITEM 5:
0
Range: 0 to 65535 in steps of 1
Summary of Contents for L30
Page 10: ...x L30 Line Current Differential System GE Multilin TABLE OF CONTENTS ...
Page 30: ...1 20 L30 Line Current Differential System GE Multilin 1 5 USING THE RELAY 1 GETTING STARTED 1 ...
Page 370: ...5 244 L30 Line Current Differential System GE Multilin 5 10 TESTING 5 SETTINGS 5 ...
Page 464: ...A 10 L30 Line Current Differential System GE Multilin A 1 PARAMETER LISTS APPENDIX A A ...
Page 600: ...C 30 L30 Line Current Differential System GE Multilin C 7 LOGICAL NODES APPENDIX C C ...
Page 610: ...D 10 L30 Line Current Differential System GE Multilin D 1 IEC 60870 5 104 APPENDIX D D ...
Page 622: ...E 12 L30 Line Current Differential System GE Multilin E 2 DNP POINT LISTS APPENDIX E E ...
Page 634: ...F 12 L30 Line Current Differential System GE Multilin F 3 WARRANTY APPENDIX F F ...
Page 644: ...x L30 Line Current Differential System GE Multilin INDEX ...


