Customer Service
Troubleshooting T
ips
Operating Instructions
Safety Instructions
Installation Instructions
19
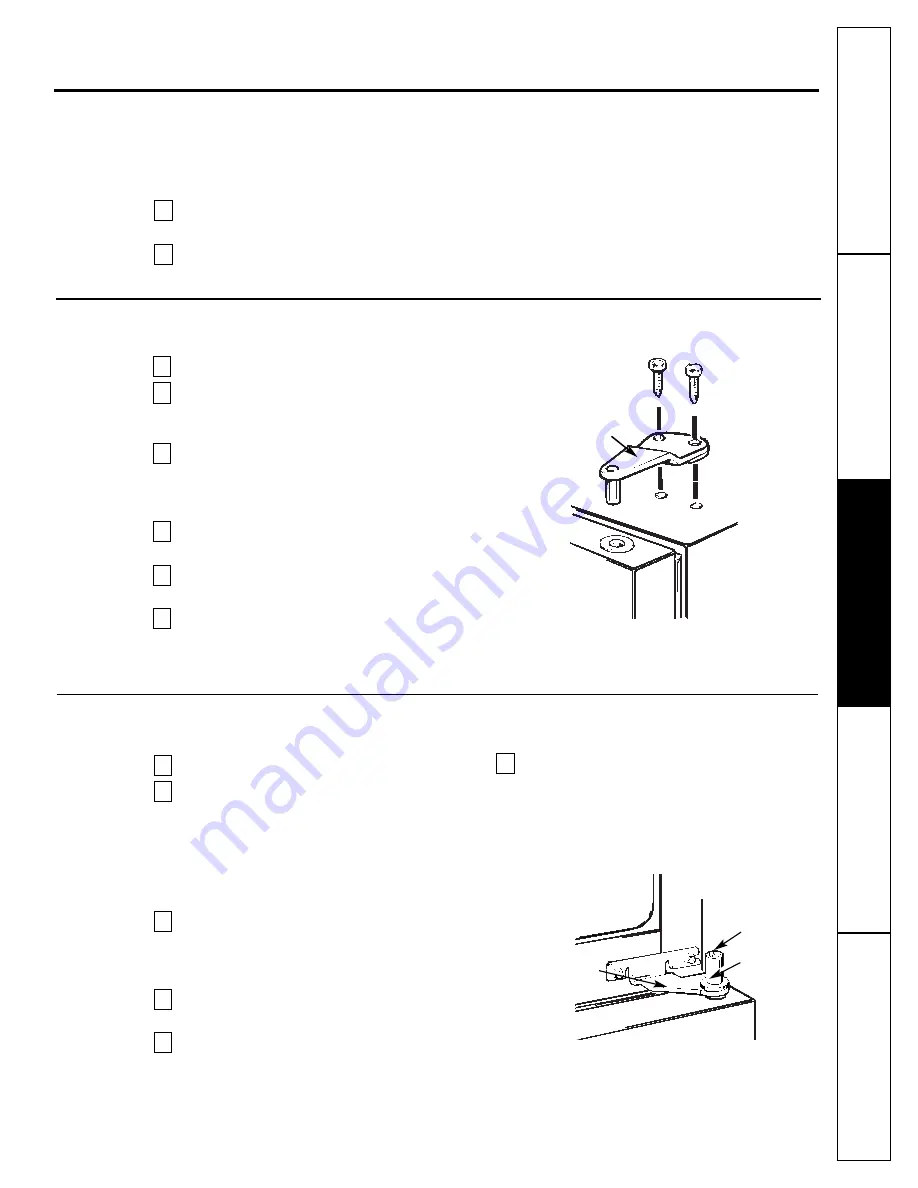
Remove the Fresh Food Door
Tape the door shut with masking tape.
Using a 5/16
″
hex-head socket screwdriver
and a 5/16
″
open-end wrench, remove the
two screws holding the center hinge (and the
shim glued to it) to the cabinet. Lift the
center hinge to free its pin from the socket in
the top of the door, and set hinge and screws
aside.
Remove the tape and tilt the door away from the
cabinet. Lift the door from the pin in the bottom
hinge bracket. (If the plastic washer sticks to the
door bottom, put it back on the hinge.)
Set the door outside-up on a non-scratching
surface.
Using a Torxdriver, transfer the two screws from
the opposite side of the cabinet to the screw
holes vacated by the center hinge removal.
Take one of the screws removed in step 2 and
start it in the outermost screw hole on the
opposite side. Do not drive it all the way down—
leave enough space under the screw head for
thickness of shim and bracket.
6
5
4
3
2
1
Removing the doors.
Remove the Freezer Door
Tape the door shut with masking tape.
With a 5/16
″
hex-head socket driver, remove
the screws that hold the top hinge to the
cabinet.
Lift the hinge (and the shim glued to it)
straight up to free the hinge pin from the
socket in the top of the door and set it aside,
along with its screws.
Remove the tape and tilt the door away from
the cabinet. Lift it off the bottom socket.
Set the door on a non-scratching surface with
the outside up.
Using a Torxdriver, transfer the 2 screws
from the opposite side of the cabinet to the
screw holes vacated by the top hinge removal.
6
5
4
3
2
1
Top Hinge
Plastic Washer
Hinge Pin
Removing the Doors
Unplug the refrigerator from its electrical
outlet.
Empty all door shelves, including the dairy
compartment.
CAUTION:
Do not let either door drop to the
floor. To do so could damage the door stop.
2
1
Center Hinge Bracket
Read these instructions completely and carefully.


