background image

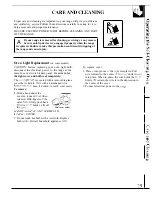
Lift-Off 

 Door

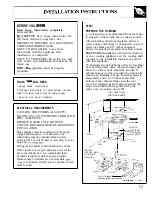
 oven door is removable,

 it   heavy. You may need


 and replacing the


 the door by the

handle. 

 can 


 cause 


To remove  the door, 

 it 


   the 

 stop


 will hold 

 door


 on 


and     

 door 

 up and

 the 


 careful 


 between 


 the oven door 

   the hinge 


 fingers.

 replace the door, make sure the hinges are in the

   stop position. Position 


 in the bottom

of the door 


 the hinges. Then 

 the


 and 

 over both 

   the same

   hinges 


 against 

 oven 

 pull


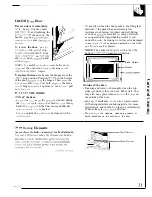
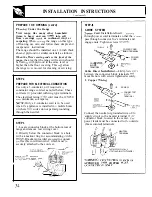
 THE DOOR:

 of’ the door:


 the 

 ins 

 the 

 is cleaned during

the 


 cycle. you 

 not need to 

 this 

hand Any 


 on the liner causes additional


     is heated.


 outside the 


 be cleaned with 


 Heating 

Elements


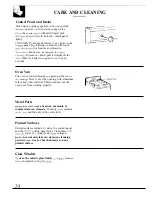
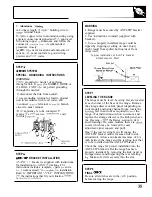
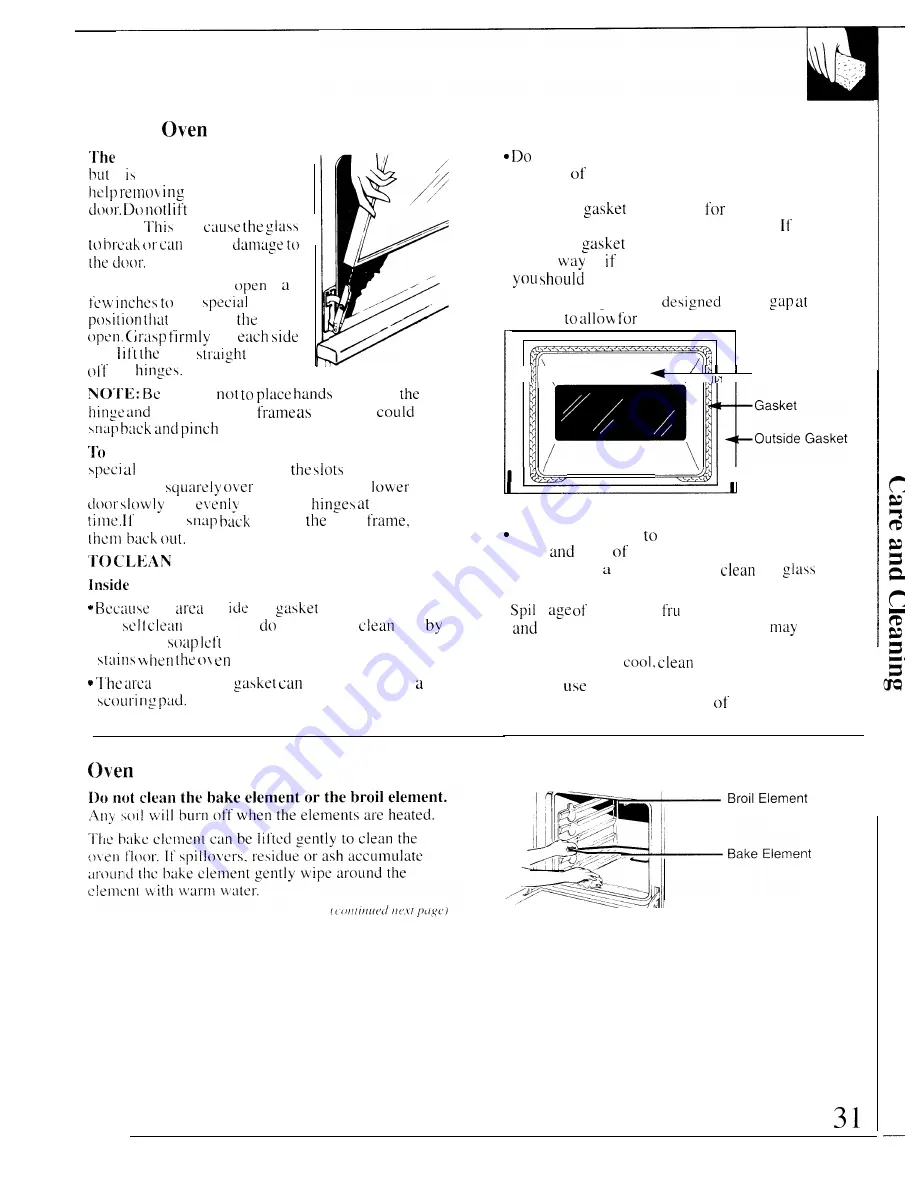
 not rub or clean the door gasket—the fiberglass

material   the gasket has an extremely low
resistance to abrasion. An intact and well-fitting
oven door 

 is essential 

 energy-efficient

oven operation and good baking results.   you
notice the 

 becoming worn, frayed or damaged

in any 

 or   it has become displaced on the 

door.


 have 

it replaced.

NOTE: The gasket is 

 with a 

   the

bottom   


 proper-air circulation.


I   \

 I I

Inside Gasket

 II

Outside of’ the door:

 Use soap and water   thoroughly clean the top.

sides 

 front   the oven door. Rinse well. You

may also use   glass cleaner to 

 the 

 on

the outside of the door.

● 

 1 

   marinades, 

 it j u ices. tomato sauces

 basting materials containing acids 

 cause

discoloration and should be wiped up immediately.
When surface is 


 and rinse.

● 

Do 

not 

 oven cleaners, cleansing powders or

harsh abrasives on the outside 

 the door.

.——.—..

Summary of Contents for 164 D2966P073

Page 1: ...1 Cooktop Comparison 8 Control Settings 8 9 Cookware Tips 9 10 Surface Cleanlng 12 Care and Cleaning 29 32 Anti Tip Device 29 klw iiia o Problem Solver 36 37 Thermostat Adjustment Dolt Yourself 20 Mor...

Page 2: ...QuickSet Self CIean Oven Controls Safety Features Big iew Window on some models o ArI exclusive f eature t rom GE the b i Q w nd w makes it easy to check baking progres u ith ut opening the door Quest...

Page 3: ...on the door kick pane or storage drawer or cooktop They could damage the range and even tip it over causing severe personal injury Do not store flammable materials in an oven m near the cooktop AWARN...

Page 4: ...remote possibility that trichina may be present in the meat it will be killed and the meat will be safe to eat Oven Stand away from the range when opening the oven door Hot air or steam which escapes...

Page 5: ...range without extending over the nearby surface units Always turn the surface units off before removing cookware Keep an eye on foods being fried at high or medium high heat settings When fIaming foo...

Page 6: ...FEATURES OF YOUR RANGE Not all features are on all model o 0 e o 0 e L L LI L 1 JBP65 JBP75 JBP76 JBP77 JBP78 Broiler Pan and Grid 6...

Page 7: ...arlirlg OII y 23 26 27 7 Hot Surface Indicator Lights I 8 8 Radiant Surface Units I 3 5 8 12 9 Surface nit Control Knobs I 8 9 30 10 Oven I ight Switch I 15 11 4 UTOMAT1C OVEN Light I 13 18 I 13 14 13...

Page 8: ...Ieats by direct contact with the pan tind by heating the air under the pan For best cooking results use good quality pans Electric coils are more forgiving of warped pans than radiant or solid disks...

Page 9: ...the selected heat setting With poor cookware you will see frequent cycling of the unit off and on Good ilat cookware will minimize the cycling See the Surface Cookware Tips section Q It is safe to pla...

Page 10: ...ss How to Check Pan Performance Use Of correct cookware can affect the cooking performance and cleaning of your cooktop The correct cookware reduces the temperature of the cooktop surface and mirri ni...

Page 11: ...oil w iter or heat be careful when canning RIGHT WRO G NOTE If your house has low voltage canning may take ongcr than expected even though directions mm ha e been careiully followed The process time w...

Page 12: ...the surface of your cooktop not covered by the warranty unless Ihe spill is removed while still hoi Special care should be taken when removing hot substances Follow these instructions carefully and re...

Page 13: ...4 AUTOMATIC OVEN Light Thii li his m ti ne the o en has been programmtxl 5 1 IME DISPLAY Shows the time t i day and the times set for the timer on automatic o en oper ations set times LIp to 11 hours...

Page 14: ...once To ancel the timer pre s If the remaining time is not in the display recall the the TIMER 01 4 OFF pad again remaining time by pressing the TIMER ON OFF pad and then press ing the HO J R and M 1...

Page 15: ...ed correctl on the shelf supports they will stop bef ore coming completely out from the o Jen and will not tilt when remoy ing food from or placing food on them To replace place the shelf on the shelf...

Page 16: ...Shelves Arrange the oven shelf or shelves in Type of Food Shelf Position the desired locations while the oven is o 0 cool The correct Q shelf position depends on the kind o of fmxiand the browning des...

Page 17: ...king cookies flat cookie sheets without sides produce better looking cookies Cookies baked in a jelly roll pan short sides all around may have darker edges and pale or light browning may occur Do not...

Page 18: ...will turn on The display will show the correct position before you turn the oven on Cook Time remaining When the oven reaches the The oven will turn on immediately and cook for a set temperature a to...

Page 19: ...t a temperature of 325 F At the end of the 3 hour cooking time 7 00 the oven will automatically turn off When the oven automatically turns off the AUTOMATIC OVEN light will flash and the oven will sig...

Page 20: ...pads for 5 seconds until the display changes Immediately before display changes back press the HOUR INCREASE or DECREASE pads to increase or decreaw the temperature in 5 degree increments We do not re...

Page 21: ...tinue to cook in the hot oven and therefore should be remo ed when the desired internal temperature has been reached 1 Place the shelf in A or B position No preheating 3 Turn the Oven Temperature knob...

Page 22: ...ut al owr to 2S minutes per Unthawed poultry often does not cook evenly Some pound additional time 10 minuks per pound for commercial frozen poultry can be cooked successfully roasts Lmder 5 pounds mo...

Page 23: ...d the foil ti ghtlv to the grid and cut slits in it just like the grid J Without the slits the foil will prevent fat and meat juices from draining to the broi er pan The juices could become hot enough...

Page 24: ...g is recommended Slash fat Ral e Medium Well Done 1 inch thick 2 to 2 Ibs c c c Chicken 3 35 1 15 Reduce time abou 5 to 10 minutes per side for cut up chicken J3ru h each side with melted butter Broil...

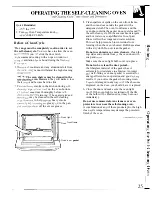
Page 25: ...r outside the gasket with a dampened cloth The oven front frame and the oven door outside the gasket do not get cleaned by the self clean cycle On these areas use detergent and hot water or a soap fil...

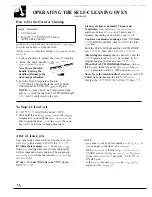
Page 26: ...O ren Temperature knob must be returned to their original positions before you can usc the o cn When the LATCH DOOR light flashes s ide the latch handle to the left as far as it ill go turn the Okren...

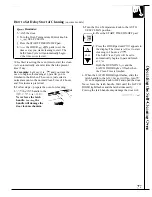
Page 27: ...the oven for cleaning 2 Slide the latch handle to the right as far as it w ill go Never force the latch handle Forcin the s 3 Turn the Oven Temperature knob to the AUTO SELF CLEAN position 4 Press th...

Page 28: ...e first few clean inss Failure to wipe out excessive soil might al w cause a strong odor when clean ir g What causes the hair like lines on the enameled surface of my oven Thi is a normal condition re...

Page 29: ...ace it into groove of the light receptacle Pull main fuse or circuit breaker panel Be sure to let the light cover and bulb cool completely wire forward to the center of the cover until it naps into pl...

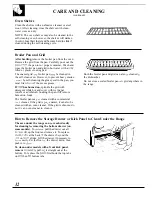
Page 30: ...not soak Oven Vent The oven is vented through an opening at the rear of he cooktop Never cover the opening with aluminum foil or any other material This would prevent the oven vent from working proper...

Page 31: ...left on the liner causes additional it lir s w hen the en is heated 9 1 hc area outside the ga ket can be cleaned with a wouri pxi Oven Heating Elements c Do not rub or clean the door gasket the fiber...

Page 32: ...ith detergent while hot and cover with wet paper towels or a dishcloth Soaking the pan will remove burned on foods The broiler pan may be cleaned with a commercial o en cleaner If the grid is grey ena...

Page 33: ...ed that a licensed electrician install an approved outlet Because range terminals are not accessible after range is in position flexible service conduit or cord must be used STEP 1 PREPARE THE OPENING...

Page 34: ...or where local codes do not permit grounding through the neutral STEP 3 1 Locate connector block at the bottom rear of range and remove rear wiring cover 2 Directly below the connector block is a hol...

Page 35: ...fore b ginning installation WARNING 1 Range must be secured by ANTI TIP bracket supplied 2 See instructions to install supplied with bracket 3 Unless properly installed range could be tipped by steppi...

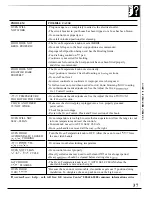
Page 36: ...ITH ELECTRICAL CIRCUITS If after performing one of these procedures the fuse blows or circuit breaker trips again call for service NOTE Apartment tenants or condominium owners should ask their bui din...

Page 37: ...il tent was not used when needed to S1OW down browning dui ing roasting Oven thermostat needs adjustment See the Adjust the Oven Thermostat Do it Yourself section Oven thermostat needs adjustment See...

Page 38: ...er o service you receive here are 3 steps to follow for lManager Consumer Relations GE Appliance further help Appliance Park FIRST contact the people who serviced your Louisville KY 40225 appliance Ex...

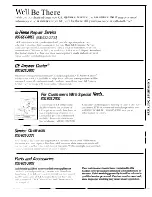
Page 39: ...the assurance that if you ever t eecl i di rmation or assistance ix In X MTe H be there All you have to do is caH toll kee Home Repair Seruice 800 GEXARES 800432 2737 GEAnswer Center 801162ti2000 L F...

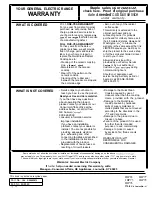
Page 40: ...caused by use of Read your Use and Care material If you then have any questions about operating the product please contact your dealer or our Consumer Affairs office at the address below or call toll...

Reviews: