


merchantability or fitness for a particular purpose on this product is limited to the applicable warranty period set forth
above.
How state law relates to this warranty:
• Some states do not allow the exclusion nor limitation of incidental or consequential damages, or limitations on how
long an implied warranty lasts so the above limitations or exclusions may not apply to you.
• This warranty gives you specific legal rights, and you also may have other rights that vary from state to state.
If you purchased your product outside the USA:
• This warranty does not apply. Contact your dealer for warranty information.
Instructions For Optional/Additional Handset(s)_____
This phone is EXPANDABLE up to a total of 6 handsets (by additional purchase of the optional Model 28002 handset with
charge cradle).
IMPORTANT: If you have purchased an extra handset apart from your original purchased unit you may find
a detailed description of its functions in the User’s Guide provided with your original purchased unit.
If you have purchased an extra handset that is not of the same type as your original handset you may still
use the original User’s Guide to help explain the new handsets basic functions and options.
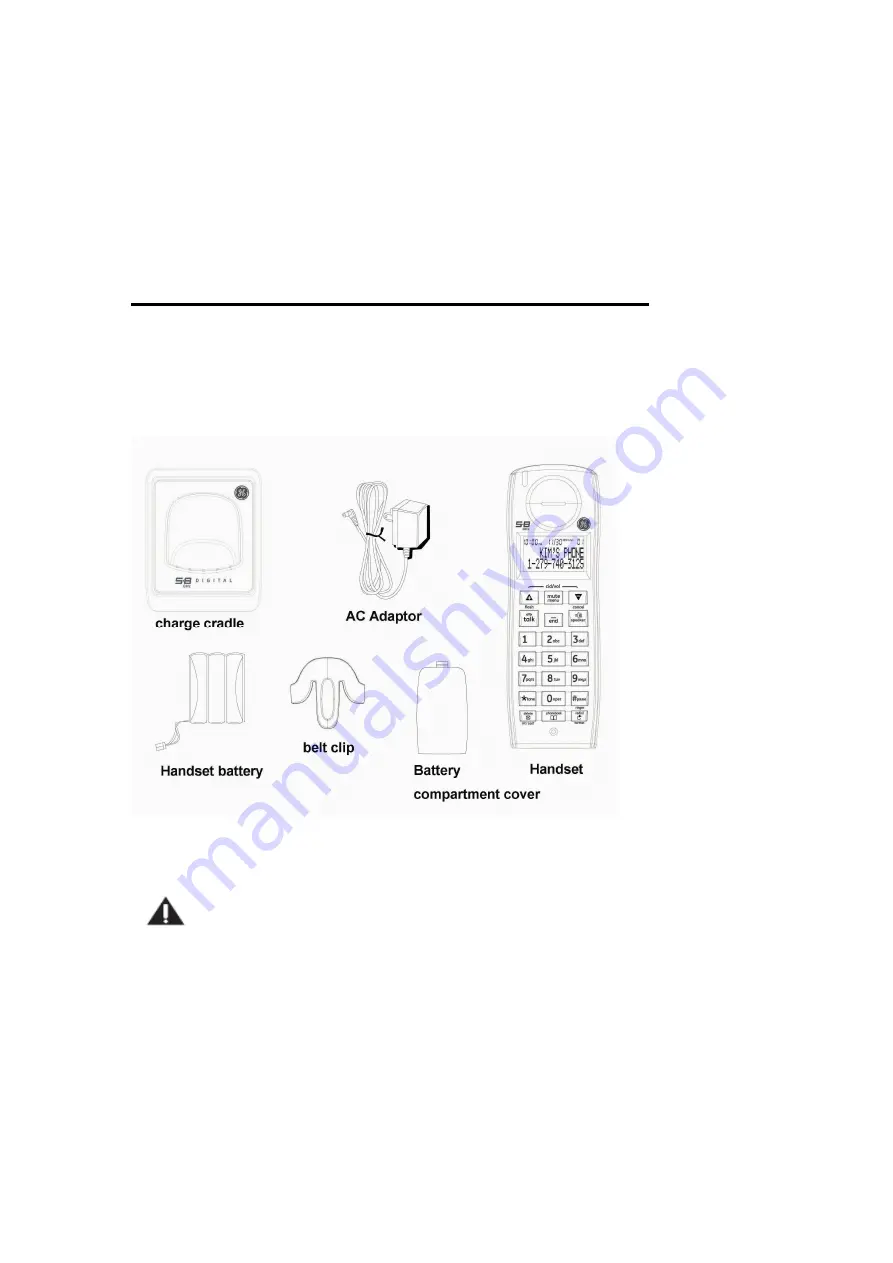
Parts Checklist
Make sure your package includes the items shown here.
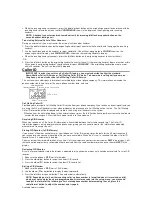
Installing the Handset Battery
NOTE: You must connect the handset battery before use.
CAUTION: To reduce the risk of fire or personal injury, use only the Thomson Inc. approved model
5-2721 Nickel-metal Hydride battery (Ni-MH), which is compatible with this unit.
1. Locate battery and battery door which are packaged together inside a plastic bag and are separate from the handset.
2. Locate the battery compartment on the back of the handset.
3. Plug the battery pack cord into the jack inside the compartment.
NOTE: To ensure proper battery installation, the connector is keyed and can be inserted only one way.
4. Insert the battery pack.
5. Close the battery compartment by pushing the door up until it snaps into place.
Extra Charging Cradle
1. Plug the AC power converter of the extra charging cradle into the electrical outlet.
2. Place the handset in the extra charging cradle. The charge indicator turns on, verifying the battery is charging.


