12
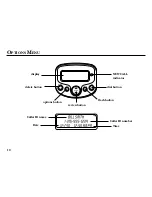
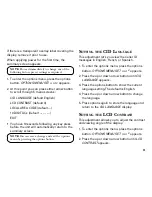
3. Press the options button to show the current
contrast setting. There are 5 levels of contrast,
with the default set to 3.
4. To decrease the contrast, press the down arrow
button. To increase, press the up arrow button.
5. Press options again to store the contrast setting
and return to the
LCD CONTRAST display.
S
ETTING
THE
L
OCAL
A
REA
C
ODE
The Caller ID unit uses the programmed area
code to determine the number format to display
when a valid Caller ID signal is received. The
programmed area code is also used for the Dial
Back feature.
1. To enter the options menu, press the options
button.
OPTIONS MENU SET
^
or v appears.
2. Press the up or down arrow button until
LOCAL
AREA CODE appears.
3. Press the options button to show the current
local area code. The default is ---. The first digit
flashes, indicating it is ready to accept the area
code entry.
4. Press the down arrow button to choose 9-0 for
the first digit.
5. When the desired number is flashing, press the
up arrow button to advance to the next digit.
6. Repeat steps 4 and 5 until all the digits for your
area code are correct.
7. Press options again to store the local area code
and return to the
LOCAL AREA CODE display.
NOTE:
If you make a mistake while setting the local
area code, you can delete the displayed area code
by pressing the delete button.
S
ETTING
THE
10-
DIGIT
R
EGIONAL
A
REA
C
ODES
Depending on your telephone company and your
location, it may be required that you dial a
10-digit number (area code + local number) to
complete some calls. You can store up to six 10-
digit regional area codes in this unit.
1. To enter the options menu, press the options
button.
OPTIONS MENU SET
^
or v appears.


