5 Setups, alignments and adjustments
32551-IMG rev 6
GE Healthcare
85
5.2.17
Thickness compensation adjustment
1
Notice the
exposure time
,which has the correct O.D. from the
previous O.D vs. exposure time graph.
Exposure time _______________ This value is ‘P’
2
Notice the
O.D.
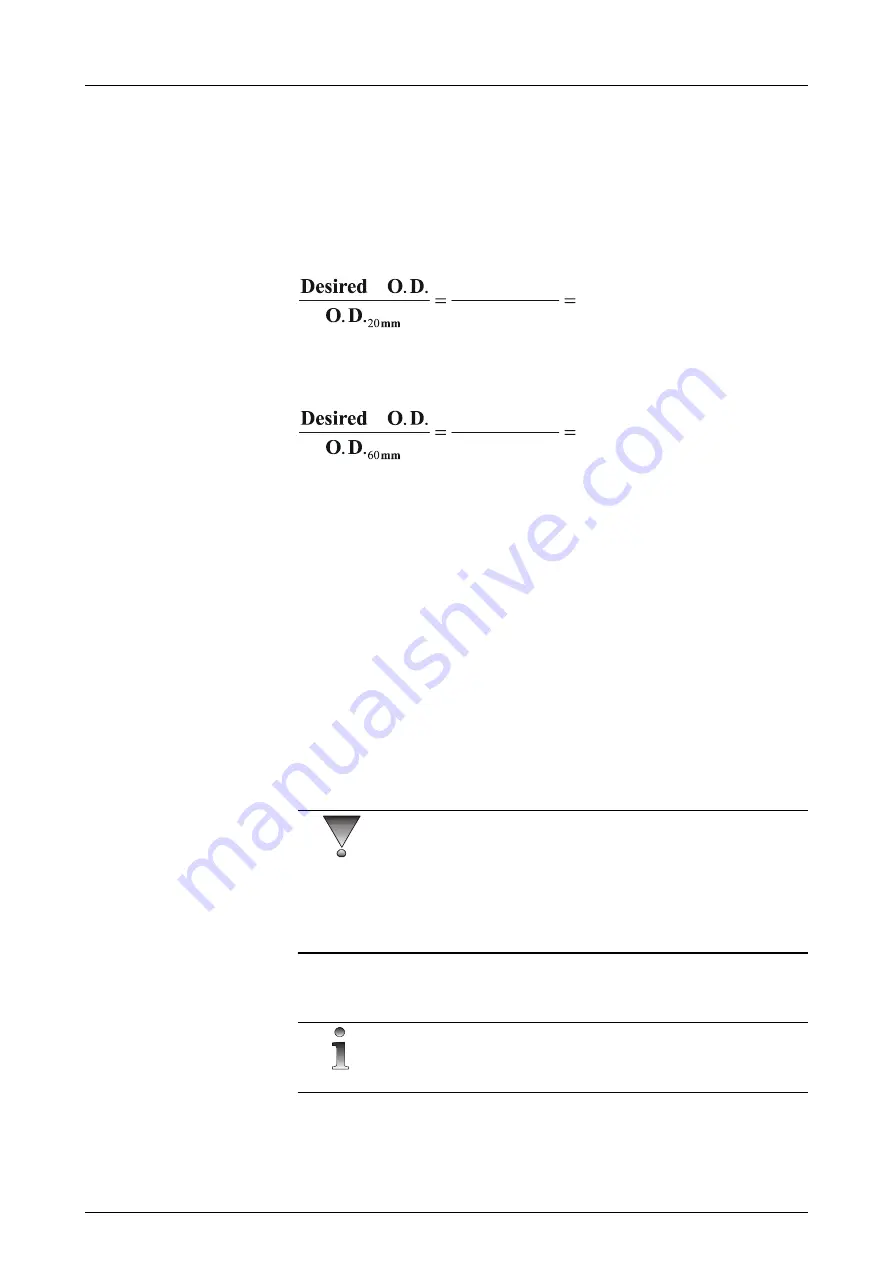
for the shorter exposure time (for example the 20
mm Acrylic exposure time) from the above graph. Divide the desired
O.D. with this value.
This value is ‘r1’
3
Notice the O.D. for the longer exposure time (for example the 60 mm
Acrylic exposure time) from the graph. Divide the desired O.D. with
this value.
This value is ‘r2’
4
Enter the #64 AEC program. Press
kV+
until the thickness
compensation parameter ‘
c
’ is reached. Press
autorel
to scroll ‘
P
’ in
the kV display.
5
Enter the
exposure time
, which has the correct O.D. from the
calculation to ‘
P
’ for ‘rotation Point’ by pressing
Den+/-
. This is the
exposure time which is not affected by thickness compensation (=the
rotation point).
6
Press
Autorel
to scroll the ‘
r1
’ parameter in the kV display. Use
Den+/
-
buttons to change the value. This parameter gives the amount of
rotation at exposure times shorter than the rotation point ‘P’. For
example if the short exposure has 12% too dark, a density enter 0.88
for ‘r1’.
7
Press
Autorel
for the ‘
r2
’ parameter. Use
Den+/-
buttons to change
the value. This parameter gives the amount of rotation at exposure
times longer than the rotation point ‘P’. For example, if the long
exposure has 12% too light a density enter 1.12 for ‘r2’.
CAUTION!
Perform the thickness compensation with both filters (Mo/Rh) and all
cassette tunnels (Bucky/cassette holder/magnification tunnel) separately.
DO NOT change the gain parameter anymore. Use the density correction
(in Pr mode) to bring O.D. to same level with other filter/cassette holder
combinations.
Fine tuning of the thickness compensation
NOTE!
Fine tuning is optional and may only have minor effect to compensation.
Summary of Contents for Alpha RT 32551
Page 1: ...GE Healthcare Alpha RT Installation Instructions 32551 IMG rev 6 0459 ...
Page 2: ......
Page 4: ......
Page 42: ...3 Installation 36 GE Healthcare 32551 IMG rev 6 ...
Page 51: ...4 Alpha RT softstart procedure 32551 IMG rev 6 GE Healthcare 45 Fig 4 10 Inverter board ...
Page 52: ...4 Alpha RT softstart procedure 46 GE Healthcare 32551 IMG rev 6 ...
Page 71: ...5 Setups alignments and adjustments 32551 IMG rev 6 GE Healthcare 65 Fig 5 2 Magnetic brake ...
Page 94: ...5 Setups alignments and adjustments 88 GE Healthcare 32551 IMG rev 6 ...
Page 96: ...6 Alpha RT installation step by step 90 GE Healthcare 32551 IMG rev 6 ...
Page 97: ......
Page 98: ......


