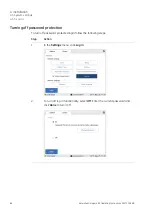
Action
Step
Connect the network cable to the Ethernet port on Amersham Imager 680.
1
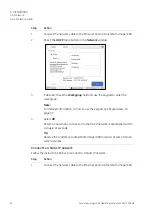
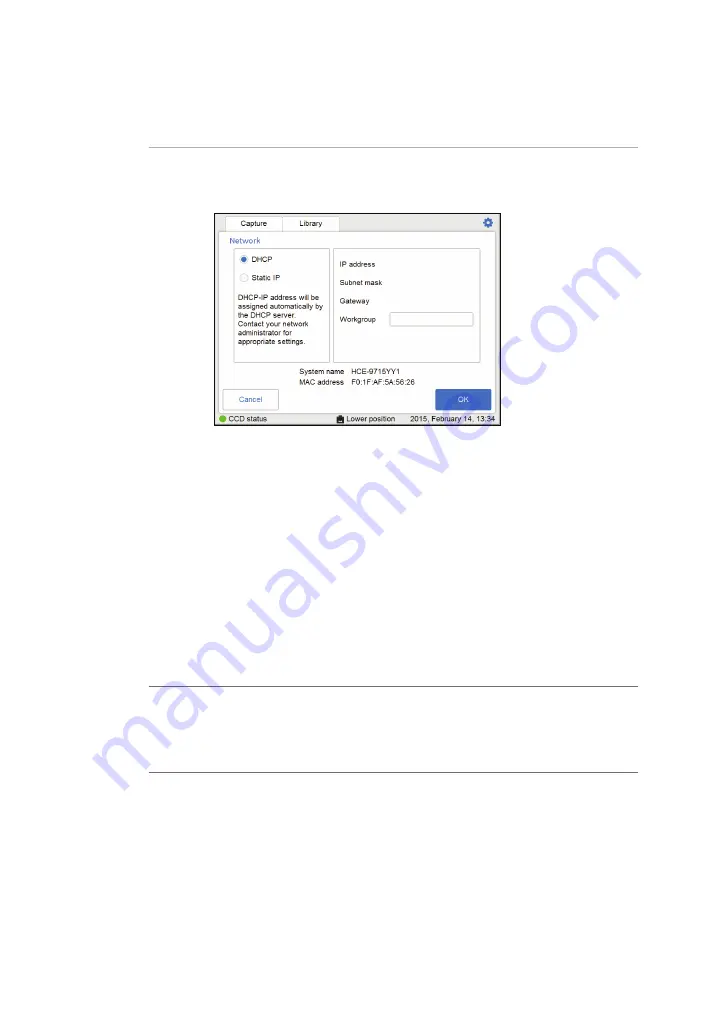
Check the DHCP radio button in the Network window.
2
If desired, check the Workgroup field and use the keypad to enter the
workgroup.
Note:
For detailed information on how to use the keypad, see Keypad view, on
page 67.
3
Select OK.
4
Result: An automatic connection to the DHCP network is established within
a couple of seconds.
Tip:
Reserve the IP address to Amersham Imager 680 for easier access of its net-
work resources.
Connect to a Static IP network
Follow the instructions below, to connect to a Static IP network:
Action
Step
Connect the network cable to the Ethernet port on Amersham Imager 680.
1
92
Amersham Imager 680 Operating Instructions 29271308 AB
4 Installation
4.4 Network
4.4.1 Network setup

