1-11
!"$%" "$##
! $# " $ $ "' ! %#$$ " $
"$' $ $ ! $# "$## #
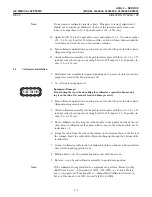
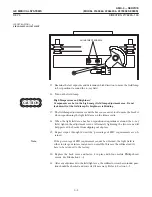
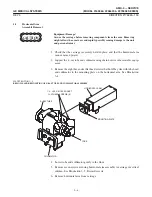
16. The field lamp adjustment area will be hot so use a metal tool to move the bracket
when repositioning the light field area on the film cassette.
17. When the light field area has been repositioned equidistant around the x-ray
field, tighten the adjustment screws. Alternately tightening the two screws will
help prevent the bracket from slipping out of place.
18. Repeat steps 1 through 16 until the percentage of SID requirements are obĆ
tained.
$
If the percentage of SID requirement cannot be obtained, the light field is
either too large or in rare instances too small. In this case the collimator will
have to be returned to the factory.
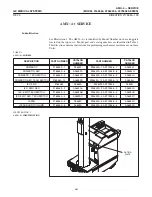
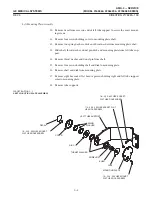
19. Replace the back cover and fasten it in place with four metric Phillips head
screws. See Illustration 1-7.
20. After any adjustment to the field light area, the collimator crosshair window posiĆ
tion should be checked and corrected if necessary. Refer to Section 1-5.
(
" ##" & %#$$
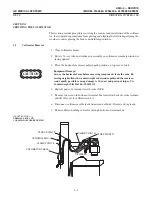
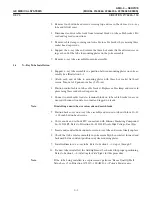
1. After any adjustment to the field light area the collimator crosshair window posiĆ
tion should be checked and corrected if necessary.
2. Place Light Field to X-Ray Field Test Pattern, 46-198466P1, directly under the
collimator. If the test pattern is not available use a sheet of rectangular paper and
draw a cross extending from exact center to each edge and parallel to the sides
of the sheet.
3. Turn on field lamp and adjust collimator blades so edges of light field are coinciĆ
dent with the rectangle on the test pattern or the sides of the paper sheet. This
may involve moving the test pattern or paper sheet.
4. Check the window crosshairs. The crosshairs must be within 1/4 inch of the patĆ
tern centerlines or cross (including the width of the crosshair shadow) over the
entire length of the crosshairs.
5. If the window crosshairs are not properly aligned, go to step 7. If the window
crosshairs are properly aligned, do not perform steps 7 through 9.
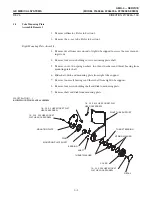
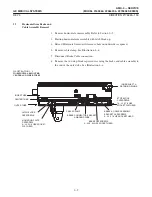
6. Loosen the four screws retaining the crosshair window in the bottom or exit side
of the collimator.
7. Gently slide the window until the crosshairs are aligned with the test pattern cenĆ
terlines or the cross on the paper.
8. Tighten the four screws retaining the crosshair window.
Summary of Contents for AMX 4+
Page 1: ...0 0 1 1 2 2...
Page 2: ......
Page 3: ...D D D D D D D D D D D D D D D D...
Page 4: ...D D D D D D D D...
Page 6: ...iv...
Page 8: ...vi...
Page 14: ...xii...
Page 18: ...xvi...
Page 32: ...1 14...
Page 48: ...3 14...
Page 84: ...5 10...
Page 106: ...7 12...
Page 112: ...8 6...
Page 116: ...9 4...
Page 131: ......
Page 132: ...3 2 2 1 0 3 5 0 2 0 4 0 2...

