


Operating Instructions
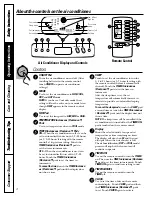
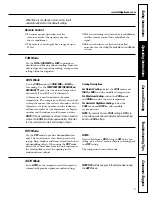
About the Controls
on the Air Conditioner . . . . . . . .4, 5
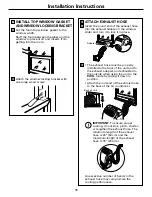
Drain Hose . . . . . . . . . . . . . . . . . .6
Remote Control . . . . . . . . . . . . .4–6
Water Bucket . . . . . . . . . . . . . . . . . .6
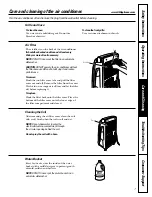
Care and Cleaning
Consumer Support
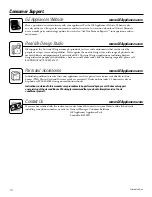
Consumer Support . . . . . . . . . . . .16
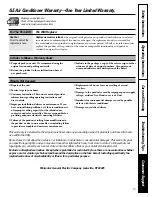
Warranty . . . . . . . . . . . . . . . . . . . .15
www.GEAppliances.com
49-7500-1
02-05 JR
Write the model and serial
numbers here:
Model #____________________
Serial # ____________________
You can find them on a label on
the back of the air conditioner.
A
ir
C
o
nd
it
ione
r
P
o
rt
able Room
APE07
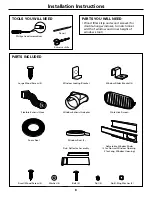
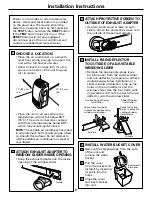
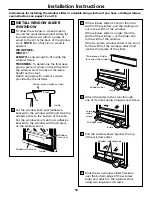
Owner’s Manual and
Installation Instructions


