ATS125x 4-Door DGP Installation Manual
13
Power-up procedure
When the installation is complete, ensure that the unit is addressed correctly using
DIP switches 1 to 4. Only addresses 1 to 12 are available.
Verify that the RAM memory in the ATS125x and the Advisor MASTER control panel is
the same.
On initial power-up, the LEDs on the 4-door DGP should indicate as follows:
• RST LED: OFF.
ATS system databus indicator LEDs:
• Rx1: Flashes if the ATS125x receives polling from the ATS control panel.
• Tx1: Off if the ATS125x is not addressed or is not programmed to be polled by the
control panel.
4-door DGP local databus indicator LEDs:
• Tx: Flashes when the ATS125x is polling remote devices (readers/interfaces) on the
local databus; TX should always be active.
• Rx: Flashing indicates remote devices reply to polling.
Setup procedure
The minimal setup only consists of those settings required to activate the DGP and
the connected RASs for programming.
1. Set addresses of RASs (readers or keypads) connected to the local databus of the
4-Door DGP.
2. In the Advisor MASTER control panel, installer programming (menu 19.4): DGP,
activate polling for the 4-Door DGP and set the DGP type.
How to access the ATS125x programming menu
Access to the Door programming menu is via the Advisor MASTER,
Installer menu 28,
“To remote devices”. When programming in the 4-door programming menu, you are
actually programming the ATS125x.
If you are denied access to “To remote devices”, it is because one or more of the
above hardware or programming criteria have not been met.
To access the menu:
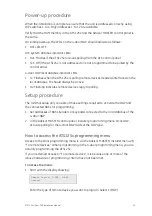
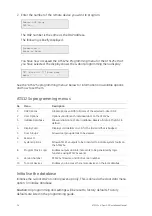
1. Start with the display showing:
Remote Device: 1-DGP, 2-RAS
Device:
Enter the type of remote device you want to program. Select 1 (DGP).


