14
ATS125x 4-Door DGP Installation Manual
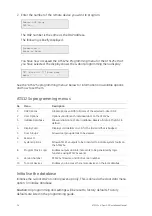
2. Enter the number of the remote device you want to program.
Remote DGP Setup
DGP No.:
The DGP number is the same as the DGP address.
The following is briefly displayed:
Connecting...
Enter to Abort
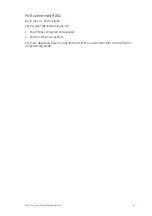
You have now accessed the ATS125x Programming menu for the ATS125x that
you have selected. The display shows the 4-door programming menu display:
"#" –Move On "*" Move back
Menu:
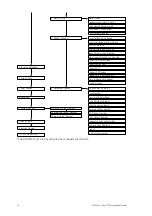
See the “ATS125x programming menus” below for information on available options
and how to set them.
ATS125x programming menus
No. Menu
Description
1.
DGP Options
Global options valid for all doors of the selected 4-door DGP.
2.
Door Options
Options valid for each individual door on the ATS125x.
3.
Initialise Database
Allows initialisation of door database. Resets all data in the DGP to
default.
4.
Display Card
Displays card details on LCD for the last card that is badged.
5.
Door Groups
Allows door group details to be viewed.
6. Reserved
7.
System Options
Allows ATS125x outputs to be activated to indicate system faults on
the ATS125x.
8.
Program Macro Logic
Enables outputs and internal events to be generated by logic
functions using ATS125x events.
9.
Version Number
ATS125x firmware and CPLD version number.
10.
To Local Devices
Enables you to access the remote devices on the local databus.
Initialise the database
Initialise the 4-door DGP on initial power-up only. This is done via the door data menu
option 3, Initialise database.
Caution:
All programming and settings will be reset to factory defaults. Factory
defaults are listed in the programming guide.

