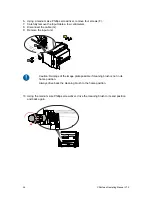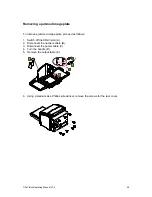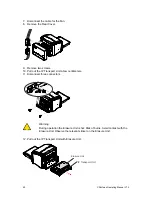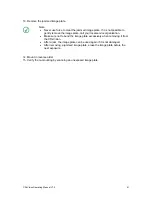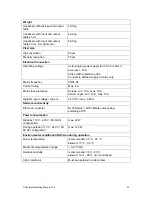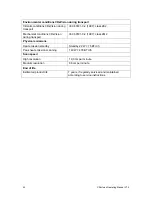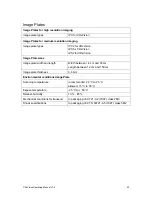
13. Remove the jammed image plate.
Note:
Never use force to clear the jammed image plate. If it is not possible to
gently remove the image plate, call your local service organization.
Make sure not to bend the image plate excessively when removing it from
the CRxVision.
After a jam, the image plate can be used again if it is not damaged.
After removing a jammed image plate, erase the image plate before the
next exposure.
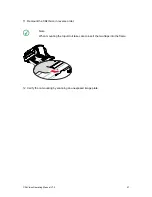
14. Mount in reverse order.
15. Verify the re-mounting by scanning an unexposed image plate.
CRxVision Operating Manual V1.2
41
Summary of Contents for CRxVision
Page 2: ...Table of Contents 2 CRxVision Operating Manual V1 2 ...
Page 5: ...1 Revision History CRxVision Operating Manual V1 2 5 ...
Page 7: ...2 Introduction to this Manual CRxVision Operating Manual V1 2 7 ...
Page 26: ...4 Getting started with the CRxVision 26 CRxVision Operating Manual V1 2 ...
Page 32: ...5 Operating the CRxVision 32 CRxVision Operating Manual V1 2 ...

