GE H
EALTHCARE
D
IRECTION
2307224-100, R
EVISION
6
D
ISCOVERY
LS S
YSTEM
S
ERVICE
M
ANUAL
Page 310
Chapter 11 - Replacement Parts
11.4.2 Accessories
11.5 Assembling the Covers
The assembly of the covers should be performed in the order detailed below. The numbers in
brackets refer to the
No.
and
. Assembly of the cover brackets
is described in the
Discovery LS Installation Manual, Direction 2317946-100, Chapter 8.
To assemble the covers:
1.) Install the Front Display (17) and Breathing Lights (18) inside the front cover, and connect the
electrical harnesses to the display board.
2.) Install the Front Controls (16) in the front cover (left and right), by pressing them into position.
Connect the electric harnesses to the controls.
3.) Install the Front Cover (1). Cover should be positioned on the front brackets on both CT sides.
4.) Lock the cover using the four locking bars, rubber levers, and two lockers.
5.) Install the CT-PET Tunnel Cover (7). During initial installation, adjusting the screws in the
brackets should enable clearance of 3-5 mm between the bracket and the PET Gantry.
a.) Move the PET Gantry toward the CT.
b.) While rotating the CT rotor, verify that the clearance between the CT rotor and the tunnel
at the CT FOV is uniform (~10 mm).
c.) Adjust the tunnel as necessary to maintain a uniform clearance between the tunnel and
the CT rotor during rotation of the rotor.
d.) Tighten the screws with Loctite® (red).
6.) Install the PET Top Cover (3).
7.) Move the PET from the service position to its final position, and fix it to the locking brackets.
8.) Install the CT Top Cover (2) by connecting the front ball studs to the front cover, and the vent
holes to the supporting brackets.
9.) Install the PET Cone Cover (15). Adjust the cover to ensure uniform clearance around it.
10.) Install the PET Right Rear Cover (14).
11.) Install the PET Left Rear Cover (13).
12.) Adjust Covers (13 and 14) together with the Cone Cover to ensure a good fit between all three.
13.) Install the Bottom Right Side Cover (6) and Bottom Left Side Cover (11).
14.) Install the PET Left Side Cover (4) and PET Right Side Cover (10). Covers should be placed
on the top pins, and pressed to connect the ball studs.
15.) Install the CT Left Side Cover (9) and CT Right Side Cover (5). Covers should be placed on
the top pins on the front cover. Lock the covers with an Allen key (2 for each).
16.) Install the Rear Bottom Cover (12). Lock the using an Allen key.
17.) Install the Front Center Cover (8). Press the cover towards the front cover and ensure proper
fit between the covers (ball studs locked).
18.) Install the CT and PET scan windows.
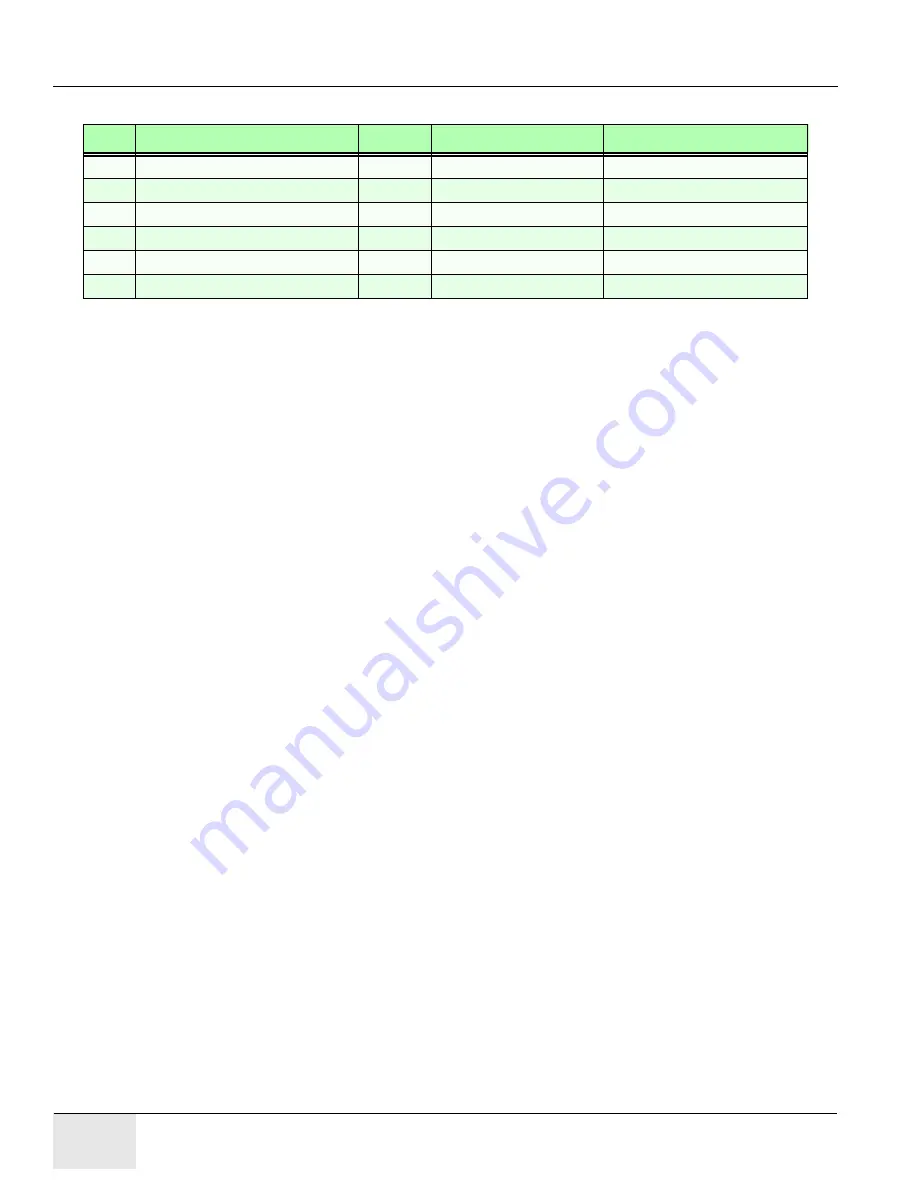
No.
Description
Quantity
Part Number
Comment
39
Wire Mesh
1
Air vent covers.
40
SouthCo Lock
6
41
SouthCo Key
2
42
Ball Stud Clip
12
43
Ball Stud
12
GEMS 2320261DDW
44
SouthCo Draw Latch
4


