DR60
87
DR60-TM-EN-
2A
4.1.1
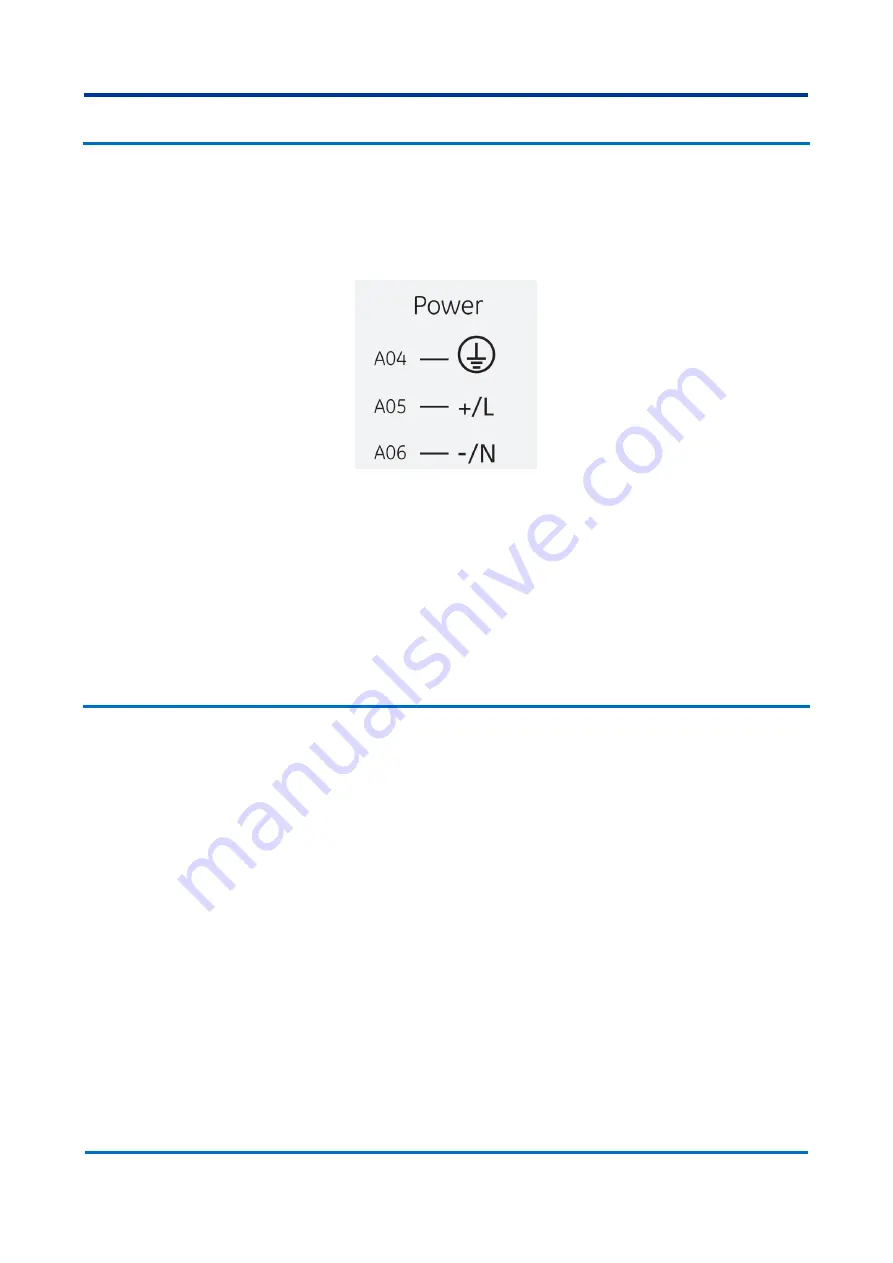
AC and DC Power Connection
Figure below shows the wiring diagram for the AC and DC power connection. Phase or
positive should be applied to terminal A05, neutral or negative to terminal A06, and
ground to terminal A04.
AC and DC power connection
For safety purposes, install a suitable external switch or circuit breaker in each current-
carrying conductor of DR60 power supply; this device should interrupt both the hot
(+/L) and neutral (-/N) power leads. An external 10 A, category C, bipolar circuit-breaker
is recommended. The circuit breaker should have an interruption capacity of at least 25
kA and comply with IEC 60947-2. The switch or circuit-breaker must be suitably located
and easily reachable, also it shall not interrupt the protective earth conductor.
For information about the nominal operating voltage range or maximum voltage
applicable, power and frequency, refer to Technical Specifications Chapter.
4.2
Powering Up
1
. Before energizing the unit, be familiar with all the risk and attention indicators in the
equipme
nt’s frame.
2
. Connect the power supply (including the ground strap) to the appropriate terminals.
The equipment will start the boot process.
3
. The equipment performs a self-test procedure. At the end of the self-test, if it is
operating and has already been configured, the IN SERVICE indicator lights up on the
front panel of the equipment and the signaling contact IN SERVICE on the rear panel of
the equipment will be on.
4
. If is the first time using the equipment, it is necessary to configure it. Before the
configuration, equipment will performance accordingly with the application.
5
. To turn off the unit, disconnect the power supply (including the ground strap) from
the terminals. All front and rear panel indicators will turn off.
In case the unit does not behave in a way here described or if the ALARM indicator
lights up, turn off the equipment and carefully check all power and signal connections.
Repeat the procedure described and if the problem persists, please contact GE Contact
Center.
For additional suggestions for problem diagnosis, refer to Maintenance Chapter.
Summary of Contents for DR60
Page 12: ...12 DR60 TM EN 2A ptpd internal BSD ...
Page 24: ......
Page 78: ......
Page 93: ...DR60 93 DR60 TM EN 2A Binary inputs and outputs of the B2 board 8 BO 6 BI ...
Page 106: ......


