K0200 Issue No. 1
34
DPI 740 User Manual
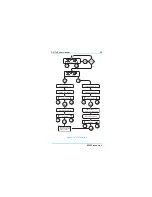
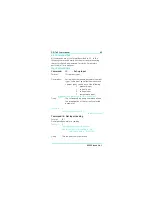
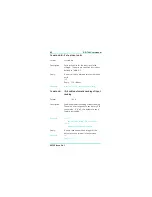
Procedure (Figure 3-10)
This sub-menu divides into two selections, a one-point
calibration and a two-point calibration.
C
AUTION
:T
HIS
INSTRUMENT
CONTAINS
STATIC
SENSITIVE
COMPONENTS
HANDLE
WITH
EXTREME
CARE
.
The calibration procedure is protected by a PIN
and the CAL option link LK1 located on the PCB.
To carry out a calibration LK1 must be in the
position.
With the instrument connected to
an appropriate pressure standard,
the calibration sub-menu accessed
through the set-up menu.
One-point calibration
For the one-point calibration the instrument stores the
relationship between pressure and output.
Important note
The calibration carried out at manufacture is a two-point calibration
against a pressure standard traceable to National Standards. Carrying
out a one-point calibration can significantly down-grade the
instrument's accuracy if in doubt consult the manufacturer before
proceeding.
Two-point calibration
This calibration provides a more accurate reading of the
applied pressure, the instrument calculating a more complex
correction for the displayed reading.
CAL.
SET
F1
from previous
sub-menu set
exit set-up menu
sub-menu
Summary of Contents for Druck DPI 740
Page 1: ...GE Sensing Druck DPI 740 Precision Pressure Indicator User Manual K0200 ...
Page 2: ... The General Electric Company All rights reserved ...
Page 16: ...K0200 Issue No 1 8 DPI 740 UserManual Figure 2 2 Electrical connections ...
Page 32: ...K0200 Issue No 1 24 DPI 740 User Manual intentionally left blank ...
Page 46: ...K0200 Issue No 1 38 DPI740 UserManual ...
Page 72: ...K0200 Issue No 1 64 DPI 740 UserManual Approved Service Agents www gesensing com ...


