[EN] English - K0457
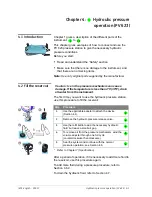
Pneumatic pressure operation (PV 621) 2-3
Issue 1
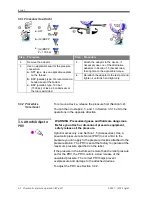
2.4.1 Procedure (to
attach)
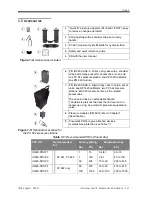
1.
Steps (a) and (b): Remove the blanking plug or, if applicable,
the PRV you are using.
Note:
Before you put it into storage, make sure it is clean and
dry.
2.
Steps (c) and (d): Choose a clean, dry PRV with the correct
pressure value for the devices you are using and tighten it
into position (hand tight only).
2.4.2 Procedure (to
adjust)
Note:
We only guarantee the pressure setting on the product
set at our factory.
The PRV is set at the factory to operate at the maximum
pressure specified on the label (on the plastic cap). For the
adjustable range, refer to Table 1-1.
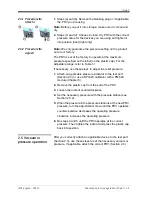
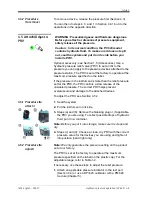
If necessary, use these steps to adjust the relief pressure:
1.
Attach an applicable pressure indicator to the test port
(Section 2.3) or use a DPI 620 calibrator with a PM 620
module (Chapter 5).
2.
Remove the plastic cap from the end of the PRV.
3.
Loosen the locknut counterclockwise.
4.
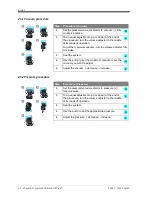
Set the necessary pressure with the pressure station (see
Section 2.5.2).
5.
When the pressure in the pressure station is at the new PRV
pressure, turn the adjustment screw until the PRV operates:
counterclockwise
decreases the operating pressure
clockwise
increases the operating pressure
6.
Do steps 4 and 5 until the PRV operates at the correct
pressure. Then tighten the locknut and press the plastic cap
back into position.
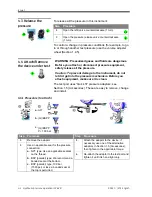
2.5 Vacuum or
pressure operation
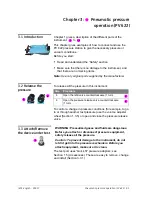
After you correctly attach an applicable device to the test port
(Section 2.3), use these steps to set the necessary vacuum or
pressure. If applicable, attach the correct PRV (Section 2.4).
1
2
a
b
c
d


