Issue 1
3-2 Pneumatic pressure operation (PV 622)
K0457 - [EN] English
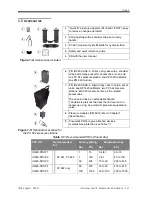
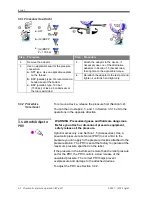
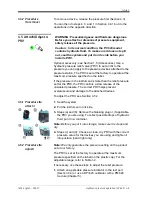
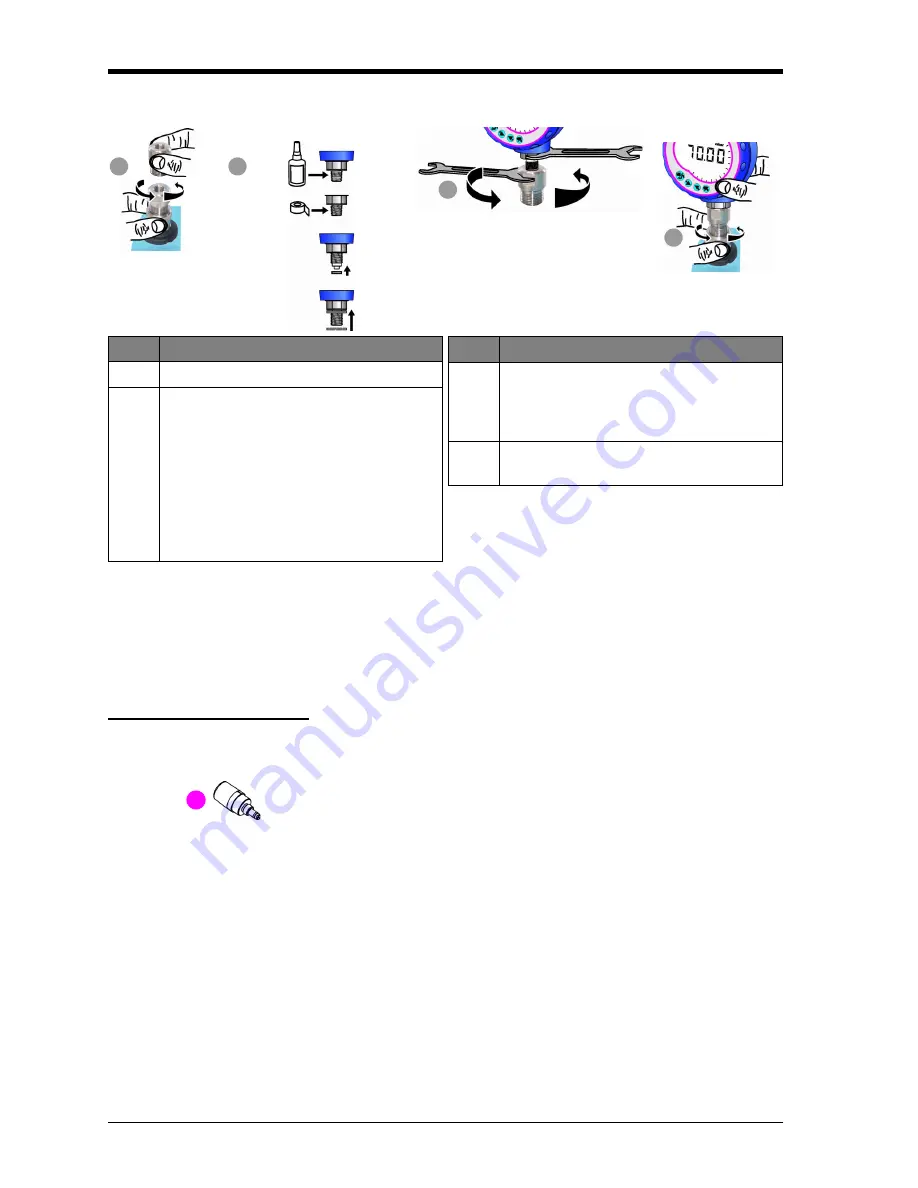
3.3.1 Procedure (to attach)
3.3.2 Procedure
(to remove)
To remove a device, release the pressure first (Section 3.2).
You can then do steps 4, 3, and 1 in Section 3.3.1 but do the
operations in the opposite direction.
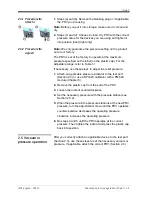
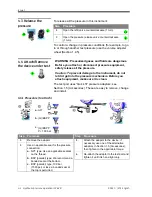
3.4 Attach/Adjust a
PRV
WARNING: Pressurized gases and fluids are dangerous.
Before you attach or disconnect pressure equipment,
safely release all the pressure.
Optional accessory; see
.
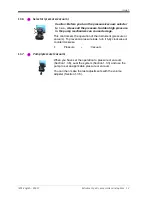
Use a
pneumatic pressure relief valve (PRV) to set a limit to the
pressure you can apply to the pressure devices attached to the
pressure station. The PRV is set at the factory to operate at the
maximum pressure specified on the label.
If the pressure in the instrument is more than the relief pressure
set for the PRV, the PRV controls a slow release of the
unwanted pressure. The correct PRV helps prevent
overpressure and damage to the attached devices.
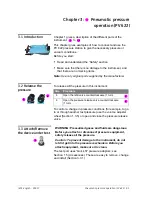
To adjust the PRV, see Section 3.4.2.
3.
Attach the adaptor to the device; if
necessary use one of the alternative
adaptors in Section 1.5 (Accessories),
then tighten to the applicable torque.
4.
Re-attach the adaptor to the test port and
tighten it until it is hand tight only.
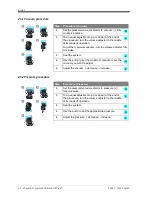
Step
Procedure
Step
Procedure
1.
Remove the adaptor
2.
Use an applicable seal for the pressure
connection:
a.
NPT type: Use an applicable sealant
on the thread.
b.
BSP (parallel) type: We recommend a
bonded seal at the bottom.
c.
BSP (parallel) type, 100 bar
(1500 psi) or less: a bonded seal at
the top is permitted.
1
4
3
2
NPT
a.
c.
(G) / BSPP
P
≤
100 bar
b.
(G) / BSPP


