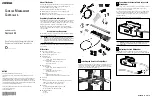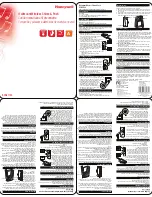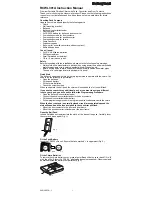


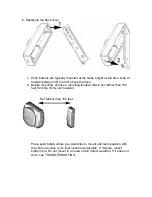
b. Replacing the back cover
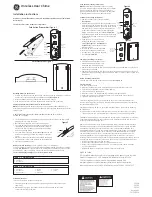
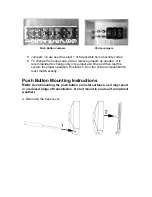
1. Push buttons are typically mounted at the same height as the door knob or
handle (between 36" and 44" above the floor).
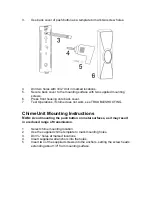
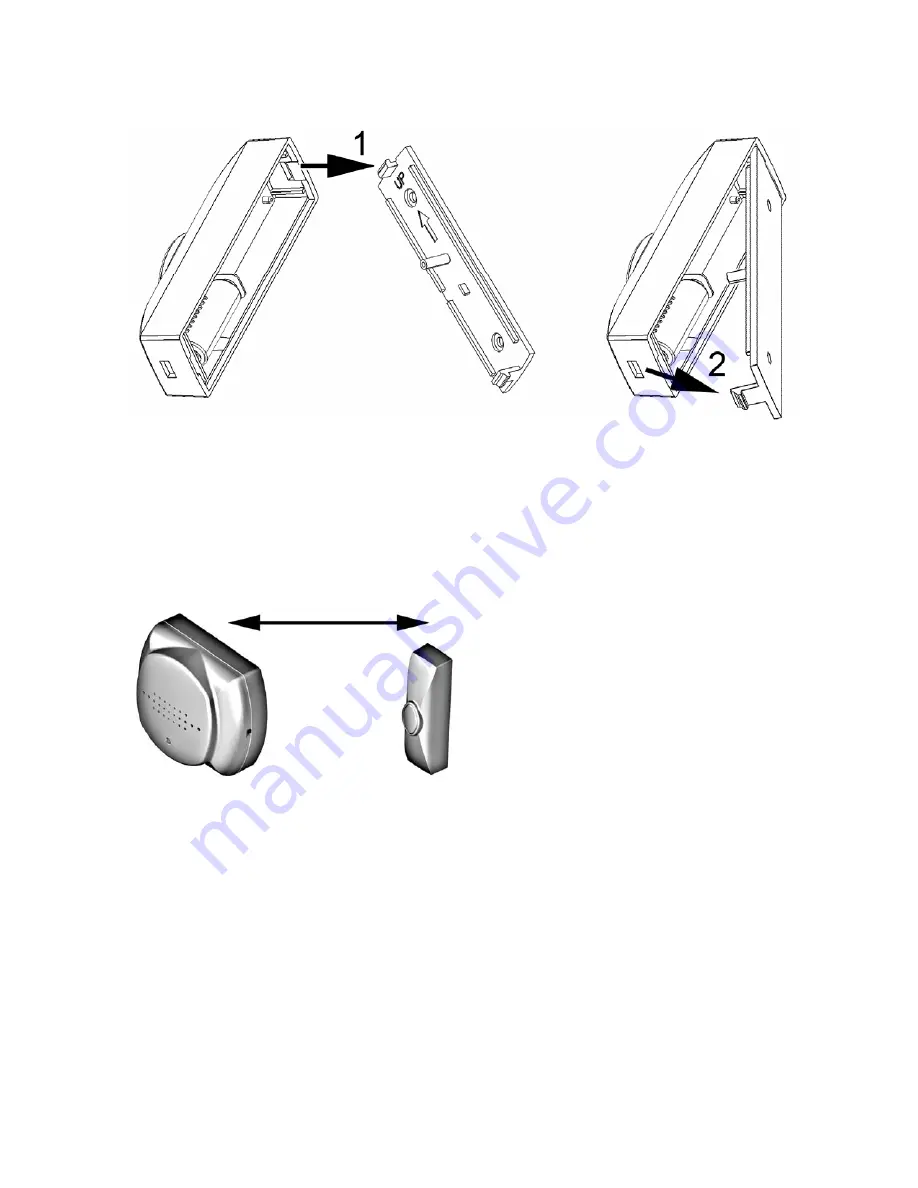
2. Before mounting, choose a mounting location that is not farther than 150
feet from the chime unit location.
Not farther than 150 feet
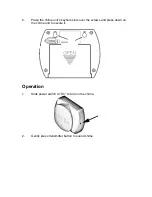
Place push button where you would like to mount and test operation with
the chime as close to it’s final location as possible. If it works, mount
button here. Do not mount in an area of rain (direct weather.) If it does not
work, see TROUBLESHOOTING.