– 73 –
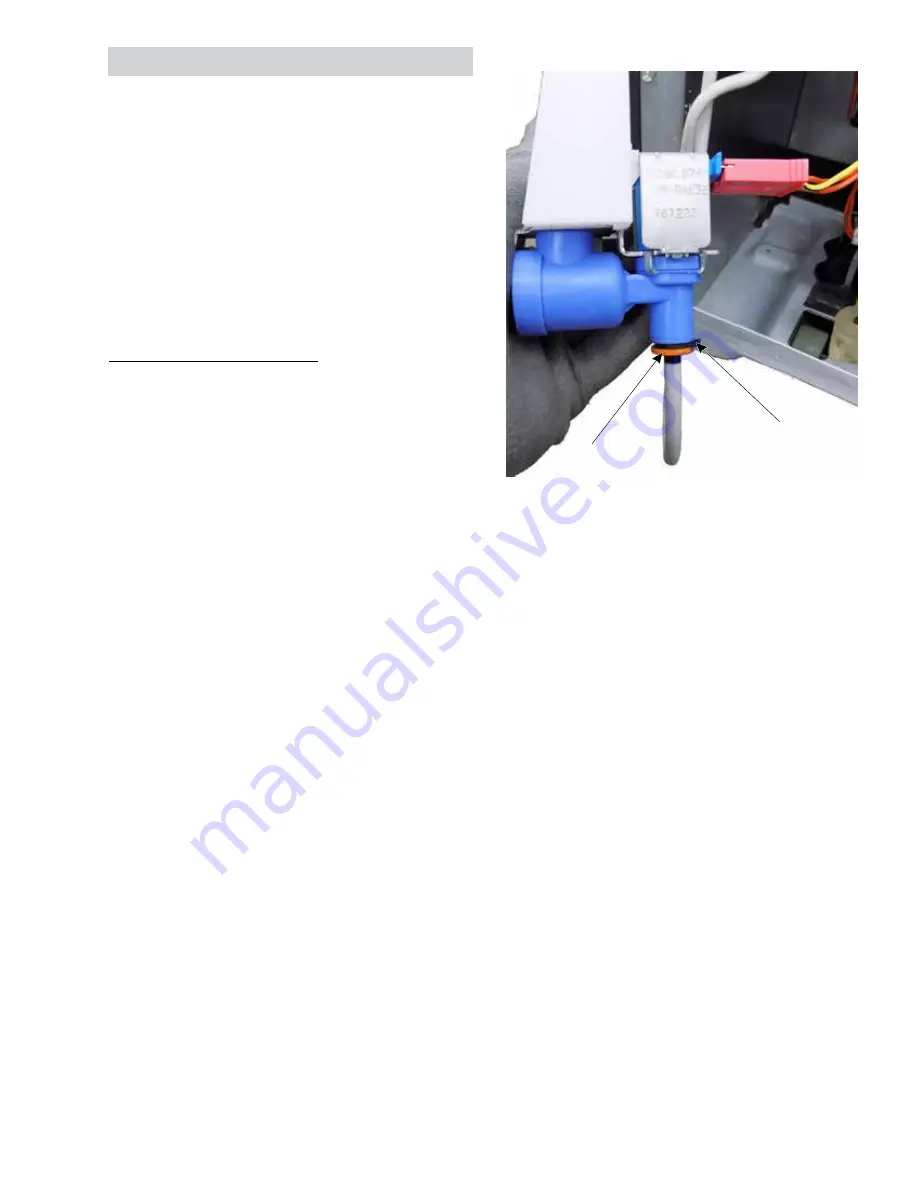
5. Pull the clip from the collar of the water valve.
6. Push in on the collar of the water valve while
pulling on the tubing to release the manifold
tubing from the valve.
7. Disconnect the harness connector from the
valve.
While facing the rear of the refrigerator, the
isolation valve is located in the left side of
the machine compartment. When the water
dispenser or icemaker call for water, the isolation
valve opens to allow water to pass through the
filter head to the dual water valve in the dispenser
door. Since the isolation valve is shared between
the dispenser and icemaker valves circuits,
diodes (see
Diodes
, in the
Dispenser Door
section of this service guide) are used to prevent
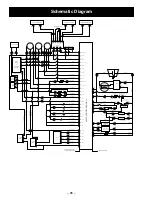
voltage from the main board going to the valve
not intended to be energized.
Isolation Valve Diagnosing
To test the isolation valve, engage the dispenser
paddle switch or cycle the icemaker. Voltage
checks can be performed at the isolation valve
connector.
Isolation Valve Connector
:
• Yellow
/
black
-
orange
: 60 VAC*
*As a result of the diodes in the isolation valve
circuit, only 60 VAC will be read from a voltmeter
when checking for voltage going to the isolation
valve.
Isolation Valve Removal
1.
Turn off the water supply to the refrigerator.
2. Remove the machine compartment cover.
3. Use a 1/2 in. wrench to disconnect the house
supply line from the valve.
4. Remove one 1/4 in. hex-head screw
to remove the valve from the machine
compartment.
Clip
Collar
Isolation Valve


