– 36 –
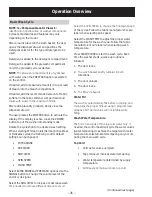
Front Panel
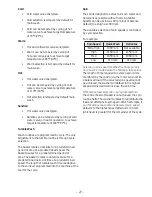
Line Filter
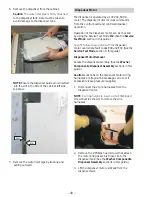
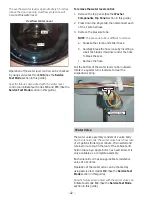
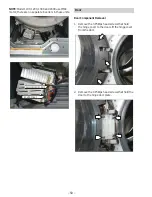
The front panel is hung on 2 hooks attached
to the cabinet and held in place with 4 Phillips
head screws. A gasket provides a watertight seal
between the front panel and outer tub. The front of
WKHJDVNHWLVVHFXUHGWRWKHIURQWSDQHOÀDQJHE\D
spring and wire located in the fold of the gasket. The
door lock and wiring is attached to the front panel.
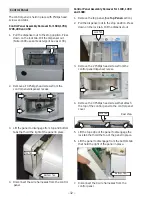
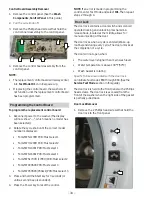
Front Panel Removal
1. Remove the control panel. (See the Washer
Components, Control Panel section in this
guide.)
2. Remove the service panel. (See the Washer
Components, Service Panel section in this
guide.)
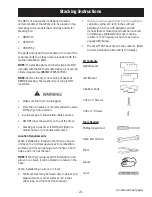
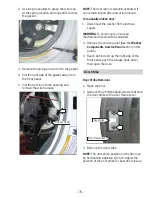
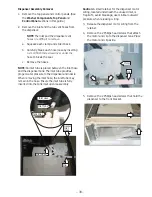
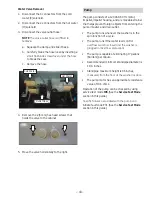
3. Open the door. Remove the 2 Phillips head
screws that hold the door lock to the front panel.
(See the Washer Components, Door Lock
section in this guide.)
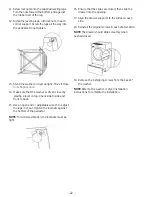
4. Remove the spring and wire from the gasket.
(See the Washer Components, Door Lock
section in this guide.)
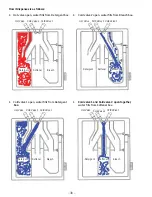
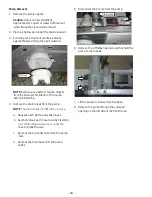
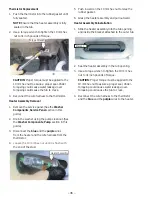
5. Position the gasket behind the front panel door
opening. Close the door.
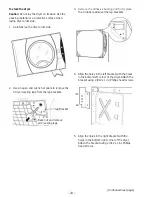
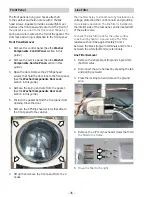
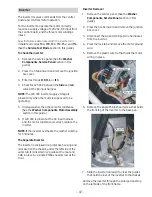
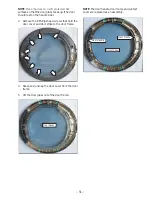
6. Remove the 4 Phillips head screws that attach
the front panel to the cabinet.
7. Lift up then remove the front panel from the 2
hooks.
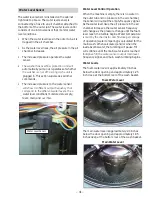
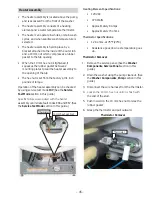
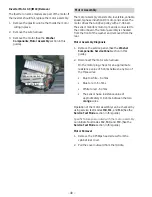
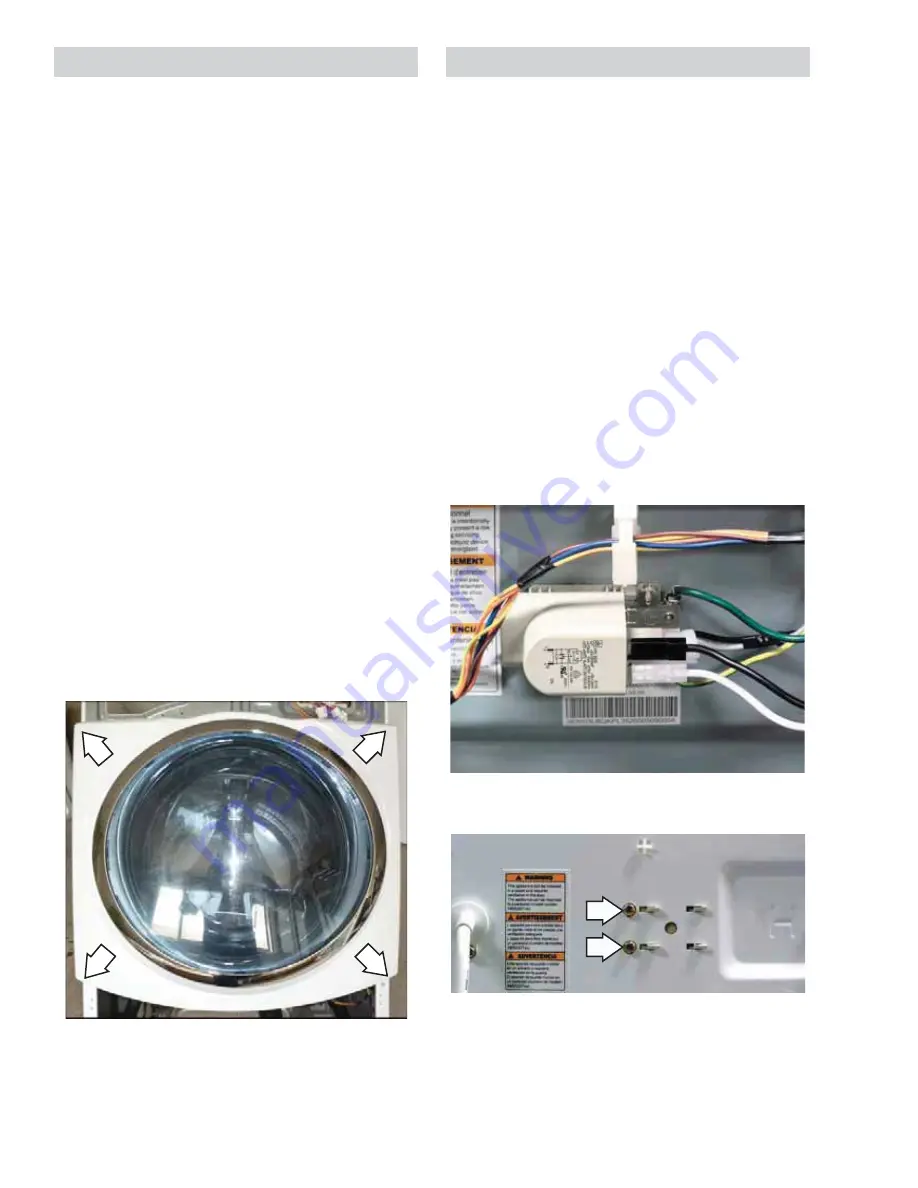
7KHOLQH¿OWHUKHOSVWRVPRRWKRXWDQ\ÀXFWXDWLRQVLQ
voltage, protecting the control board and providing
PRUHUHOLDEOHRSHUDWLRQ7KHOLQH¿OWHULVLQVWDOOHGRQ
the interior side of the rear panel, and is located left
of the water valve.
7RFKHFNWKHOLQH¿OWHUORRNIRUWKHRXWHUVXUIDFH
WREHEXUQWE\KHDWRUDSRZHUVXUJH7KH¿OWHU
resistance should be approximately 0 ohms
between the black (top) wire terminals and 0 ohms
between the white (bottom) wire terminals.
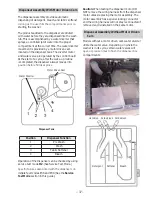
Line Filter Removal
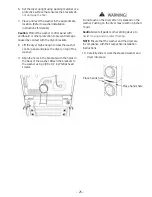
1. Remove the single black (top) and single white
(bottom) wires.
2. Disconnect the wire harness by pressing the tab
and pulling outward.
3. Press the locking tab and remove the ground
wire.
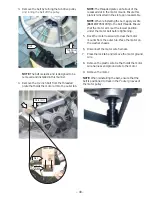
4. Remove the 2 (7 mm) hex head screws that hold
WKH¿OWHUWRWKHIUDPH
5.
0RYHWKH¿OWHUWRWKHULJKW

