20
Installation Instructions
VENTING INSTRUCTIONS
(cont.)
VENT PRODUCTS
Ubbink
Telephone: 888.HOTWTER
(888.468.9837)
Heat-Fab
Telephone: 1.800.772.0739
Web Site:
www.heatfab.com
Metal-Fab Inc.
Telephone: 1.800.835.2830
1.316.943.2351
Web Site:
www.metal-fabinc.com
VENT MANUFACTURER CONTACT INFORMATION FOR INSTALLATION INSTRUCTIONS AND PARTS LIST
Listed and Tested Vent Products for GN75DNSRSA, GN94DNSRSA and GP94DNSRSA (concentric venting)
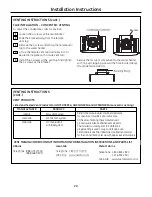
VENTING INSTRUCTIONS (cont.)
FLUE INSTALLATION – CONCENTRIC VENTING
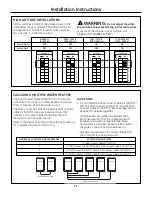
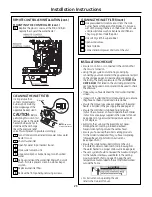
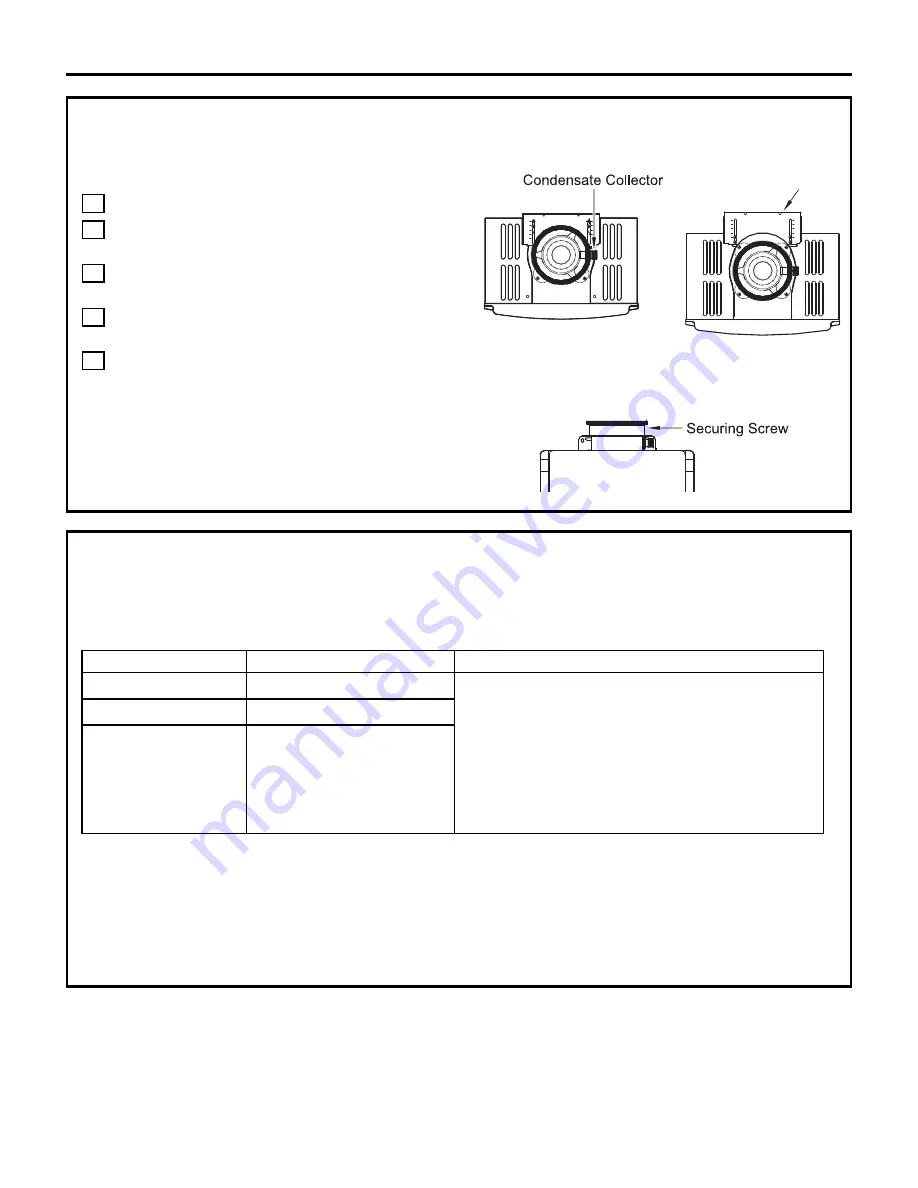
To adjust the condensate collector position:
Loosen the 4 screws at the rear bracket.
Slide the bracket away from the female
vent top.
Remove the 4 screws attaching the female vent
top to the water heater.
Lift up the female vent top and reposition as
desired (or replace with a male vent top).
Install the 4 screws at the vent top and tighten
the 4 screws at the bracket.
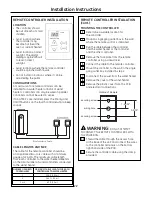
Secure the first vent component to the water heater
with one self-tapping screw at the hole located above
the condensate collector.
5
4
3
2
1
Bracket
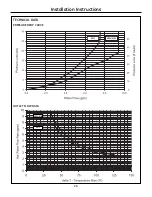
MANUFACTURER
PRODUCT
PARTS
Ubbink
Rolux Vent System
Refer to the manufacturer’s technical literature
Heat-Fab
Saf-T Vent SC system
for specific part numbers and instructions.
Metal-Fab
Corr/Guard Vent/
At the time of printing, these manufacturers’
Air Intake System
products were listed and tested vent products.
The installer must verify prior to installation if
proper venting is used. For up-to-date approved
vent materials, see http://directories.csa.international.org/
for the CSA Certification record with approved vent materials.
Summary of Contents for GN75DNSRSA
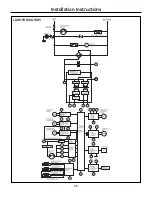
Page 25: ...LADDER DIAGRAM 25 Installation Instructions ...
Page 26: ...26 Notes ...
Page 27: ...27 Notes ...
Page 28: ...28 Notes ...


