GE M
EDICAL
S
YSTEMS
D
IRECTION
2392751-100, R
EVISION
3
V
IVID
™ 4 S
ERVICE
M
ANUAL
3-62
Section 3-7 - Connectivity Setup
3-7-5-1
Validating Communication with the DICOM Server
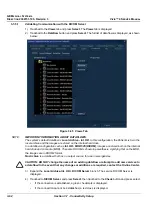
1) Trackball to the
Views
tab and press
Select
. The
Views
tab is displayed.
2) Trackball to the
Dataflow
button and press
Select
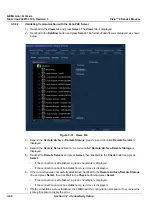
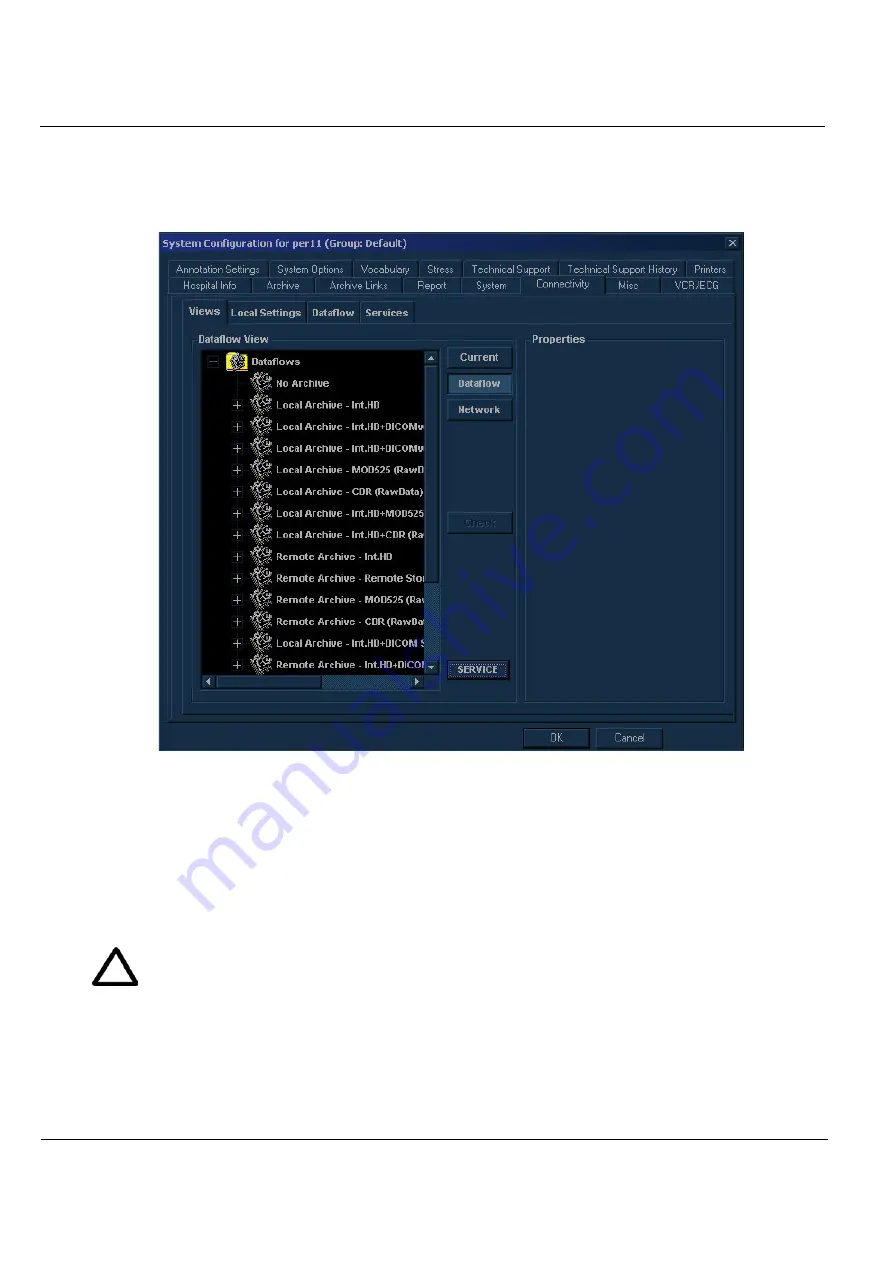
. The full list of data flows is displayed, as shown
below:
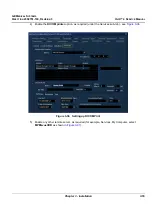
Figure 3-45 Views Tab
NOTE:
IMPORTANT INFORMATION ABOUT DATAFLOWS
:
The system’s default dataflow is
Local Archive - Int. HD
. In this configuration, the Patient List is in the
local archive and the images are stored on the internal hard drive.
In a dataflow configuration such as
Int. HD - MOD 525 (DICOM)
,
images are stored both on the internal
hard drive and on media (MOD). The name DICOM is shown in parenthesis, signifying that on the MOD,
the images are in DICOM format.
No Archive
is a dataflow that has no output source, for use in emergencies.
CAUTION:
DO NOT change the name of an existing dataflow or attempt to add new services to
a dataflow!
In the event that any changes or additions are required, contact the On-line Center.
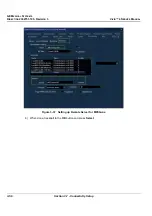
3) Expand the
Local Archive-Int. HD + DICOM Server
branch. The service DICOM Server is
displayed.
4) Trackball to
DICOM Server
and press
Select
, then trackball to the
Check
button and press select.
•
If the connection is established, a green checkmark is displayed.
•
If the connection cannot be established, a red cross is displayed.


