GE M
EDICAL
S
YSTEMS
D
IRECTION
2392751-100, R
EVISION
3
V
IVID
™ 4 S
ERVICE
M
ANUAL
Chapter 8 - Replacement Procedures
8-119
8-8-2-4
Mitsubishi VCR Installation Procedure
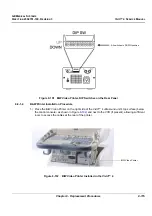
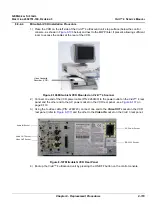
1.) Place the VCR on the
left
side of the Vivid™ 4 ultrasound unit’s top surface (below the control
console - as shown in
below) and next to the B/W Printer, if present, allowing sufficient
room to access the cables at the rear of the VCR.
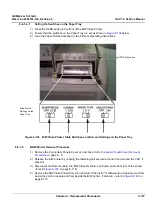
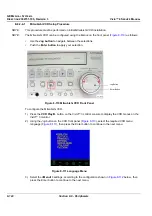
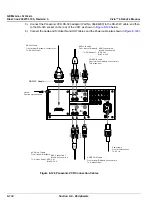
2.) Connect one end of the VCR power cable (P/N: 2269430) to the power outlet on the Vivid™ 4 rear
panel and the other end to the AC power socket on the VCR rear panel - see
3.) Using the
S-video cable (P/N: 2266743), connect one end to the
Video OUT
socket on the VCR
) and the other to the
Video IN
socket on the Vivid 3 rear panel.
4.) Boot up the Vivid™ 4 ultrasound unit by pressing the ON/OFF button on the control console.
Figure 8-106 Mitsubishi VCR Mounted on Vivid™ 4 Scanner
Figure 8-107 Mitsubishi VCR Rear Panel
Video Cassette
Recorder (VCR)
AC Power Socket
Video OUT Socket
Audio OUT Socket
Audio IN Socket
RS-232C Socket


