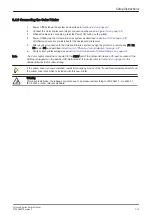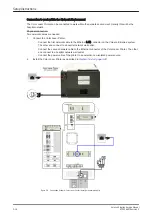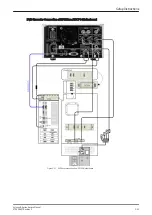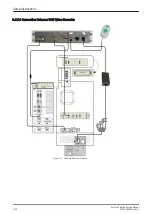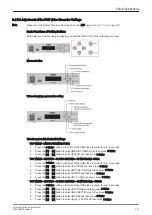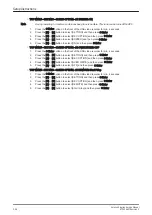
3.4.3 Connecting the Color Printer
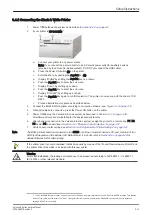
1.
Power Off/Shutdown the system as described in
2.
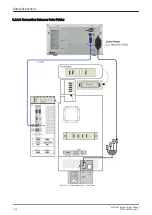
Connect the Color printer according to connection scheme, see:
3.
When all cables are connected, press the Power ON button on the printer.
4.
Power ON/Boot up the Voluson E-Series system as described in
.
All software drivers are pre-installed for the designated printer only.
5.
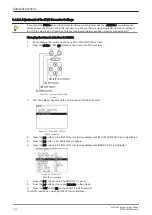
After physical connection to the Voluson E-Series system, assign the printer to a remote key (P1, P2,
P3 and/or P4) as described in
Section 3.6.7 "Remote Control Selection" on page 3-57
6.
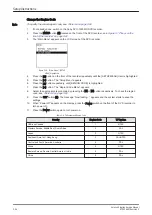
Verify correct printer settings; see
Section 3.6.6 "Adjustment of Printer Settings" on page 3-51
Note
The Color printer should be connected to the USB4 port of the Voluson E-Series´s PC-part. Location of the
USB4 port depends on the installed PC-Motherboard. If in doubt, refer to
detailed internal In/Out cable routing.
If the printer driver is not pre-installed, install it manually by means of the “Found New Hardware Wizard” and
the printer driver disk which is included with this new printer.
Warning
After each installation, the leakage currents have to be measured according to IEC 60601-1, UL 60601-1,
IEC 62353 or other relevant standard.
Setup Instructions
Voluson E-Series Service Manual
KTD106657 Revision 2
3-13
Summary of Contents for H48681XB
Page 11: ...Introduction Voluson E Series Service Manual KTD106657 Revision 2 1 3 ...
Page 12: ...Introduction 1 4 Voluson E Series Service Manual KTD106657 Revision 2 ...
Page 13: ...Introduction Voluson E Series Service Manual KTD106657 Revision 2 1 5 ...
Page 14: ...Introduction 1 6 Voluson E Series Service Manual KTD106657 Revision 2 ...
Page 15: ...Introduction Voluson E Series Service Manual KTD106657 Revision 2 1 7 ...
Page 16: ...Introduction 1 8 Voluson E Series Service Manual KTD106657 Revision 2 ...
Page 17: ...Introduction Voluson E Series Service Manual KTD106657 Revision 2 1 9 ...
Page 365: ......
Page 366: ...GE Healthcare Austria GmbH Co OG Tiefenbach 15 4871 Zipf Austria www gehealthcare com ...

