W e l c o m e
Getting Started
GFK-2357A
6" QuickPanel View Keypad
3
U n i t R u n t i m e S e t u p
To download an application to a QuickPanel View Keypad unit, you must set up a
data link between your development workstation and the QuickPanel unit. For
more information, see “Ethernet” (page 45) and look up “Downloading a Machine
Edition Project” in the Proficy Machine Edition online help.
S t a r t u p
When you first start up the QuickPanel View Keypad, a few configuration steps are
necessary.
To start the Qu ickPanel View K eypad
1. Apply DC power to the QuickPanel View.
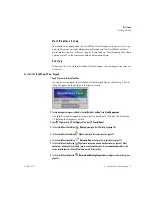
Once power is applied, the QuickPanel View Keypad begins initializing. The first
thing to appear on the display is the splash screen.
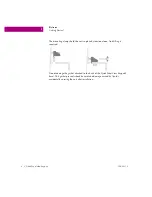
2. To skip running any programs included in the StartUp folder, tap
Don’t run StartUp programs
.
The splash screen disappears automatically after about 5 seconds. The Windows
CE desktop then becomes visible.
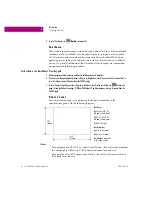
3. Tap
Start
, point to
Settings
and then tap
Control Panel
.
4. In the Control Panel
,
double-tap
Display
to configure the LCD display (see page 28).
5. In the Control Panel
,
double-tap
Stylus
to configure the touch screen (see page 30).
6. In the Control Panel
,
double-tap
Date and Time
to configure the system clock (see page 57).
7. In the Control Panel, double-tap
System
to configure a network machine name (see page 50). Many
applications, including Proficy Historian, require a unique machine name. It is recommended procedure to set a
unique network name for the QuickPanel View to avoid future conflicts.
8. In the Control Panel, double-tap
Network and Dial-up Connections
to configure network settings (see
Summary of Contents for IC754VGI06SKD
Page 4: ......
Page 15: ...GFK 2357A 6 QuickPanel View Keypad 7 We l c o me Getting Started ...
Page 16: ......
Page 34: ......
Page 68: ......


