


FP1500 Installation, Configuration and Commissioning Manual
41
•
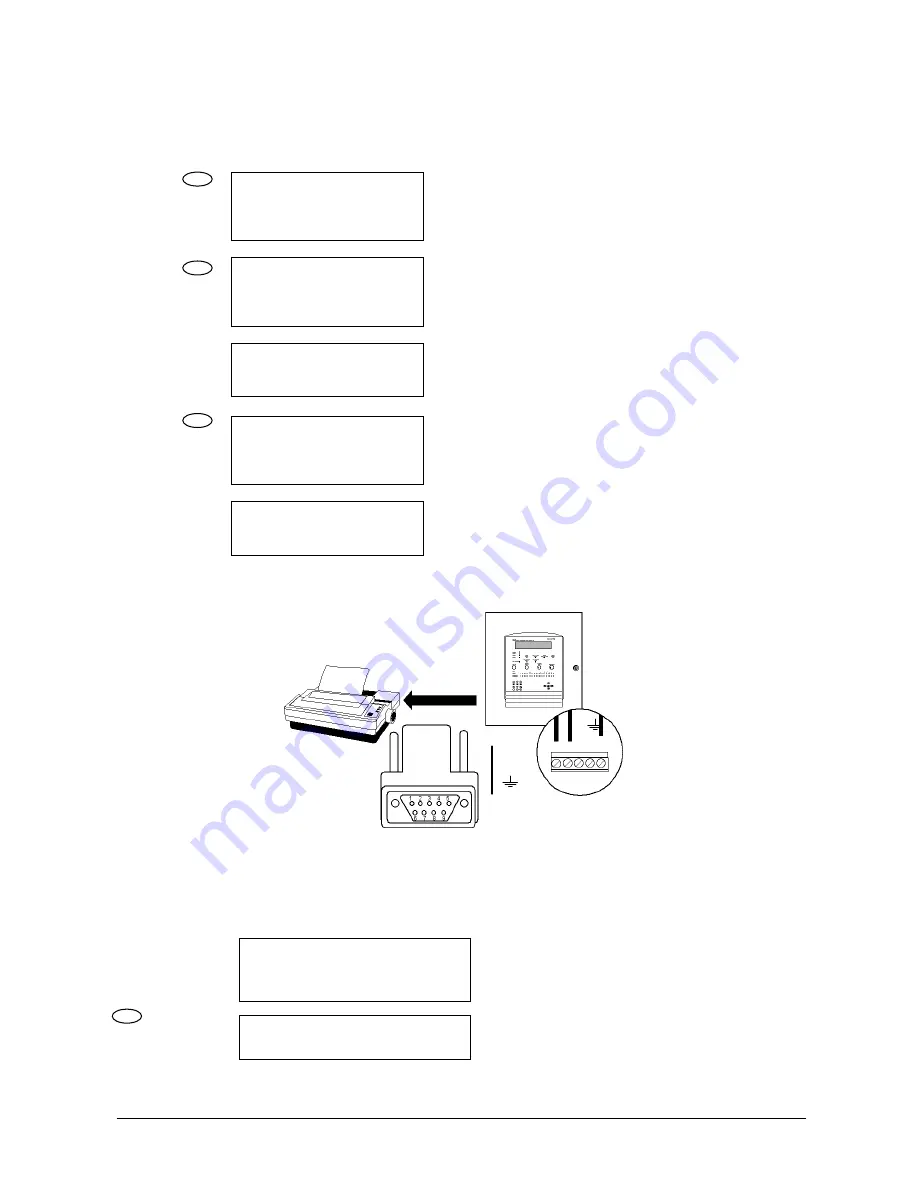
Hardware flow control
(As an external printer, the EPSON LX300 is recommended)
To configure the printer:
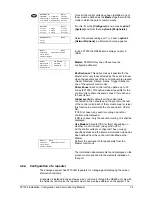
[MAIN MENU]
[# Exit]
1. Configure
4. Connect
7. See
2. Test.
5. Disconnect
3. Time
6. Print
From [Main Menu] select option 6 <Print>.
The control unit enters the printing menu.
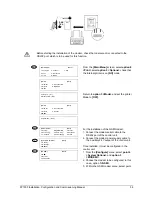
[PRINT]
[#
Exit]
1. Element
4. Disconnect
2. Historic.
5. Options
3. Mode
In [PRINT] select option 5 <Options>
Printer port: [01]
Internal printer: [NO]
Select whether the printer is external or internal.
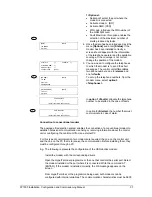
[PRINT] [#Exit]
1. Element
4. Disconnected
2. Historic
5. Options
3. Mode
Exit
5<Options>
From
] select option 3 <Mode>
Adjust the printing mode with the < 9 > key.
Printer Mode: [Manual]
[Manual]:
Prints only when the user requires
[Auto]:
Automatically prints alarms or faults as
they occur
[OFF]:
The printer is disabled
4.2.10 Changing the access level codes
The level 3 access code for the control unit (9898 factory setting) may be changed. As
with level 2 codes, up to 10 different codes may be added.
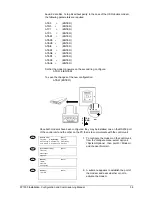
[CONFIGURE]
[#
Exit]
1. System
4. System Op.
7. Events
2. See Config.
5. Check Prog.
8. Day Mode
3. Time/Date
6. Power Supply
9. Codes
From [CONFIGURE] select option 9 <Codes>
The following screen displays the access level
of the control unit: [2] or [3]
LEVEL CODES: [2]
On level 2:
You can add up to 10 different access codes.
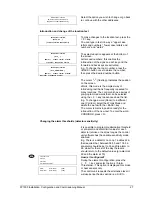
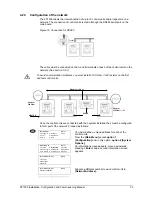
6
5
3
9
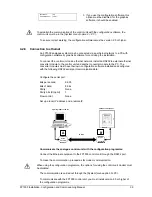
TXA RXB A
B
RS1
3
RXB
3 TXA
5