background image

3

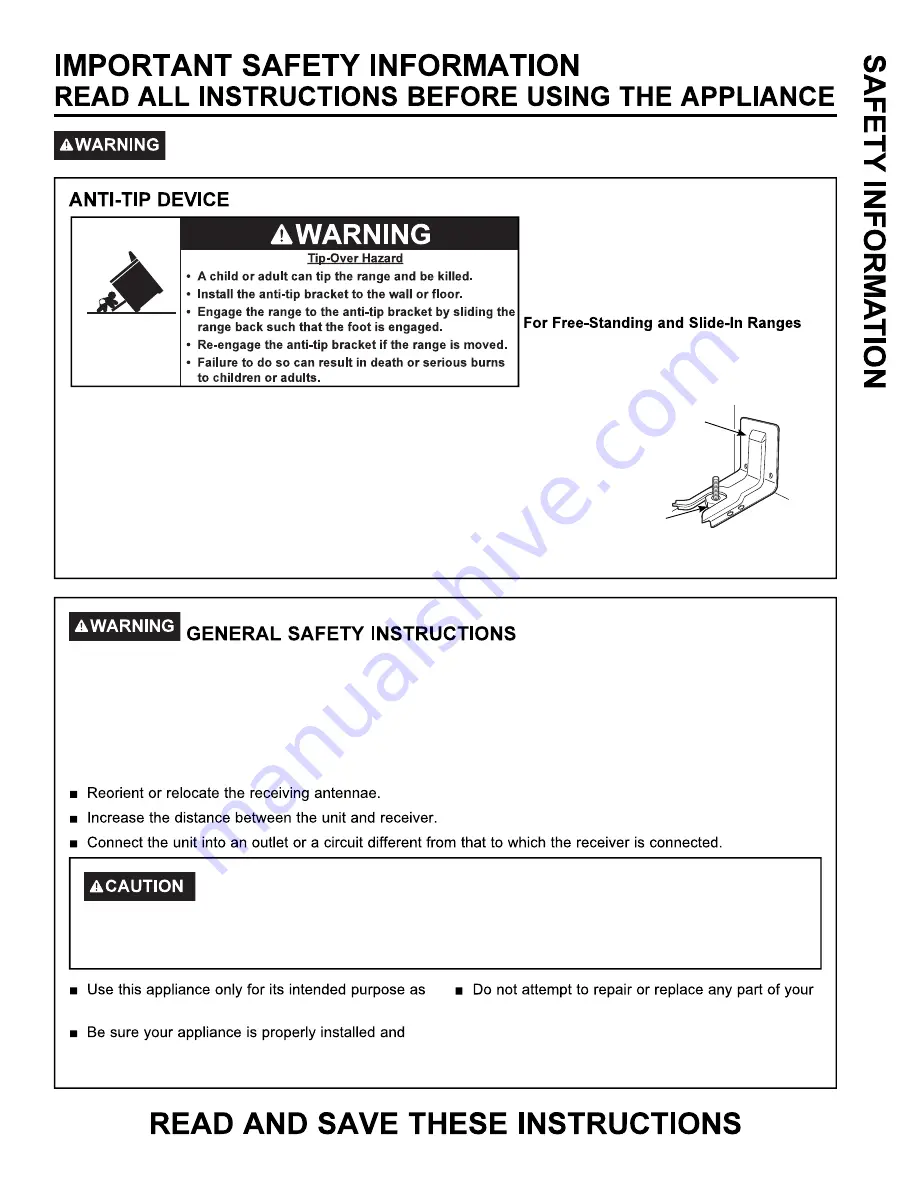
To reduce the risk of tipping the range, 
the range must be secured by a properly 
installed anti-tip bracket. See installation 
instructions shipped with the bracket for 
complete details before attempting to install.

To check if the bracket is installed and 
engaged properly, look underneath the 
range to see that the rear leveling leg is 

engaged in the bracket. On some models, the storage drawer or kick panel 
can be removed for easy inspection. If visual inspection is not possible, 
slide the range forward, confirm the anti-tip bracket is securely attached to 
the floor or wall, and slide the range back so the rear leveling leg is under 
the anti-tip bracket.
If the range is pulled from the wall for any reason, always repeat this 
procedure to verify the range is properly secured by the anti-tip bracket. 
Never completely remove the leveling legs or the range will not be secured 
to the anti-tip device properly.

Read all safety instructions before using the product. Failure to follow these instructions may result 
in fire, electrical shock, serious injury or death.

Anti-Tip 

Bracket

Leveling Leg

Free-Standing and Slide-In Ranges

This unit has been tested and found to comply with the limits for a class B digital device, pursuant to Part 18 
of the FCC rules. These limits are designed to provide reasonable protection against harmful interference in a 
residential installation. This unit generates, uses and can radiate radio frequency energy and, if not installed and 
used in accordance with the instructions, may cause harmful interference to radio communications. However, 
there is no guarantee that interference will not occur in a particular installation. If this unit does cause harmful 
interference to radio or television reception, which can be determined by turning the unit off and on, the user is 
encouraged to try to correct the interference by one or more of the following measures:

 Persons with a pacemaker or similar medical device should exercise caution when 

using or standing near an induction unit while it is in operation. The electromagnetic field may affect the 
working of the pacemaker or similar medical device. It is advisable to consult your doctor or the pacemaker 
manufacturer about your particular situation.

described in this Owner’s Manual.

grounded by a qualified installer in accordance with 
the provided installation instructions.

range unless it is specifically recommended in this 
manual. All other servicing should be transferred to 
a qualified technician.

Summary of Contents for JCS830

Page 1: ...GE is a trademark of the General Electric Company Manufactured under trademark license...

Page 2: ...nd we think you will too Among other things registration of your appliance ensures that we can deliver important product information and warranty details when you need them Register your GE appliance...

Page 3: ...been tested and found to comply with the limits for a class B digital device pursuant to Part 18 of the FCC rules These limits are designed to provide reasonable protection against harmful interferen...

Page 4: ...lone or unattended in an area where an appliance is in use They should never be allowed to climb sit or stand on any part of the appliance children above a range or on the backguard of a items could b...

Page 5: ...and CERAMA BRYTE Cleaning Pad to clean the cooktop Wait until the cooktop cools and the indicator light goes out before cleaning A wet sponge or cloth on a hot surface can cause steam burns Some clea...

Page 6: ...used in or around any part of the oven cooked foods at serving temperature Bacteria will than 2 hours Failure to follow these instructions may result in foodborne illness combustible materials in the...

Page 7: ...e appliance for the first time w To assure no damage is done to the finish of the product the safest way to remove the adhesive from packaging tape on new appliances is an application of a household l...

Page 8: ...during cooking indicating the control is maintaining your desired setting Be sure you turn the control knob to OFF when you finish cooking Bacteria may grow in food at temperatures below 140 F Always...

Page 9: ...in a short time On models with light colored glass cooktops it is normal for the cooking zones to change color when hot or cooling down This is temporary and will disappear as the glass cools to room...

Page 10: ...pans can cause permanent damage to cooktops glass The enamel can melt and bond to the ceramic cooktop Not recommended Poor performance Will scratch the surface Not recommended Poor performance May scr...

Page 11: ...11 Oven Controls...

Page 12: ...12...

Page 13: ...13...

Page 14: ...ple if you would prefer darker tops on cakes muffins or cookies try moving food one rack position higher If you find foods are too brown on top try moving them down next time When baking with multiple...

Page 15: ...e by 25 F next time Shiny pans can produce more evenly cooked baked goods such as cakes and cookies Glass and ceramic pans heat slowly but retain heat well These types of pans work well for dishes suc...

Page 16: ...16...

Page 17: ...17...

Page 18: ...od below the broil heater Boneless chicken breasts Broil Lo Bake 3 If breaded or coated in sauce avoid Broil Hi modes Broil skin side down first Watch food closely when broiling For best performance w...

Page 19: ...rior or exterior of the oven Clean with a mild soap and water or vinegar and water solution Rinse with clean water and dry with a soft cloth When cleaning surfaces make sure that they are at room temp...

Page 20: ...using the number pads to enter a different time and pressing For heavily soiled ovens the maximum 5 hour clean time is recommended If you wish to use the default time press the pad The oven will turn...

Page 21: ...aning Pad for Ceramic Cooktops rub the residue area applying pressure as needed 4 If any residue remains repeat the steps listed above as needed 5 For additional protection after all residue has been...

Page 22: ...care should be taken when removing hot substances Sugary spillovers such as jellies fudge candy syrups or melted plastics can cause pitting of the surface of your cooktop not covered by the warranty...

Page 23: ...e door 2 Pull the hinge locks down toward the door frame to the unlocked position A tool such as a small flat blade screwdriver may be required 3 Firmly grasp both sides of the door at the top 4 Close...

Page 24: ...24 Before you call for service...

Page 25: ...25 Before you call for service...

Page 26: ...fects with this appliance EXCLUSION OF IMPLIED WARRANTIES Your sole and exclusive remedy is product repair as provided in this Limited Warranty Any implied warranties including the implied warranties...

Page 27: ...information The following products and more are available Accessories Accessories Small Broiler Pan 8 x 1 x 13 Large Broiler Pan 12 x 1 x 16 Parts Oven racks Oven elements Light bulbs Cleaning Suppli...

Page 28: ...need arise You may also mail in Expert GE Appliances repair service is only one step away from your door Get on line and schedule your service at or call during normal business hours For assistance w...

Reviews: