background image

3

Installation Instructions

ANTI-TIP DEVICE

WARNING 

To reduce the risk 

of tipping, the appliance must be secured by
properly installed Anti-Tip bracket packed
with this appliance.

To check if the bracket is installed and
engaged properly, carefully tip the range
forward. The anti-tip bracket should engage
and prevent the range from tipping over.

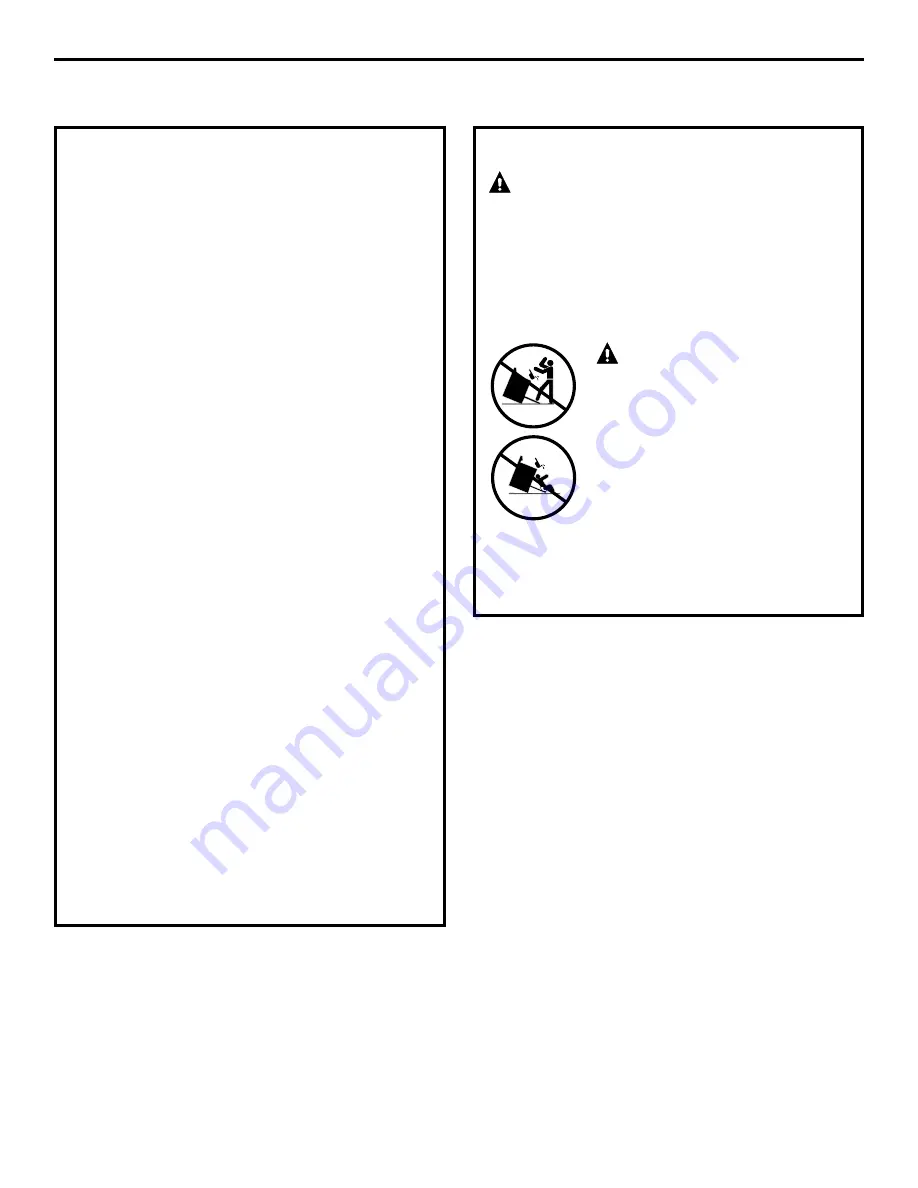
WARNING

• 

All ranges can tip

• 

Injury to persons could result

• 

Install Anti-Tip bracket packed
with range

• 

See Installation Instructions

If you pull the range out and away from the
wall for any reason, make sure the Anti-Tip
bracket is engaged when the range is pushed
back against the wall.

ELECTRICAL REQUIRMENTS

This appliance must be supplied with the
proper voltage and frequency and connected
to an individual, properly grounded branch
circuit, protected by a circuit breaker or fuse
having amperage as noted on the rating
plate. (Rating plate is located above the
storage drawer below the oven frame). 
We recommend you have the electrical wiring
and hookup of your range connected by a
qualified electrician. After installation, have
the electrician show you where your main
range disconnect is located.
Check with your local utilities for electrical
codes which apply in your area. Failure to
wire your range according to governing
codes could result in a hazardous condition. If
there are no codes, your range must be wired
and fused to meet the requirements of the
National Electrical Code, ANSI/NFPA No.
70–Latest edition. You can get a copy by
writing:

National Fire Protection Association

Batterymarch Park

Quincy, MA  02269

Be sure the installation of this product 
in a mobile home conforms with the
Manufactured Home Construction and 
Safety Standard, Title 24 CFR, Part 3280. 
If this standard does not apply, you must
follow the standard for Manufactured Home
Installations, ANSI A225.1 and Manufactured
Home Installations, Sites and Communities
and ANSI/NFPA 501A or with local codes. 
You can get a copy of the Federal Standard
by Writing:

Office of Mobile Home Standards

HUD Building

451 7th Street, S.W.

Washington, D.C. 24010

Summary of Contents for JGSP48

Page 1: ...e must be properly grounded IMPORTANT Leak testing of the appliance shall be conducted according to the manufacturer s instructions Proper installation is the responsibility of the installer and produ...

Page 2: ...s supplier call the fire department Installation and service must be performed by a qualified installer service agency or the gas supplier 2 Installation Instructions IMPORTANT SAFETY INSTRUCTIONS Thi...

Page 3: ...e oven frame We recommend you have the electrical wiring and hookup of your range connected by a qualified electrician After installation have the electrician show you where your main range disconnect...

Page 4: ...d range cooktop may occur Forcing the cooktop to fit may cause excessive gaps and could break the glass and void the warranty To obtain Kits a Visit GE Web Site See page 1 b Call GE Answer Center See...

Page 5: ...position Hinge arm REMOVE THE DOOR IF NECESSARY cont LIFT OFF DOOR Lift door up and out until the hinge arms clear the slots DO NOT LIFT THE DOOR BY THE HANDLE NOTE The oven door is very heavy Be sur...

Page 6: ...Follow instructions packaged with alternate appliance Countertop Depth 25 typical 35 3 4 to 36 1 2 from floor to countertop 18 Min vertical distance from the bottom of the adjacent overhead cabinets 1...

Page 7: ...T Please read carefully FOR PERSONAL SAFETY THIS APPLIANCE MUST BE PROPERLY GROUNDED An adequate electrical supply and outlet must be used to operate the electrical parts of your range The power cord...

Page 8: ...THE CONNECTIONS Install a manual shut off valve in the gas supply line in an easily accessible location Know how and where to shut off the gas supply to the range Shut off gas supply before removing...

Page 9: ...h the pre marked areas Note the angle of the wall screw in Fig 2 c Mount the Anti Tip bracket with the 4 screws provided INSTALLATION CONCRETE CONSTRUCTIONS a For concrete installation you will need t...

Page 10: ...countertop Carefully push the range into the opening until the countertop fully engages the control panel The back glass overhang should cover the cutout opening G F E D C B A 13 10 Installation Inst...

Page 11: ...REPLACE THE STORAGE DRAWER Place the drawer rail on the guides Push the drawer in until it stops Lift the front of the drawer and push in until the stops clear the guides Lower the front of the drawer...

Page 12: ...detector soap solution at all joints and connections to check for leaks Do not use an open flame to look for leaks Be sure all leaks are stopped before lighting burners B PRESSURE TEST INFORMATION The...

Page 13: ...steps below WARNING Lighting gas burners with a match is dangerous You should match light the cooktop burners only in an emergency a Light a match and hold the flame near the burner you want to light...

Page 14: ...iver to loosen the air shutter screw 3 Adjust the air shutter to 11 32 4 Retighten the air shutter screw WHAT ADJUSTMENT TO MAKE a If the flames are yellow open the air shutter more than the original...

Page 15: ...he gap between the bottom of the glass and the filler trim A 19 When the trim is set in the proper position tighten the 2 mounting screws The top of the trim should be located below the top surface of...

Page 16: ...lacement parts Recheck Steps Double check to make sure everything in this guide has been completed Rechecking steps will ensure safe use of the Range 20 IN SOME CASES With L P gas some yellow tipping...

Reviews: