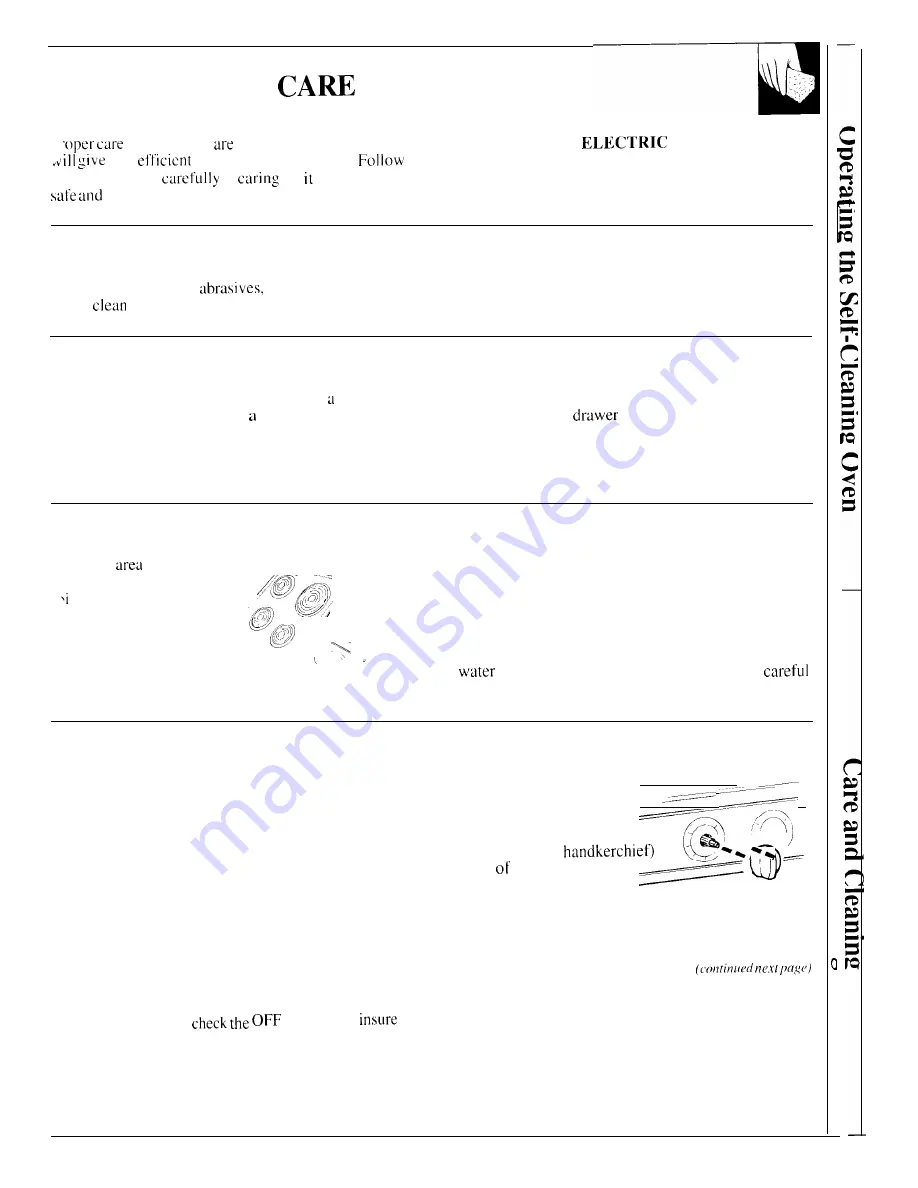
AND CLEANING
and cleaning
important so your range
BE SURE THAT
POWER IS
you
and
satisfactory service.
OFF BEFORE CLEANING ANY PART OF
these
directions
in
for to help assure
THE RANGE.
proper maintenance.
Metal Parts
Do not use steel wool,
ammonia or commercial oven cleaners. To
safely
surfaces; wash, rinse and then dry with a soft cloth.
Glass Window
Painted Surfaces
To clean the outside of the window,
use glass
Painted surfaces include the outside oven door, sides,
cleaner. Rinse and polish with dry cloth.
control panel and
front. Clean these with soap
Do not allow the water or cleaner to run down
inside the openings in the top of the oven door
while cleaning.
and water or a vinegar and water solution. Do not use
commercial oven cleaners, cleansing powders, steel
wool or harsh abrasives on any painted surface.
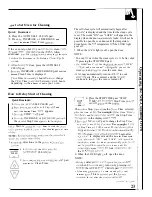
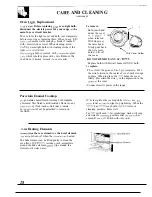
Lift-Up Cooktop
Clean the
under the
cooktop often. Built-up
a
1,
especial Iy grease,
.ay catch fire.
,
To
make cleaning easier,
the entire cooktop may be
,
.\,
lifted up and supported in
. . . . . . . . . . . . . . . . . .
the up position.
Be sure all surface units are turned off before
raising the cooktop. Grasp
the front sides of the
cooktop and
lift. The surface units do not need to
be removed before lifting, however, you may remove
one to make raising the cooktop easier.
After cleaning under the cooktop
with hot, mild soapy
and a clean cloth, lower the cooktop.
Be
not to pinch your fingers.
Control Panel and Knobs
[t’s a good idea to wipe the control panel after each
use. Clean with mild soap and water or vinegar and
water, rinse with clean water and
polish dry with a
soft cloth.
Do not use abrasive cleansers, strong liquid
cleansers, plastic scouring pads or oven cleaners
on the control panel—they will damage the finish.
A 50/50 solution of vinegar and hot water works well.
The control knobs may be removed for easier
cleaning.
Before removing the knobs for cleaning,
please note
that the knobs
on the left side and the knobs on the
right side
are in the proper
OFF position. When
replacing the knobs,
position to
proper placement.
To remove a knob,
pull it straight off the
stem.
lf
a knob is difficult to
remove, place a thin cloth
(like a
or a ‘
piece string under and
—
around the knob edge and
pull up.
Wash the knobs
in soap and water but do not do soak.
Avoid getting water down in to the knob stem holes.
25

