background image

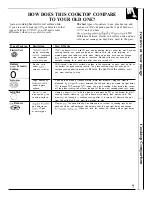
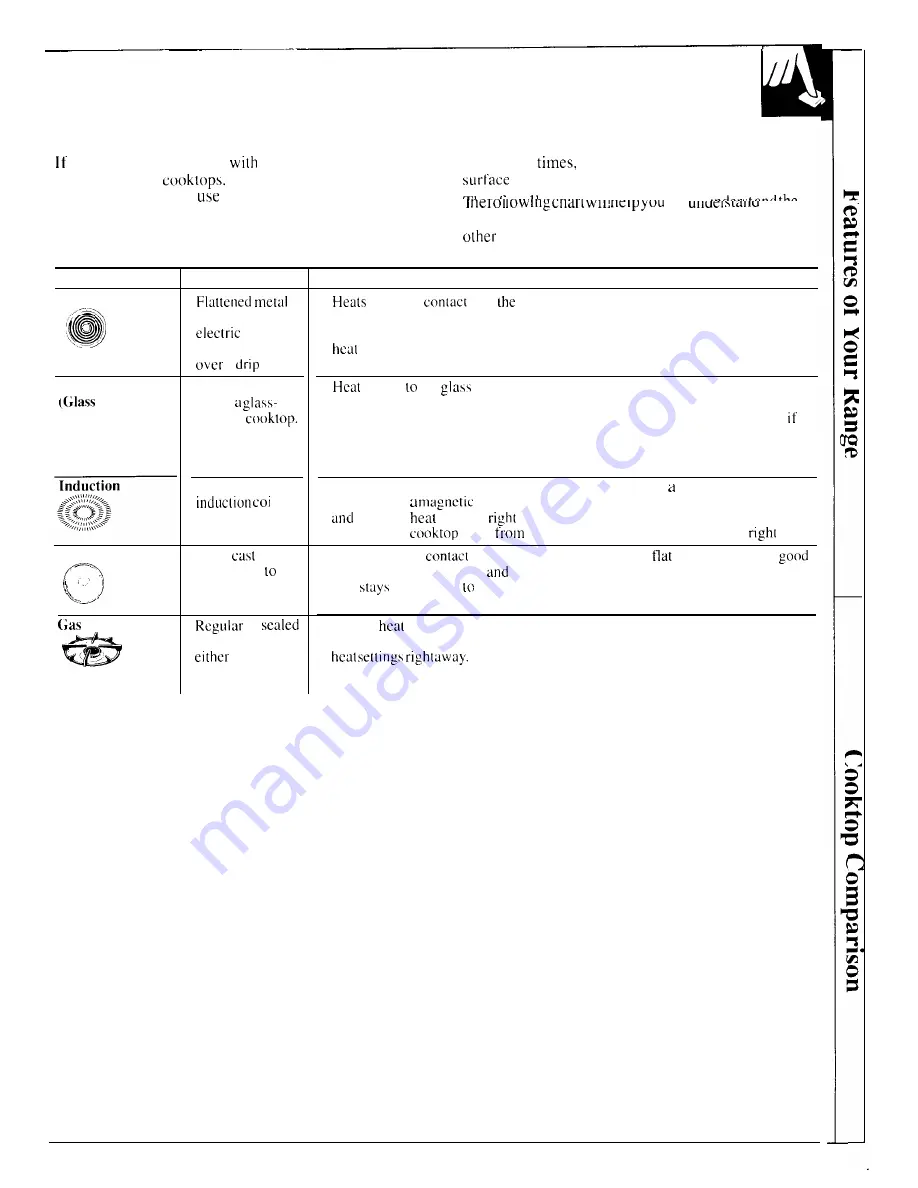
HOW DOES THIS COOKTOP COMPARE

TO YOUR OLD ONE?

four new 

cooktop has electric coil surface units.

The best types of cookware to use, plus heat-up and

 you are used to cooking 

 gas burners or other

cool-down 

 depend upon the type of burner or

types of electric 

 you will notice some

 unit you have.

differences when you 

 electric coils.


-,. . . .. .,1, ,.-1 — . . . . . 


 LU 


 Ll LG

differences between electric coil surface units and any

 type of cooktop 

you may have used in the past.

Type of Cooktop

Electric Coil


\..,=,. 

Radiant

 Ceramic)

Cooktop

o

Solid Disk

, -.,


. .

 Burners

Description


tubing containing

 resistance

wire suspended

 a 

 pan.

Electric coils
under   

ceramic 

High frequency


 Is

under a glass
surface.

Sol id 

 iron

disk sealed 

 the

cooktop surface.

 or 

gas burners usc

 LP gas

How It Works

 by direct 

 with 

 pan and by heating the air under tbe pan. For best

cooking results, usc good quality pans. Electric coils are more forgiving of
warped pans than radiant or solid disks. Heats up quickly but does not change

 settings as quickly as gas or induction. Electric coils stay hot enough to

continue cooking for a short time after they are turned off.

 travels 

 the 

 surface and tben to the cookware, so pans must be flat on

tbc bottom for good cooking results. The glass cooktop stays hot enough to
continue cooking after it is turned off. 

Remove the pan from the surface 

unit 

you want cooking to stop.

Pans must be made of ferrous metals (metal that attracts   magnet). Heat is
produced by   

 circuit between the coil and tbe pan. Heats up right away

 changes 

 settings 

 away, like a gas cooktop. After turning the control

off. the glass 

 is hot 

 the heat of the pan, but cooking stops 

 away.

Heats by direct 

 with the pan. so pans must be 

 on the bottom for 

cooking results. Heats up 

 cools down more slowly than electric coils. Tbe

disk 

 hot enough 

 continue cooking after it is turned off. Remove the pan

from tbe solid disk if you want the cooking to stop.

Flames 

 the pans directly. Pan flatness is not critical to cooking results, but

pans should be well balanced. Gas burners heat the pan right away and change


 When you turn the control off, cooking stops right away.

I

or natural gas

7

Summary of Contents for JMP28

Page 1: ...s 12 14 18 22 24 27 Timed Baking 15 15 Surface Cooking 8 9 Control Settings 8 Cooking Tips 8 9 Cooktop C o m p a r i s o n 7 Home Canning Tips 9 Problem Solver 29 30 Thermostat Adjustment Do It Yourse...

Page 2: ...h a soft cloth and allow to soak Wipe dry and then apply on appliance polish to lmrnediate y contact the dealer or builder thtit sold thoroughly clean and protect the surface you the range NOTE The pl...

Page 3: ...ed in an area where an appliance is in use They should never be allowed to sit or stand on any part of the appliance Do not allow anyone to climb stand or hang on the door or cooktop They could damage...

Page 4: ...causing an injury Do not use aluminum foil to line oven bottom except as suggested in this guide Improper installation of aluminum foil may result in a risk of electric shock or fire 4 Keep the oven...

Page 5: ...er clean cooktop surface when it is hot Some cleaners produce noxious fumes and wet cloths could cause steam burns if used on a hot surface WJayS turn the surface unit controls to off before removing...

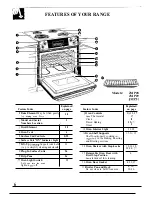
Page 6: ...Pans 26 10 Oven Light Switch 12 Lets you turn the oven light on and off Models Feature Index 1 Oven Controls Oven Thermostat Clock Timed Baking Timer 12 Oven Interior Light 13 Oven Shelf Supports She...

Page 7: ...or solid disks Heats up quickly but does not change hea settings as quickly as gas or induction Electric coils stay hot enough to continue cooking for a short time after they are turned off Heat trav...

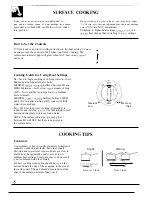
Page 8: ...y between HI and 3 0 0 MED Maintains a fast boil on lar e amounts of food 7 MED Saute and brown keeps food at a medium boil or simmer MEDIUM LOW Setting halfway between MED i and LO Cook after startin...

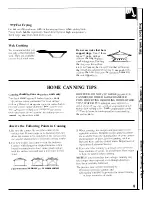
Page 9: ...e units only HOWEVER DO NOT USE LARGE DtAMETER J s 11 1 extend beyt nct I i ncb J1 surfticc units CANNERS OR OTHER LARGE DIAMETER i p p n ilre not reconlrllendc i f r ln lst suri lcc POTS FOR FRYING O...

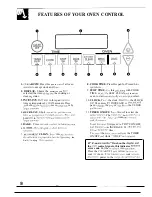
Page 10: ...s this pad for Timed B lkc opcr tions 9 STOP TIME Use this ptid along with COOK TIME or A JTO SELF CLEAN p d to set he oven to start Iutomilticillly at a t rne you select 10 CLOCK To set the clock fir...

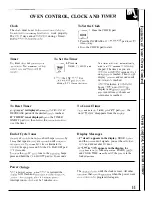
Page 11: ...SE 01 Press and bold tllc TIMER ON OFI pad un il the DECREASE pad until the desired tilne is reached word TI IMER disappears from the di play If TIhlFIR is not displayed press the TIMER ON OFF pad I i...

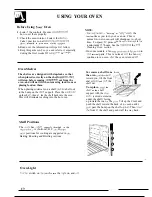
Page 12: ...so that when placed correctly on the shelf sopports the will stop before coming completely out from the oven and will not tilt when removing food from or placing food on them When placing cookware on...

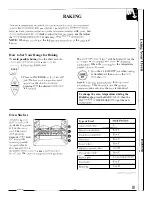
Page 13: ...e desired Lenlpcl ltu c is d ispl lycd The w rd ON Ind I 0 wi tt be displtiyed As the t crl hc l s up hc di spta j wil 1 sh w the ch ulgi n enlperiltur c When t hc t cn re lches the temperature ou set...

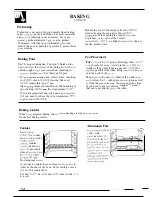
Page 14: ...ind lh t you need to reduce the oven temperature 25C F to pr event t verbrowning Pan Placement For eten cooking nd proper browning there l lLI t be cnou gh room for air ci rcu Iation in the o cn Bak i...

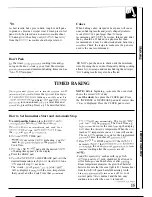
Page 15: ...ediate Start and Automatic Stop l o avoid possible burns place the shel es in Lhc cf rrect p si Lion before yt u turn t hc oven on I hc lvcn w itt tLll n on immediately and cook for a sclectcd tength...

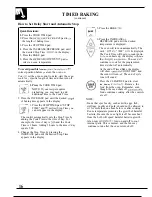
Page 16: ...me of day equals 5 00 4 Change the Stop Time by pressing the INCREASE pad until the desired Stop Time appears in the display n5 Press the BAKE pfid BAKE A 6 Press the INCREASE or DECREASE pad until th...

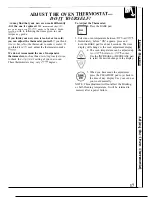
Page 17: ...es to check the tempertiture setting of your new oven These thermometers may vary 2040 degrees To Adjust the Thermostat 1 Press the BAKE pad BAKE A 2 Select an oven temperature between 5000F und 5500F...

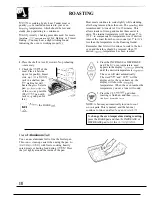
Page 18: ...p on a rOasting rack in a shallow pan The melting fat will baste the me t Select a pan 1s CIOSC to the size of the meat as possible The broiler pan with rack is good pan for position No preheating n 4...

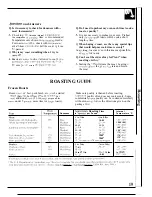
Page 19: ...e or buy rol Icd r oasts Q Can I seal the sides of my foil tent when roasting a turkey i Sealing the toil will steam the meat Leaving il Lrnsealed 1 lows the li r to c i rcu late and brown the meat RO...

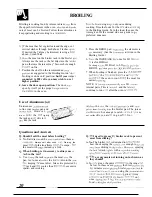
Page 20: ...1 and the I i n Inaj continue to run e en after the oven is tur ncd oft Use of Aluminum I1oil You can use atuminurn fbil WiLhout the stils the i oit witl pre ent fat and mei t to line your broiter pa...

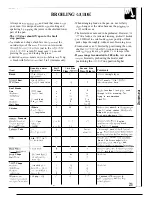
Page 21: ...es round Beet I lb 4 p lt ics Space evenly brp to 8 patties Well Done 1 to 3 4 inch thick c I 7 Like about same time Reef Steaks Rare I incb thick c b 5 S eaks less than 1 inch tbick cook Mcdiunl I 10...

Page 22: ...heuted BrJft these areas with a dry cloth Do not clean the gasket Clean the top sides and outside front 1 the oven door with soap and water Do not use ahrasives or o en cleaners IM ke sure the o erl I...

Page 23: ...pad unti I the desired Clean Time appears 3 Prc the STOP M F pad 4 Press ttrc INCREASE or DECREASE pad until the dc ired Stop Time appe u s in he clisplay Del Iy Start is setting II c okeIl timer to...

Page 24: ...1 have ash Ief t in m oven after cleaning A p lrt 01 this oven if y u do usc thenl ind do not thoroughly rin e the o en w i h w ter wiping it Ihso Lltc y clean at terw lt ds the residue c n sc lr the...

Page 25: ...surface units are turned off before raising the cooktop Grasp the front sides of the cooktop and lift The surface units do not need to be removed before lifting however you may remove one to make rais...

Page 26: ...it ro remove the drip pans for cleaning the surface units I I US bc removed first I ift the surface unit about 1 inch above the drip pan and pull it out To replace a surface unit Replace the drip pan...

Page 27: ...of the door squarely over the hinges Then lower the door slowly and evenly over both hinges at the same time If hinges snap back against the oven frame pull them back out TO CLEAN THE DOOR Inside of...

Page 28: ...h receptacle Pul I the wire forward to the center of cover until it snaps in place When in place the vire holds the cover firmly Be certain the wire is in the depression in the center of the cover Con...

Page 29: ...not properly set See the Broiling section of this guide Door not left i n broi I stop position Improper shelf position being used Sec the Broiling Guide Food is being cooked on hot pan Cookware is no...

Page 30: ...r the first few times the oven is used This is temporary OVEN TEMPERATURE Oven thermostat needs adjustment See the Adju jt the Oven Thermostat TOO HOT OR TOO COLD Do It Y ursevseCtion CONTROL BEEPS AF...

Page 31: ...OLI I C lSSllrCd of f 11 tUr S 117 C ilt t od S priC S Parts andAccessories 80 626 2002 ndividuds qualified to service their o appliances User maintenance instructions contained in is guide I h l e ne...

Page 32: ...Use and Care materials You are responsible for providing adequate electrical gas exhausting If you then have any queslions about operating the product please contact your dealer or our Consumer Affai...

Reviews: