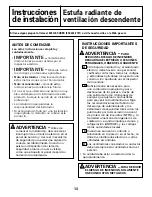
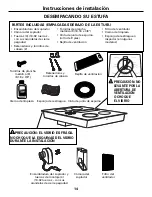

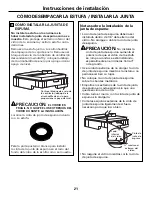

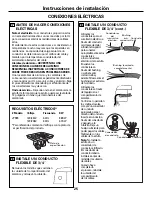
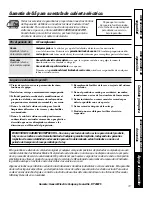
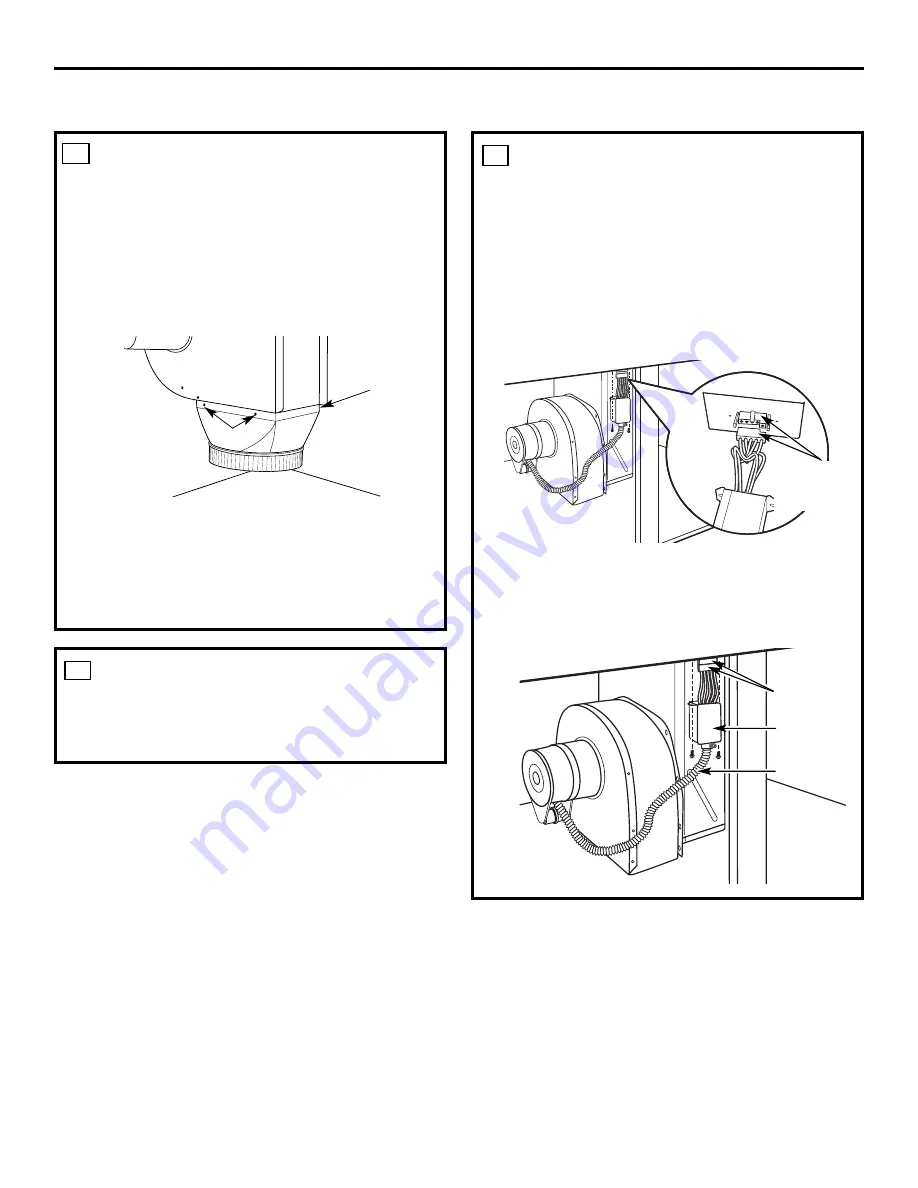
CONEXIONES ELÉCTRICAS
DEL SOPLADOR
•
Afloje los tornillos y remueva y descarte el
tirante metálico que cubre el conectador de
5 pasadores. Guarde los tornillos para la
reinstalación más tarde.
•
Conecte el tapón de 5 pasadores en la
ensambladura para combinar con el
receptáculo de 5 pasadores en el fondo del
alojamiento alambrado.
•
Doble todos los alambres en el alojamiento
eléctrico. Asegure el alojamiento con
los tornillos removidos anteriormente,
cerciorándose de que no quedaron
alambres atrapados.
24
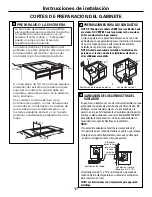
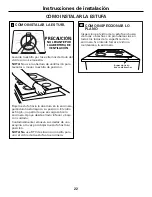
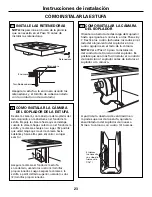
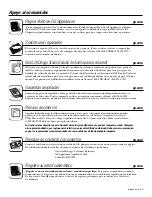
CÓMO PEGAR UNA TRANSICIÓN
DE SOPLADOR
Use un conducto de transición de soplador
para todas las instalaciones de conductos de
flujo de aire descendente para conectar las
piezas de conducto de 6
″
redondas. Este
conducto rectángulo de 3
1
⁄
4
″
x 10
″
a conducto
de 6
″
redondo de transición está disponible en
su ferretería local.
Remueva la empaquetadura de cartón en la
salida del soplador.
Instale el conducto de transición a la salida
del soplador. Asegure toda las juntas con
cinta adhesiva de conducto para asegurar
hermeticidad.
Tornillos
Tornillo
(en el otro
lado)
14
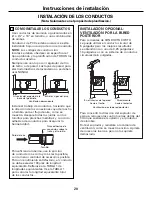
CÓMO CONECTAR LOS
CONDUCTOS
Conecte el conducto preparado en los Pasos 5
y 6 al conducto de transición del soplador.
15
16
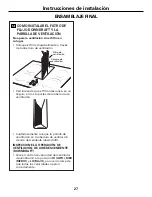
CÓMO PEGAR UNA TRANSICIÓN DE SOPLADOR
Conectores
de 5
pasantes
Alojamiento
eléctrico
Conducto
flexible
Conectores
de 5
pasantes
Instrucciones de instalación


