


Other Controls
LOGIQ V2/LOGIQ V1
–
User Guide
2-13
Direction 5610736-100
Rev. 9
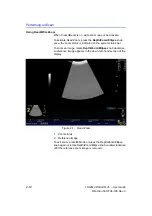
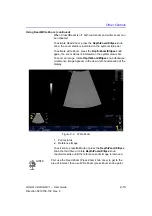
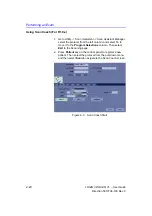
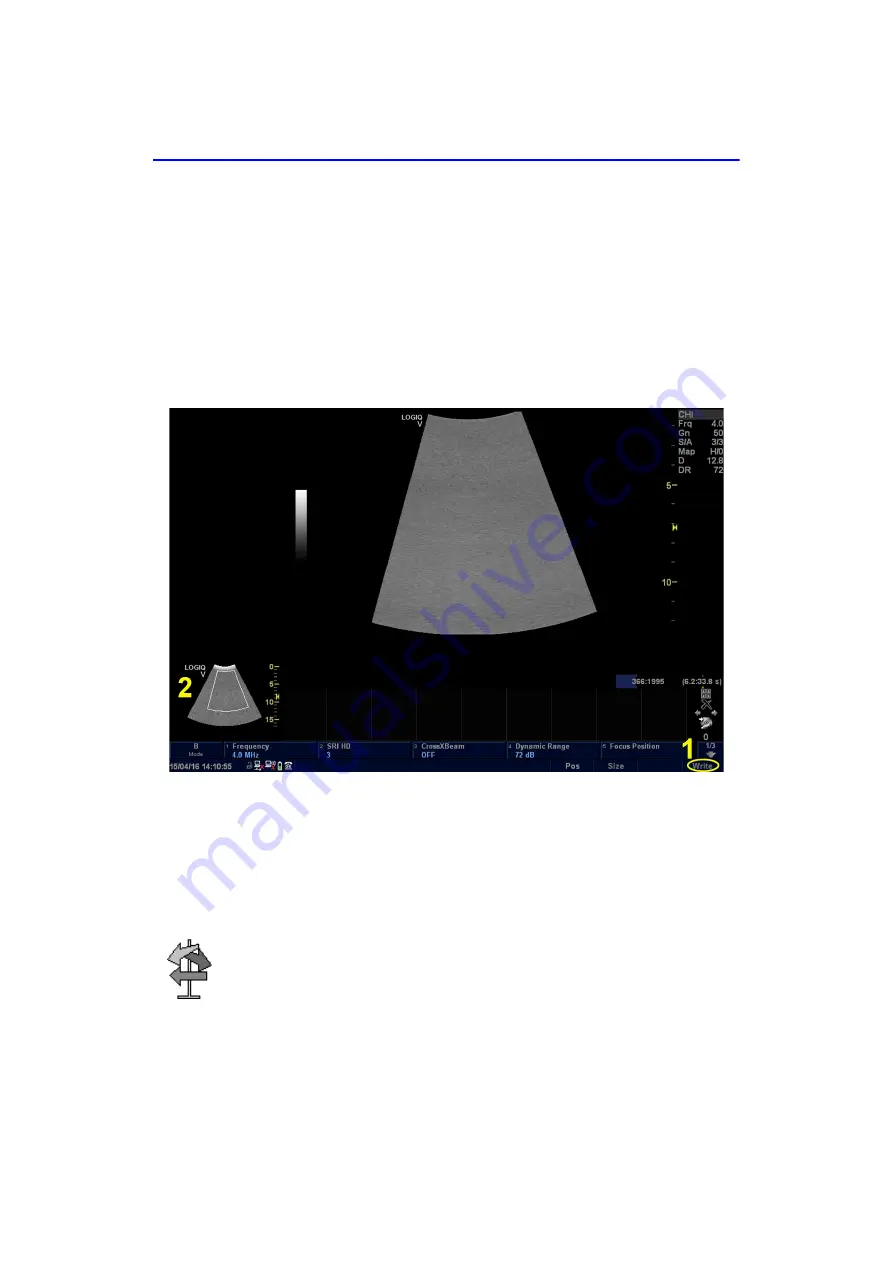
Using Read/Write Zoom (continued)
When CrossXBeam is off, both read zoom and writer zoom can
be activated:
To activate Read Zoom, press the
Depth/Zoom/Ellipse
knob
once, the zoom status is indicated on the system status bar.
To activate write Zoom, press the
Depth/Zoom/Ellipse
knob
again, the zoom status is indicated on the system status bar.
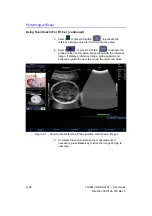
To zoom an image, rotate
Depth/Zoom/Ellipse
knob clockwise.
A reference image appears in the down, left-hand section of the
display.
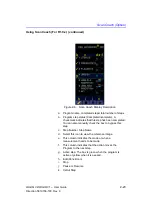
Figure 2-2. Write Zoom
1. Zoom
status
2. Reference
Image
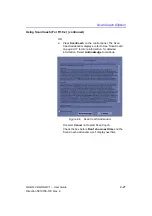
To exit zoom, press
B
-Mode or press the
Depth/Zoom/Ellipse
knob the third time or rotate
Depth/Zoom/Ellipse
knob
counterclockwise until the reference zoom image is removed.
HINTS
First use the Read Zoom (Press Zoom knob once) to get to the
area of interest, then use Write Zoom (press Zoom knob again).
Summary of Contents for LOGIQ V2
Page 8: ...i 6 LOGIQ V2 LOGIQ V1 User Guide Direction 5610736 100 Rev 9...
Page 92: ...Getting Started 1 80 LOGIQ V2 LOGIQ V1 User Guide Direction 5610736 100 Rev 9...
Page 242: ...After the Exam is Over 3 80 LOGIQ V2 LOGIQ V1 User Guide Direction 5610736 100 Rev 9...
Page 288: ...Safety 4 46 LOGIQ V2 LOGIQ V1 User Guide Direction 5610736 100 Rev 9...
Page 380: ...Index 4 LOGIQ V2 LOGIQ V1 User Guide Direction 5610736 100 Rev 9...
Page 381: ......


