Modifications reserved
Page 42/66
OPM_LPS_3UO_80K_M10_1US_V010.doc
User Manual
LP33 Series 80 & 100 UL S1
7.1 PROCEDURES FOR SINGLE
LP33 Series 80 & 100
7.1.1 Start-up of the
LP33 Series 80 & 100
WARNING !
Before connecting hazardous voltages, make sure that:
•
The connection to the electrical system has been performed by QUALIFIED
PERSONNEL;
•
The
equipment frame
has been correctly grounded to the
main earth
;
•
Make sure that
utility input
protection is removed;
•
All the
panels
removed to allow the UPS connection have been correctly reinstalled;
•
The UPS switches
Q1
and
Q2
are OFF (Pos. 0);
•
The
“Battery Breaker”
of the
battery cabinet
is
OFF (Pos. 0).
This procedure must be performed for the first start-up following the installation, with the UPS
completely switched OFF and not powered.
This procedure presupposes that the
Load
is not yet supplied by the UPS system.
NOTE !
The UPS can be started-up using the
Battery Supply
in case the
Input Utility
should be
unavailable.
To avoid an incidental
Battery
discharge, it is recommended to proceed to the UPS
start-up having the
Input Utility
available.
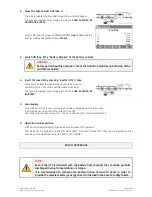
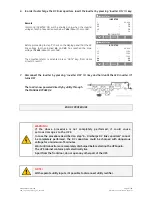
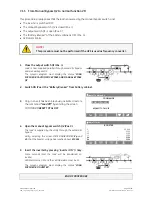
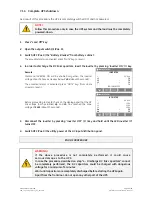
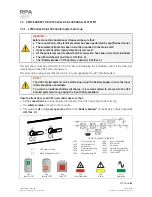
Open the front door and make sure that:
•
All the
connections
to the input/output terminals of the UPS have been made correctly.
•
The
safety screens
are fixed in their position.
•
The switches
Q1
and
Q2
are open (Pos. O)
and the
“
Battery Breaker
”
of the
Battery Cabinet
(option)
is
OFF (Pos. 0)
.
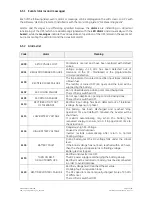
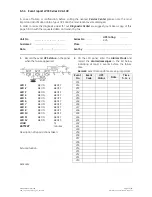
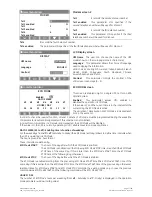
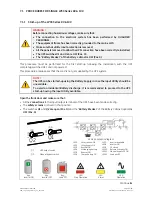
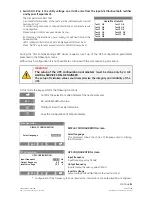
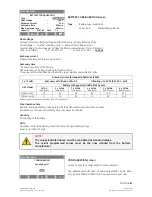
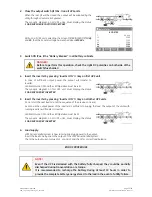
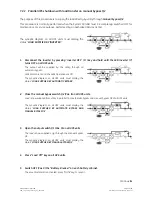
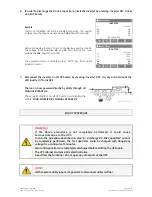
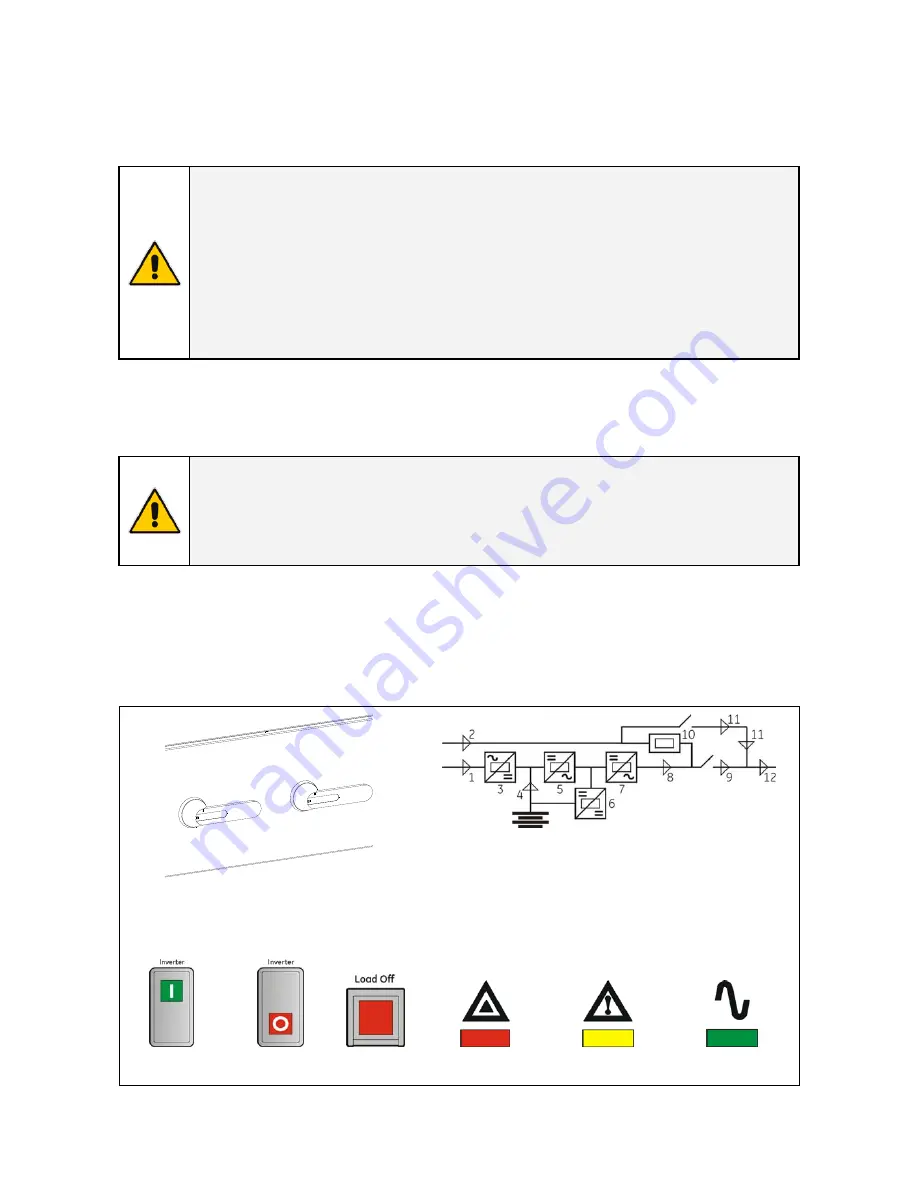
LEDs on synoptic diagram
Q2
I ON
0 OFF
Q1
I ON
0 OF
F
Q1
UPS output switch
Q2 Manual
bypass
switch
LED 1
Utility rectifier OK
LED 2
Utility bypass OK
LED 3
Rectifier ON
LED 4
Discharging battery
LED 5
Booster ON
LED 6
Charge battery ON
LED 7
Inverter available
LED 8
Inverter ON
LED 9
Q1 closed
LED 10 Automatic bypass ON
LED 11 Manual bypass Q2 ON
LED 12 Load on UPS
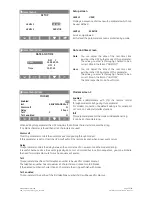
Key Key
Key LED LED LED
Inverter ON
Inverter OFF
Load Off
Stop Operation
Alarm
Operation
Continue
►

