RCL220_manual_v3-draft.doc
05-XXXXA01 Version 3 Draft
Page 17 of 79
9/20/2016
3
Packaged or OEM Radio Command Line
For accessing the COM2 console of the Packaged Radio Module or the OEM Radio Module, use a serial
terminal emulator program such as HyperTerminal, Putty, or ucon. The default settings are: baud rate
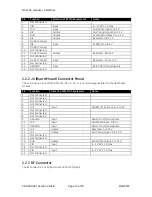
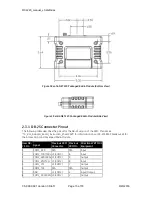
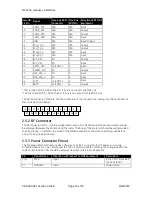
19200, no parity, 8 data bits, and 1 stop bit. The pins for this port are listed in section 2.3.1.
3.1
Common Setup Tasks
3.1.1
Key the Transmitter for Test Purposes
1.
Log in to the radio on its COM2 console.
2.
Put the radio into calibration mode by entering RADIO MODE=CAL.
3.
Select the frequency for the test transmission, and enter with RADIO AUXTX=<frequency>.
4.
Enter RADIO TXKEY=ON.
5.
When finished, enter RADIO TXKEY=OFF.
The test transmission is modulated (not CW) and is a repetitive data pattern over the air.
3.1.2
Upgrade firmware on Packaged Radio Module or OEM Radio
Module (outside OCU)
1.
Log in to the radio on its COM2 console.
2.
Put the radio into calibration mode by entering RADIO MODE=CAL.
3.
Set the radio to stay in calibration mode on reboot RADIO TXSTART=0.
4.
Set the radio to default to console mode COM2 DEFAULT=CONSOLE.
5.
Close the terminal program.
6.
Start the Remote Upgrade Utility, version 4.2.0 or later.
7.
The PRM and ORM have different firmware versions (as do the AP when used in a repeater vs.
onboard). Please be aware of the firmware version you are using and make sure it is
appropriate for the unit you are working with.
Summary of Contents for MDS RCL220
Page 19: ...RCL220_manual_v3 draft doc 05 XXXXA01 Version 3 Draft Page 19 of 79 9 20 2016 ...
Page 20: ...RCL220_manual_v3 draft doc 05 XXXXA01 Version 3 Draft Page 20 of 79 9 20 2016 ...
Page 21: ...RCL220_manual_v3 draft doc 05 XXXXA01 Version 3 Draft Page 21 of 79 9 20 2016 ...
Page 22: ...RCL220_manual_v3 draft doc 05 XXXXA01 Version 3 Draft Page 22 of 79 9 20 2016 ...
Page 23: ...RCL220_manual_v3 draft doc 05 XXXXA01 Version 3 Draft Page 23 of 79 9 20 2016 ...

