13
Installation
36" Stainless Steel Refrigerators, Freezers
Step 11
Install
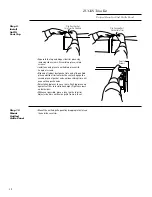
Toekick
• A standard toekick is supplied. Install with 2 screws
provided, adjust to desired height and tighten screws.
IMPORTANT:
The vented toekick must remain
unobstructed for proper air circulation and operation.
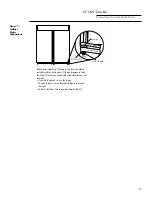
• Set temperature control at “5”.
IMPORTANT:
Allow 24 hours for temperatures to stabilize
before making adjustments.
Step 12
Temperature
Controls
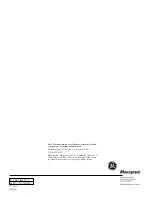
• Start the switch to I (on). The green light will come on
and the icemaker will begin operation automatically.
• Be sure nothing interferes with the sweep of the
feeler arm.
• Discard the first few batches of ice cubes.
• To turn the icemaker off, set the switch to O (off).
Allow 45 minutes for the icemaker to resume
operation.
Step 13
Start
Icemaker
Problem
Solving
Operation of Refrigerator and Freezer
If the product does not operate after checking the
installation instructions:
• Check to be sure power cord is plugged in the wall
outlet.
• Check to be sure that fuse or circuit breaker is
turned on.
If any of these problems persist:
Call for Monogram local service in your area,
1.800.444.1845.
Cleaning the Stainless Steel Exterior
Stainless Steel has some unique cleaning
characteristics. In order to keep your refrigerator or
freezer looking like new, we suggest cleaning it with
Stainless Steel Magic or a similar product.
Stainless Steel Magic is available at Ace, True Value,
Home Depot, Servistar, HWI and other leading stores.
It is also available through GE Parts by calling
1.800.626.2002. Order part number WX10X15.
Power Switch
Green Power Light
Feeler Arm
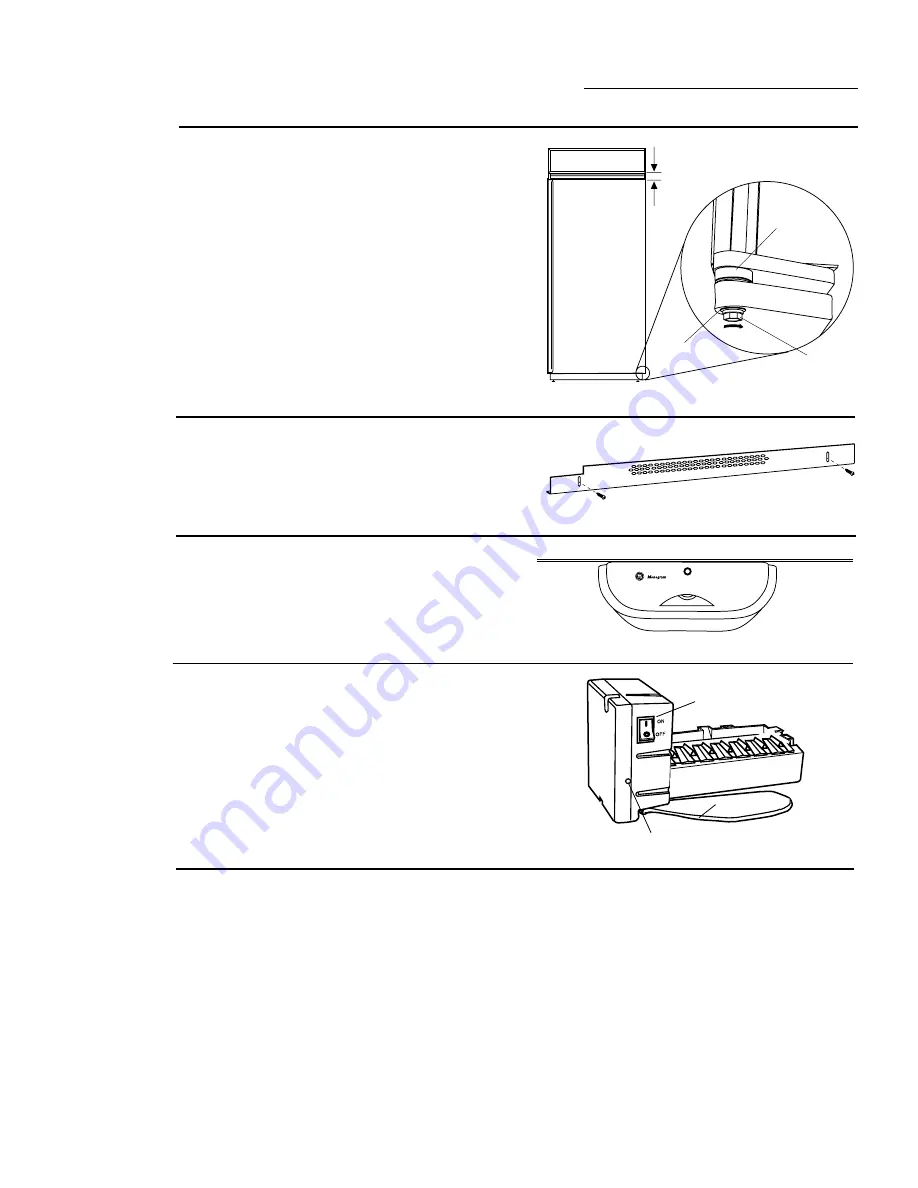
Step 10
Adjust Door
Alignment
Check door alignment. The top of the door should be
parallel with the grille panel. If the door appears to be
too high or too low on the handle side, adjustments
can be made by turning the hinge.
• To raise the door, turn adjustable hinge pin toward
the right.
• To lower the door, turn hinge pin toward the left.
Turn the hinge pin with a 5/16" wrench or, on some
models, use the 3/16" Allen wrench taped to the hinge.
Door Should be Parallel
With Grille Panel
Bushing
Door Hinge
Case Hinge
5/16" Wrench
Raise
Pin Shoulder


