20
MULTISYNC 100 GPS CLOCK – INSTRUCTION MANUAL
INSTALL HARDWARE
CHAPTER 3: INSTALLATION
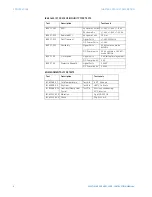
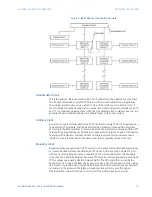
Bottom panel
Figure 6: Bottom panel
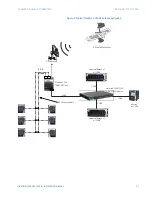
Top panel
Figure 7: Top panel
Install hardware
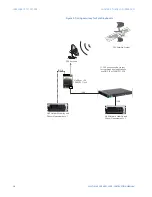
For a sample system configuration, see the
Typical MultiSync 100 GPS Clock application
figure on page 17.
1.
Install the antenna in a location with a clear line of sight to the sky.
2.
Connect the antenna to the lightning arrestor.
3.
Install the MultiSync 100 in the desired location and connect to the antenna.
4.
Connect the MultiSync 100 to the network switch.
5.
Connect to power, ensuring the correct DC voltage (36V - 300V) is used.
6.
Connect the Sync indication relay to the alarm circuit if required
(C = Common, NO = Normally Open, NC = Normally Closed)
7.
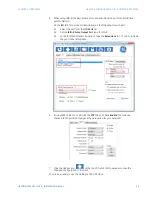
Once the MultiSync 100 is installed and configured, connect the clock outputs to your
devices.
–
An RG59 cable (or similar with characteristic impedance of >75
Ω
) is
recommended to connect devices to the P1 and P2 ports.
–
A termination resistor of 120
Ω
can be added to the end of a TTL run to achieve
good impedance matching.
–
If using DHCP: before powering up, ensure the MultiSync 100 is connected to the
network.

