Chapter 2
.
Installation
PROFINET Configuration
Once all connections are in place, it will be necessary to set up the PROFINET configuration.
This requires use of the PC-based
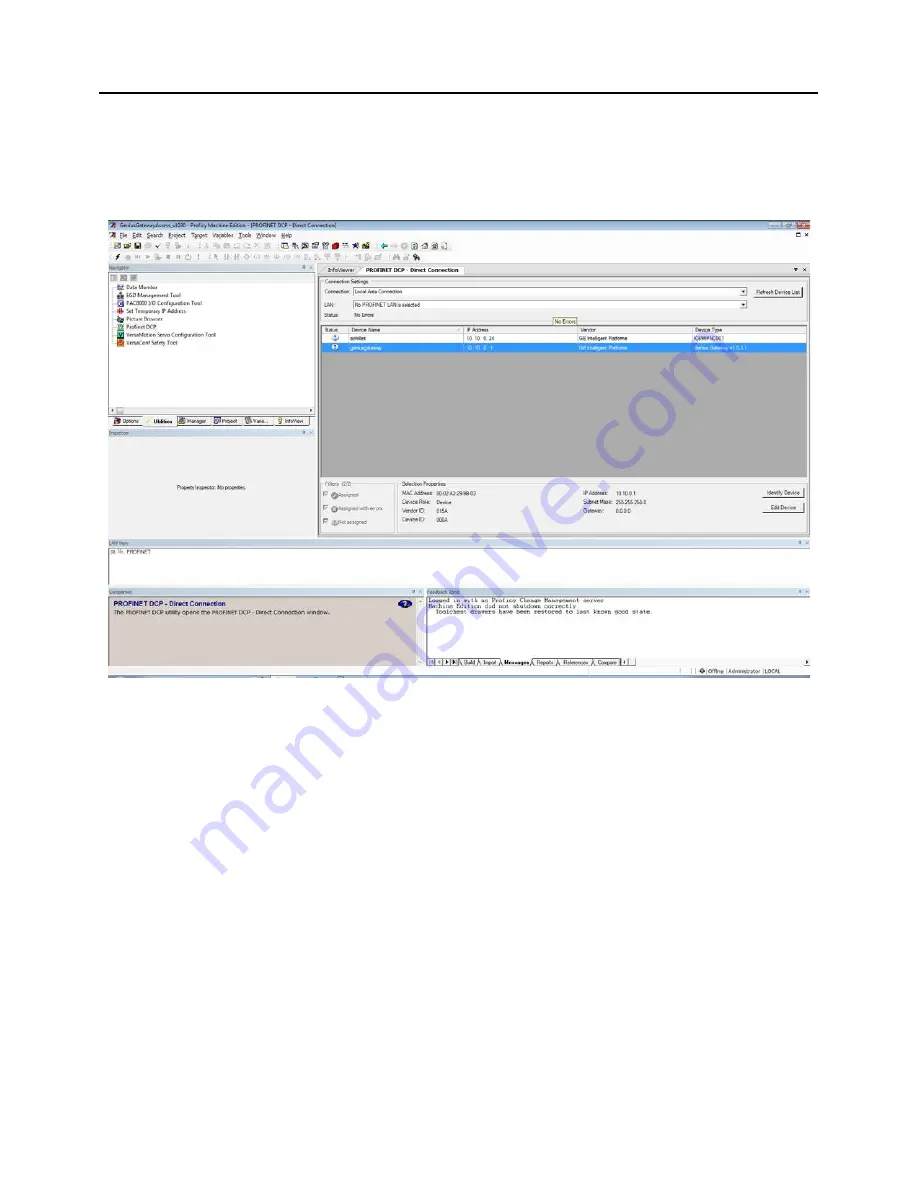
PROFINET Discovery
tool. Be sure your PC is connected to
the same PROFINET network and interrogate the network to discover what is connected, as
shown in the following screen-shot.
Figure 12: PROFINET Discovery Screenshot
Initially, the out-of-the box GCG001 will not have a name assigned. Select the row containing
the GCG001, then click on the
Edit Device
button in order to assign a unique name.
Configuration tools and procedures are discussed in detail in Chapter 3.
2.4.3
GCG001 Module Removal
•
Power down the external 24Vdc source
•
Remove the Power connector from the underside of the GCG001 module
•
Disconnect the RJ-45 PROFNET connector(s)
•
Remove the Genius terminal block
•
While holding the GCG001, loosen the two captive M3.5 screws that hold the module
in place, then pull away from the mounting surface. Note that, if mounted to an RX3i
rack, there is no pivot attachment or backplane connection to the rack.
•
The SD Card may be transferred from the removed GCG001 to another (successor)
GCG001. This permits the PROFINET configuration of the removed module to be
transferred to the successor module.
•
Once the successor module has been mounted, the original Power, PROFINET and
Genius connections may be restored to it.
GFK-2892B
PACSystems RX3i Genius Communications Gateway User Manual
Public 23


