background image

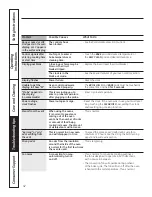
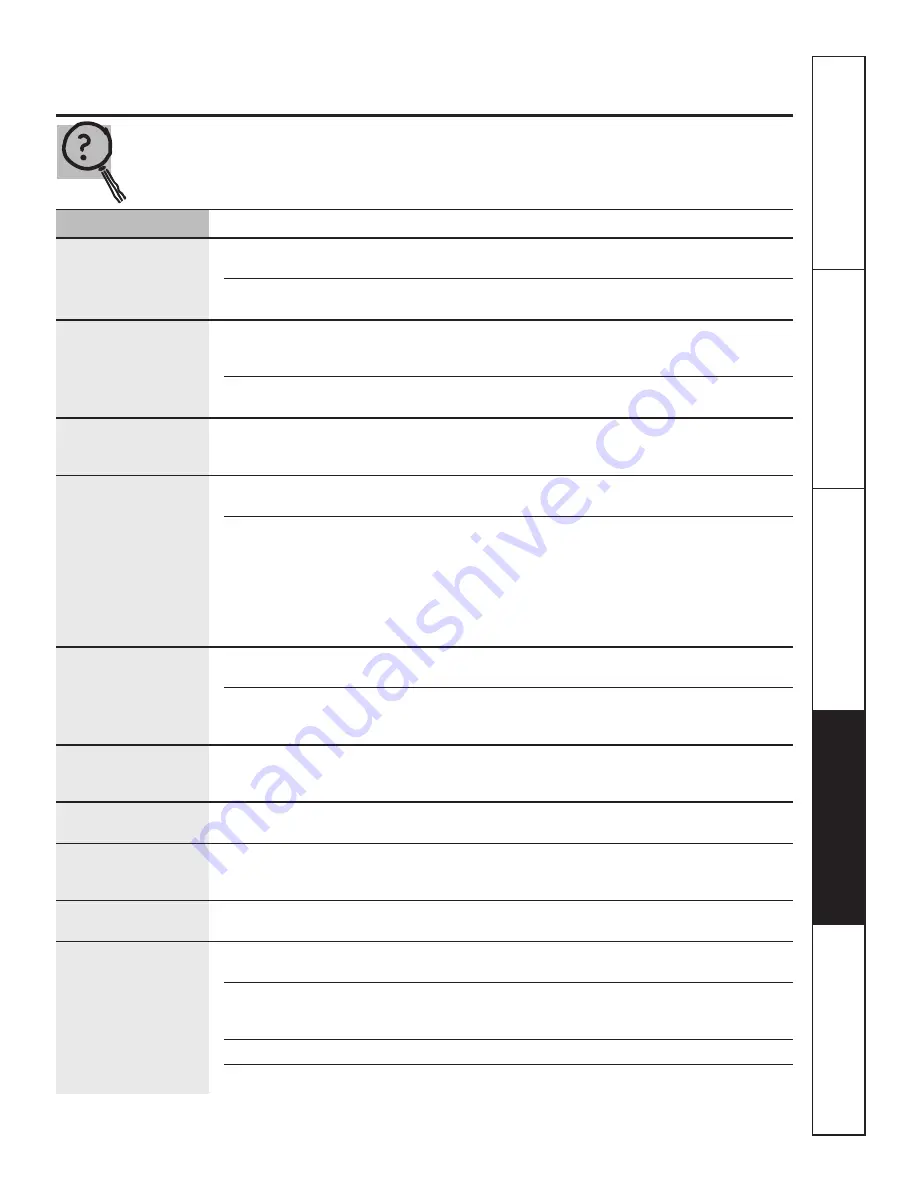
Troubleshooting Tips 

Save time and money! Review the charts on the following

pages first and you may not need to call for service.

Problem

Possible Causes

What To Do

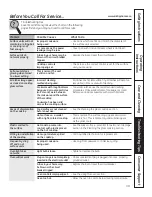
Surface units will not

Improper cookware  

Use pans which are flat and match the diameter of 

maintain a rolling boil

being used.

the surface unit selected.

or cooking is not 

In some areas, the power

Cover pan with a lid until desired heat is obtained.

fast enough

(voltage) may be low.

Surface units do

A fuse in your home may be 

Replace the fuse or reset the circuit breaker.

not work properly

blown or the circuit breaker 

tripped.
Cooktop controls 

Check to see the correct control is set for the surface

improperly set.

unit you are using.

Surface unit stops

This is normal. The unit 

glowing when turned

is still on and hot.

to a lower setting
Scratches (may appear

Incorrect cleaning 

Scratches are not removable. Tiny scratches will become

as cracks) on cooktop

methods being used.

less visible in time as a result of cleaning.

glass surface

Cookware with rough bottoms

To avoid scratches, use the recommended cleaning

being used or coarse particles

procedures. Make sure bottoms of cookware are clean 

(salt or sand) were between

before use, and use cookware with smooth bottoms.

the cookware and the surface

of the cooktop.
Cookware has been slid

across the cooktop surface.

Areas of discoloration 

Food spillovers not cleaned 

See the Cleaning the glass cooktop section.

on the cooktop

before next use.
Hot surface on a model

This is normal. The surface may appear discolored 

with a light-colored cooktop.

when it is hot. This is temporary and will disappear 

as the glass cools.

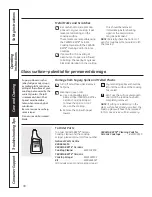
Plastic melted to 

Hot cooktop came into 

See the Glass sur

face―po

tential for permanent damage

the surface

contact with plastic placed

section in the Cleaning the glass cooktop section.

on the hot cooktop.

Pitting (or indentation)

Hot sugar mixture spilled 

Call a qualified technician for replacement.

of the cooktop

on the cooktop.

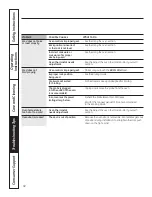
Frequent cycling 

Improper cookware 

Use only flat cookware to minimize cycling.

off and on of 

being used.

surface units
Oven light does 

Light bulb is loose.

Tighten or replace the bulb.

not work
Oven will not work

Plug on range is not completely

Make sure electrical plug is plugged into a live, properly

inserted in the electrical outlet.

grounded outlet.

A fuse in your home may 

Replace the fuse or reset the circuit breaker.

be blown or the circuit 

breaker tripped.
Oven controls improperly set.

See the Using the oven section.

Oven too hot.

Allow the oven to cool to below locking temperature.

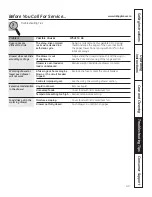
Before You Call For Service…

www.GEAppliances.ca

Sa

fet

y I

nst

ru

cti

on

s

O

pe

rat

in

In

st

ru

cti

on

s

Ca

re

 a

nd

 C

lea

nin

g


Co

ns

um

er 

Sup

po

rt

39

Tro
ubl

es

hooti
ng Ti
ps

Summary of Contents for PCS968

Page 1: ...asting 14 Broiling Broiling Guide 15 Controls 11 12 Convection Oven 20 23 Lower Oven Drawer 30 Preheating 14 Probe 17 Sabbath Feature 28 Self Cleaning 24 25 Special Features 26 27 Timed Baking and Roa...

Page 2: ...and engaged properly remove the storage drawer or kick panel and look underneath the range to see that the leveling leg is engaged in the bracket On models without a storage drawer or kick panel caref...

Page 3: ...containers Pressure could build up and the container could burst causing an injury Do not use aluminum foil to line the drip pans or anywhere in the oven except as described in this manual Misuse cou...

Page 4: ...he center of the range without extending over nearby surface units When preparing flaming foods under a hood turn the fan on Use care when touching the cooktop The glass surface of the cooktop will re...

Page 5: ...efore operating the self clean cycle wipe grease and food soils from the oven Excessive amount of grease may ignite leading to smoke damage to your home If the self cleaning mode malfunctions turn the...

Page 6: ...e hot cookware from the oven or surface on the glass cooktop when the surface is cool Even after the surface units are turned off the glass cooktop retains enough heat to continue cooking To avoid ove...

Page 7: ...Will scratch the surface Stoneware not recommended Poor performance May scratch the surface Cast Iron not recommended unless designed specifically for glass cooktops Poor conductivity and slow to abs...

Page 8: ...the WARMING ZONE Touch the WARMING ZONE ON OFF pad NOTE The CLEAR OFF pad will not turn off the WARMING ZONE For best results all foods on the WARMING ZONEshould be covered with a lid or aluminum foi...

Page 9: ...ely 65 6 C 150 F Indicator light will Come on when the unit is turned on or hot to the touch Stay on even after the unit is turned off Glow until the unit is cooled to approximately 65 6 C 150 F www G...

Page 10: ...ave support rings Do not use round bottom woks You could be seriously burned if the wok tipped over Home Canning Tips Be sure the canner is centered over the surface unit Make sure the canner is flat...

Page 11: ...Touch the START pad When baking is finished touch the CLEAR OFF pad CONVECTION COOK Pad Touch theCONVECTION BAKE or CONVECTION ROAST pad Touch the number pads to set the desired oven temperature Touch...

Page 12: ...wer outage CONTROL LOCKOUT Pad Your control will allow you to lock out the touch pads and the cooktop so they cannot be activated when touched To lock the controls and cooktop Touch and hold the CONTR...

Page 13: ...ution when pulling the rack out We recommend that you pull the rack out several inches and then using two pot holders pull the rack out by holding the sides of it The rack is low and you could be burn...

Page 14: ...he recipe Cook longer if necessary Touch the CLEAR OFF pad when baking is finished and then remove the food from the oven Preheating and Pan Placement To avoid possible burns place the racks in the de...

Page 15: ...140 F Steaks E or F food should be 2 5 cm to 7 6 cm 1 to 3 from broil element Steaks less than 2 5 cm to cook rare They cook through before browning To prevent curling of meat slash fat at 2 5 cm 1 in...

Page 16: ...day Touch the BAKE pad Touch the number pads to set the desired oven temperature Touch the COOK TIME pad NOTE If your recipe requires preheating you may need to add additional time to the length of th...

Page 17: ...the probe or oven control Use the handles of the probe and plug when inserting and removing them from the food and outlet To avoid damaging your probe do not use tongs to pull on the cable when removi...

Page 18: ...s in the Special features of your oven control section under Tones at the End of a Timed Cycle TheKitchenTimerisinhoursandminutes TheKitchenTimerdoesnotcontroloven operations Themaximumsettingonthe Ki...

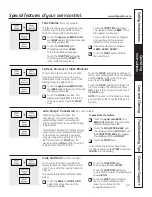
Page 19: ...meters may vary 20 40 degrees NOTE This adjustment will only affect baking and roasting temperatures it will not affect broiling or self cleaning temperatures The adjustment will be retained in memory...

Page 20: ...de and can be used for 1 Rack Convection Baking or Multi Rack Convection Baking Convection Cook on some models Convection Fan Operation In a convection oven a fan circulates hot air over under and aro...

Page 21: ...ach other or the walls of the oven Paper and Plastic Heat resistant paper and plastic containers that are recommended for use in regular baking can also be used for convection baking but should not be...

Page 22: ...while cooking with these features The fan will stop when the door is opened but the heat will not turn off NOTE Foods that spoil easily such as milk eggs fish stuffings poultry and pork should not be...

Page 23: ...ar a fan while cooking with this feature The fan will stop when the door is opened but the heat will not turn off You can use the Kitchen Timer even though you cannot use timed oven operations Never l...

Page 24: ...irst self clean cycle Remove any broiler pan broiler grid probe all cookware and any aluminum foil from the oven NOTE If your oven is equipped with shiny silver colored oven racks remove them before y...

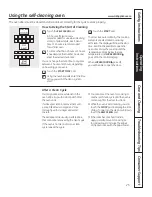
Page 25: ...rt of Cleaning Touch the SELF CLEAN pad A 3 hour self clean time is recommended for use when cleaning small contained spills A self clean time of 5 hours is recommended for a dirtier oven If a time ot...

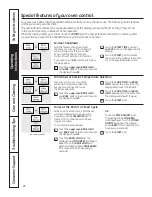
Page 26: ...Timed Cycle At the end of a timed cycle 3 short beeps will sound followed by one beep every 6 seconds until the CLEAR OFF pad is touched This continual 6 second beep may be cancelled To cancel the 6...

Page 27: ...d Touch the CLOCK pad again to black out the clock display The display will show OFF If this is the choice you want touch the START pad NOTE If the clock is in the black out mode you will not be able...

Page 28: ...perature Touch the START pad on the corresponding oven After a random delay period of approximately 30 seconds to 1 minute will appear in the display indicatingthat the oven is baking roasting If does...

Page 29: ...etc before placing containers in warming drawer Temperature Selection Chart To keep several different foods hot set the control to the food needing the highest setting The temperature type and amount...

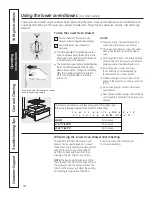
Page 30: ...ce plastics paper canned foods or combustible material in the lower oven drawer The lower oven drawer may be used to bake foods using the same times and temperatures as a standard oven Foods ideal for...

Page 31: ...Protective Shipping Film and Packaging Tape Carefully grasp a corner of the protective shipping film with your fingers and slowly peel it from the appliance surface Do not use any sharp items to remo...

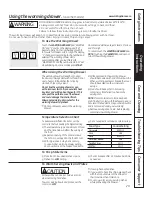
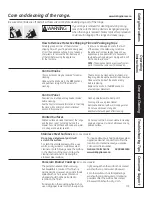
Page 32: ...ion Ifyounoticethegasketbecomingworn frayedordamagedinanyway youshould haveitreplaced To clean the inside of the door Gently wipe off glass inner door with hot soapy water and a sponge or soft cloth N...

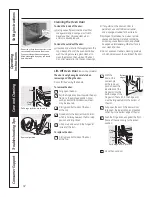
Page 33: ...plated oven racks may remain in the oven during the self cleaning cycle but they will lose their luster and become hard to slide It will be necessary to grease all oven rack side edges with a light co...

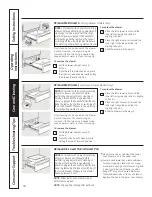
Page 34: ...lide it in slightly to hook it Slide the drawer all the way in NOTE For models with an electric warming drawer before performing any adjustments cleaning or service disconnect the range electrical pow...

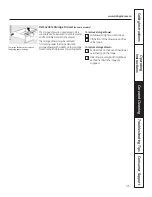
Page 35: ...s and flammable material in the drawer Thestoragedrawermaybe removed fordeaningundertherange cleanthe storagedrawerwithadamp clothorsponge Neveruseharshabrasivesorscouring pads Pulldrawerstraightoutun...

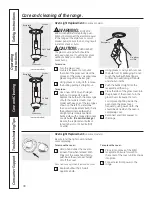
Page 36: ...the socket wearing latex gloves may offer a better grip Use a new 120 130 volt halogen bulb not to exceed 50 watts Replace the bulb with the same type of bulb that was removed Your model will have one...

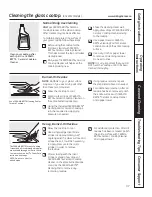
Page 37: ...ved polish the entire surface with CERAMA BRYTE Ceramic Cooktop Cleaner and a paper towel The CERAMA BRYTE Ceramic Cooktop Scraper and all recommended supplies are available through our Parts Centre S...

Page 38: ...dy occurred the cooktop glass will have to be replaced In this case service will be necessary Damage from Sugary Spills and Melted Plastic Sugary spillovers such as jellies fudge candy syrups or melte...

Page 39: ...nd the surface of the cooktop Cookware has been slid across the cooktop surface Areas of discoloration Food spillovers not cleaned See the Cleaning the glass cooktop section on the cooktop before next...

Page 40: ...re not suited For best results use a pan designed for broiling for broiling The probe is plugged Unplug and remove the probe from the oven into the outlet in the oven on some models In some areas the...

Page 41: ...during a clean cycle rid the room of smoke Wait until LOCKED DOOR goes off After the oven cools wipe up the excess soil and reset the clean cycle Oven door will not Oven too hot Allow the oven to cool...

Page 42: ...wer outage or surge Reset the clock If the oven was in use you must reset clock flashes it by touching the CLEAR OFF pad setting the clock and resetting any cooking function Steam from the vent When u...

Page 43: ...Reduce weight Redistribute drawer contents load is unbalanced Warming drawer or A fuse in your home may be Replace the fuse or reset the circuit breaker lower oven drawer blown or the circuit breaker...

Page 44: ...Notes 44 Consumer Support Care and Cleaning Operating Instructions Safety Instructions Troubleshooting Tips...

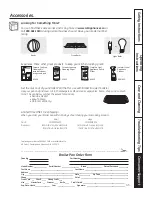
Page 45: ...Moncton N B E1C 9M3 45898 23635 48635 40616EF Ceramic Cooktop Cleaning Kit Includes cleaner scraper and pad Ceramic Cooktop Cleaning Wipes Stainless Steel Appliance Polish Wipes Stainless Steel Appli...

Page 46: ...46 OWNERSHIP REGISTRATION P O BOX 1780 MISSISSAUGA ONTARIO L4Y 4G1 FOR CANADIAN CONSUMERS ONLY Please place in envelope and mail to Veuillez mettre dans une enveloppe et envoyez...

Page 47: ...47 POSTALCODE POSTAL PROVINCE...

Page 48: ...Notes 48 Consumer Support Troubleshooting Tips Care and Cleaning Operating Instructions Safety Instructions...

Page 49: ...www GEAppliances ca Safety Instructions Operating Instructions Care and Cleaning Troubleshooting Tips Consumer Support 49 Notes...

Page 50: ...rovincial consumer affairs office Warrantor Mabe Canada Inc Burlington Ontario All warranty service provided by our Factory Service Centres or an authorized Customer Care technician To schedule servic...

Page 51: ...accessory for your appliance call our National Parts Centre at 1 800 661 1616 Contact Us www GEAppliances ca If you are not satisfied with the service you receive from GE contact us on our Website wit...

Reviews: