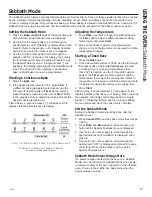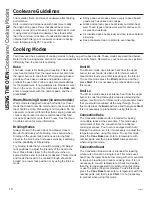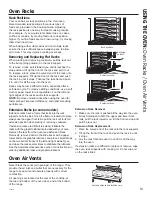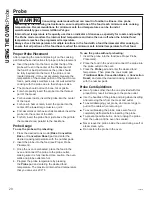
49-85221
25
Cleaning the Cooktop
CARE AND CLE
ANING:
Cleaning the Cook
top
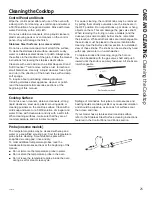
Cooktop Surface
Do not use oven cleaners, abrasive cleansers, strong
liquid cleansers, steel wool, plastic scouring pads, or
cleaning powders on the cooktop surface. Clean with a
PLOGVRDSDQGZDWHURUDVROXWLRQRIYLQHJDUDQG
water. Rinse with clean water and dry with a soft cloth.
When cleaning surfaces, make sure that they are at
room temperature and not in direct sunlight.
Spillage of marinades, fruit juices, tomato sauces and
basting liquids containing acids may cause discoloration
and should be wiped up as soon as hot surfaces cool,
then clean and rinse.
If your model has a stainless steel cooktop surface,
refer to the Stainless Steel Surface cleaning instructions
featured in the Control Panel and Knobs section.
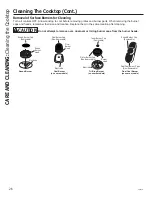
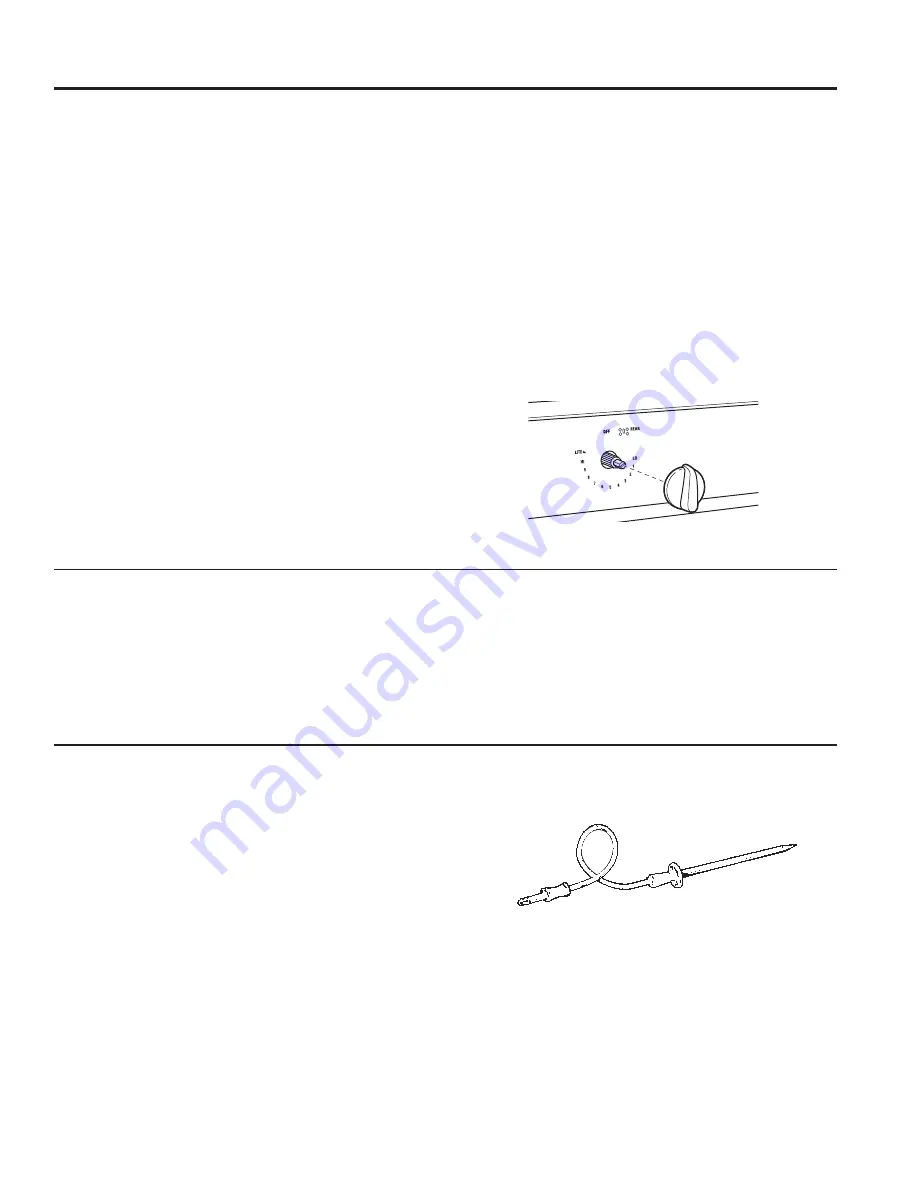
Probe (on some models)
The temperature probe may be cleaned with soap and
water or a soap-filled scouring pad. Cool the temperature
probe before cleaning. Scour stubborn spots with a
soap-filled scouring pad, rinse and dry.
To order additional temperature probes, read the
$VVLVWDQFH$FFHVVRULHVVHFWLRQVDWWKHEHJLQQLQJRIWKLV
manual.
Ŷ
Do not immerse the temperature probe in water.
Ŷ
Do not store the temperature probe in the oven.
Ŷ
Do not leave the temperature probe inside the oven
during a self or steam clean cycle.
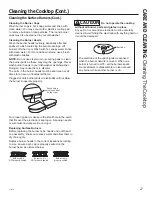
Control Panel and Knobs
Wipe the control panel after each use of the oven with
a damp cloth. For cleaning, use mild soap and water or
DVROXWLRQRIYLQHJDUDQGZDWHU5LQVHZLWKFOHDQ
water. Polish dry with a soft cloth.
Do not use abrasive cleansers, strong liquid cleansers,
plastic scouring pads or oven cleaners on the control
panel—they will damage the finish.
Stainless Steel Surfaces (on some models)
Do not use a steel wool pad; it will scratch the surface.
To clean the stainless steel surface, use warm sudsy
water or a stainless steel cleaner or polish. Always wipe
the surface in the direction of the grain. Follow the cleaner
instructions for cleaning the stainless steel surface.
Cleaners with oxalic acid such as Bar Keepers Friend
6RIW&OHDQVHUZLOOUHPRYHVXUIDFHUXVWWDUQLVKDQG
small blemishes. Use only a liquid cleanser free of grit
and rub in the direction of the brush lines with a damp,
soft sponge.
To inquire about purchasing cleaning products
including stainless steel appliance cleaner or polish,
UHDGWKH$VVLVWDQFH$FFHVVRULHVVHFWLRQVDWWKH
beginning of this manual.
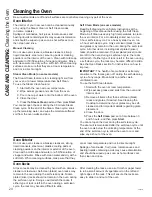
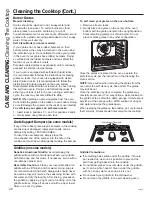
For easier cleaning, the control knobs may be removed
by pulling them directly outwards once the knobs are in
the OFF position. Do not pull knobs up or down or hang
objects on them. This can damage the gas valve shaft.
When removing the tri-ring (on some models) and the
dual-oval (on some models) burner knobs, remember
their location. While all other knobs are interchangeable,
these knobs must be placed in the same location after
cleaning. See the Surface Burner section for a detailed
view of these knobs. The knobs can be washed by hand
with soap and water or in a dishwasher.
To replace knobs after cleaning, align the hole on
the knob backside with the gas valve shaft and push
inward until the knob is securely fastened. All knobs are
interchangeable
Surface burner knob
Summary of Contents for PGB911DEJWW
Page 31: ...49 85221 31 Notes ...
Page 32: ...32 49 85221 Notes ...
Page 33: ...49 85221 33 Notes ...
Page 67: ...49 85221 31 Notas ...
Page 68: ...32 49 85221 Notas ...
Page 69: ...49 85221 33 Notas ...


