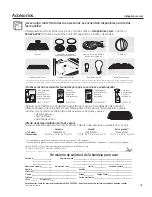
You must use a ferrous pan when using the induction coils on
this range. The warming zone is not an induction coil and will
work with any type of cookware. You can verify your pan is
ferrous if a magnet sticks to it. Quality cookware with heavy
bottoms made of cast iron, magnetic stainless steel and
enameled steel work best. For best results, use pans with flat
bottoms. Woks that do not have flat bottoms in close contact to
the glass surface will not work. Some pans are made especially
for induction cooking.
What Type of Pans Are Required?
A low humming noise is normal when using induction coils,
especially on higher power settings. Heavy enamel cast-iron
pots produce less noise than lightweight steel pans. The amount
of content in the pans can also affect noise level. Pans that
completely cover the graphics on the glass will produce less
noise. Water trapped under pans can boil, causing the cookware
to vibrate or slide on the glass surface.
Cookware “Noise”
Pan Size and Shape
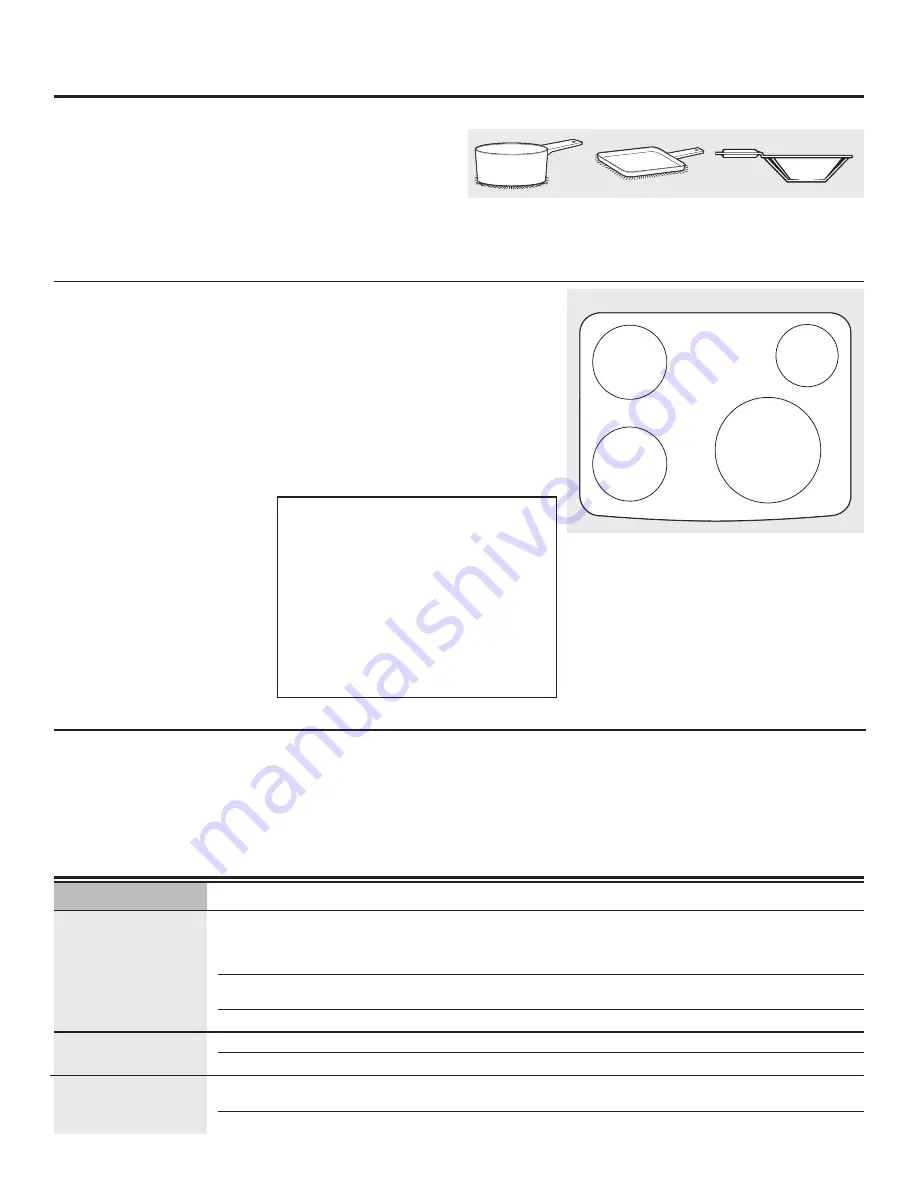
The induction coils require a minimum pan size in order for the element to turn on.
In order for the induction coil to correctly determine if the pan is large enough, it is
important that the pan be centered within the circular graphics marked on the
glass cooking surface. The minimum pan size that will work for each induction coil
is shown on the right. Pans that are not ferrous or are too small will not allow the
induction coil to turn on, and the power level display for that coil location will flash
for 30 seconds and then turn off. If a pan is removed from the induction coil for
more than 30 seconds, the power will be shut off. Square pans will work, although
round pans that match the induction coil sizes work best. Cookware larger than
the cooktop glass graphics will work. For best results, match the pan size with
the nearest-size graphics on the glass cooking surface.
Use a flat-bottomed wok.
Use a griddle.
Use flat-bottomed pans.
Boost Mode and Power
Sharing
Power Sharing is activated when
both elements in the same cooking
zone are activated and one element
is set for Boost (H). The element
that is not set for Boost will change
to a lower power level. This is
called Power Sharing. When Boost
operation is complete (10 minutes),
the other element may be reset to
any power level. Both elements can
operate simultaneously at normal
power level settings of “L” to 9.
4 burner cooktops with right- and left-side (2)
induction generators
Use the minimum size pan shown for each cooking element.
5-3/4” Min. Dia.
Pan Size
LR
5-3/4” Min. Dia.
Pan Size
LF
4-3/4” Min.
Dia. Pan Size
RR
8” Min. Dia.
Pan Size
RF
Using the cooktop. (cont.)
Problem
Possible Causes
What To Do
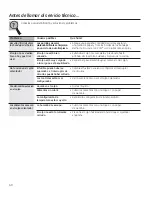
Surface units do
Improper cookware being used. • Wrong pan type. Use a magnet to check that cookware is
not work properly or
induction-compatible. Use a flat induction-capable pan that meets
flashing power setting
the minimum size for the element being used. See the Pan size and
shape section.
Pan is too small.
• Pan size is below the minimum size for the element. See the Pan size
and shape section.
Pan not positioned correctly.
• Center the pan in the cooking zone.
Pan detection/sizing
Pan is improperly placed.
• Make sure the pan is centered on the corresponding surface element.
not working properly
Cooktop control improperly set. • Check to see that the control is set properly.
Surface unit setting
Power sharing.
• Check to see if power was being shared between two elements. See
changed or turned
Boost Mode and Power Sharing section.
off unexpectedly
High cooktop temperature.
• Allow the internal fan to cool the cooktop.
Before you call for service…
IMPORTANT NOTE FOR RIGHT
SIDE POWER SHARING
The elements on the right side share one
generator. Both elements can operate at
any non-Boost (level L to 9) power level
at the same time. When the large 11”
element is set for “H” or Boost, the smaller
element is automatically shut off and
cannot be activated. After 10 minutes,
Boost (H) will revert to power level 9.
At that time, the smaller element may be
activated and set for any power level.
Summary of Contents for Profile PHS925STSS
Page 42: ...1RWHV...
Page 86: ...1RWDV...

