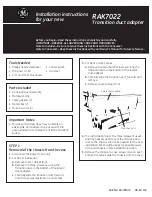
Installation instructions
RAK7022
for your new
Transition duct adapter
Before you begin—Read these instructions completely and carefully.
IMPORTANT—OBSERVE ALL GOVERNING CODES AND ORDINANCES.
Note to Installer—Be sure to leave these instructions with the Consumer.
Note to Consumer—Keep these instructions with your Owner’s Manual for future reference.
Tools Needed
•
Phillips head screwdriver
•
Center punch
•
Drill and 1/4” bit
•
Hammer
•
1/4” and 5/16” Nut drivers
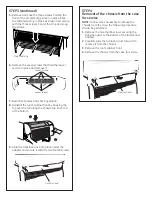
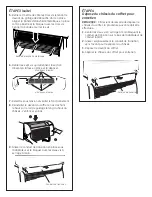
3. For AZ21 or AZ31 series:
a. Remove the two thumb screws securing the
transition duct to the bottom of the lateral
duct adapter.
b. Carefully slide the transition duct forward and
remove.
c. Remove room cabinet front.
4. The old transition duct, the three screws (if used)
and any gaskets used to seal the old transition
duct to the chassis will not be needed for the new
installation but should be kept for possible reuse
of the old chassis in this installation location.
5. Remove the chassis-to-case screws (two on each
end) and carefully slide the chassis from the case.
Parts Included
•
Transition duct assembly
•
Metal seal strip
•
Foam gaskets (2)
•
Metal clips (2)
•
Thumb screws (2)
Important Notes
•
This instruction describes how to modify an
existing GE duct adapter to be used with the
new rounded room cabinet front (AZ22 and AZ32
series).
Pub No. 30-7787-2 08-10 GE
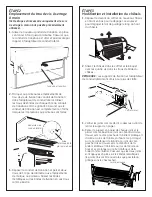
Transition duct
STEP 1
Removal of the chassis from the case
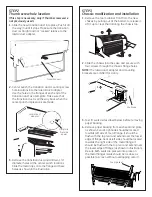
1. Disconnect the power to the unit.
2. For AZC or AZR series:
a. Remove room cabinet front.
b. Remove the three screws securing the
transition duct to the bottom of the lateral
duct adapter.
c. Carefully slide the transition duct forward
and remove (see illustration in next step).
Lateral duct adapter
6
1
⁄
2
”
7
3
⁄
32
”

